


August in the Midwest is scorching, muggy, and red-hot like an oven. It calls to mind the old expression: It’s so hot you could fry an egg on the sidewalk! And as always, there are two distinctive sounds that are the heartbeat of August: a distant echo of thunder and the relentless hum of cicadas.
Regardless of the oppressive heat & humidity, chores must continue…weeding, tilling, trimming, mowing, and watering are either done early as the sun rises, or late as the sun sets. So with that sun up/sun down schedule, these “Dog Days” leave plenty of in-between time for whittling down my to-do list. But you know what? Some days I just want to toss that to-do list into the air and do something fun and creative! And this month that’s just what I did.
Soon I was off to one of my favorite antique shops where I scored a lucky freebie. Maybe I could beat this August heat after all…let’s turn some “junk” into farmhouse fountains!
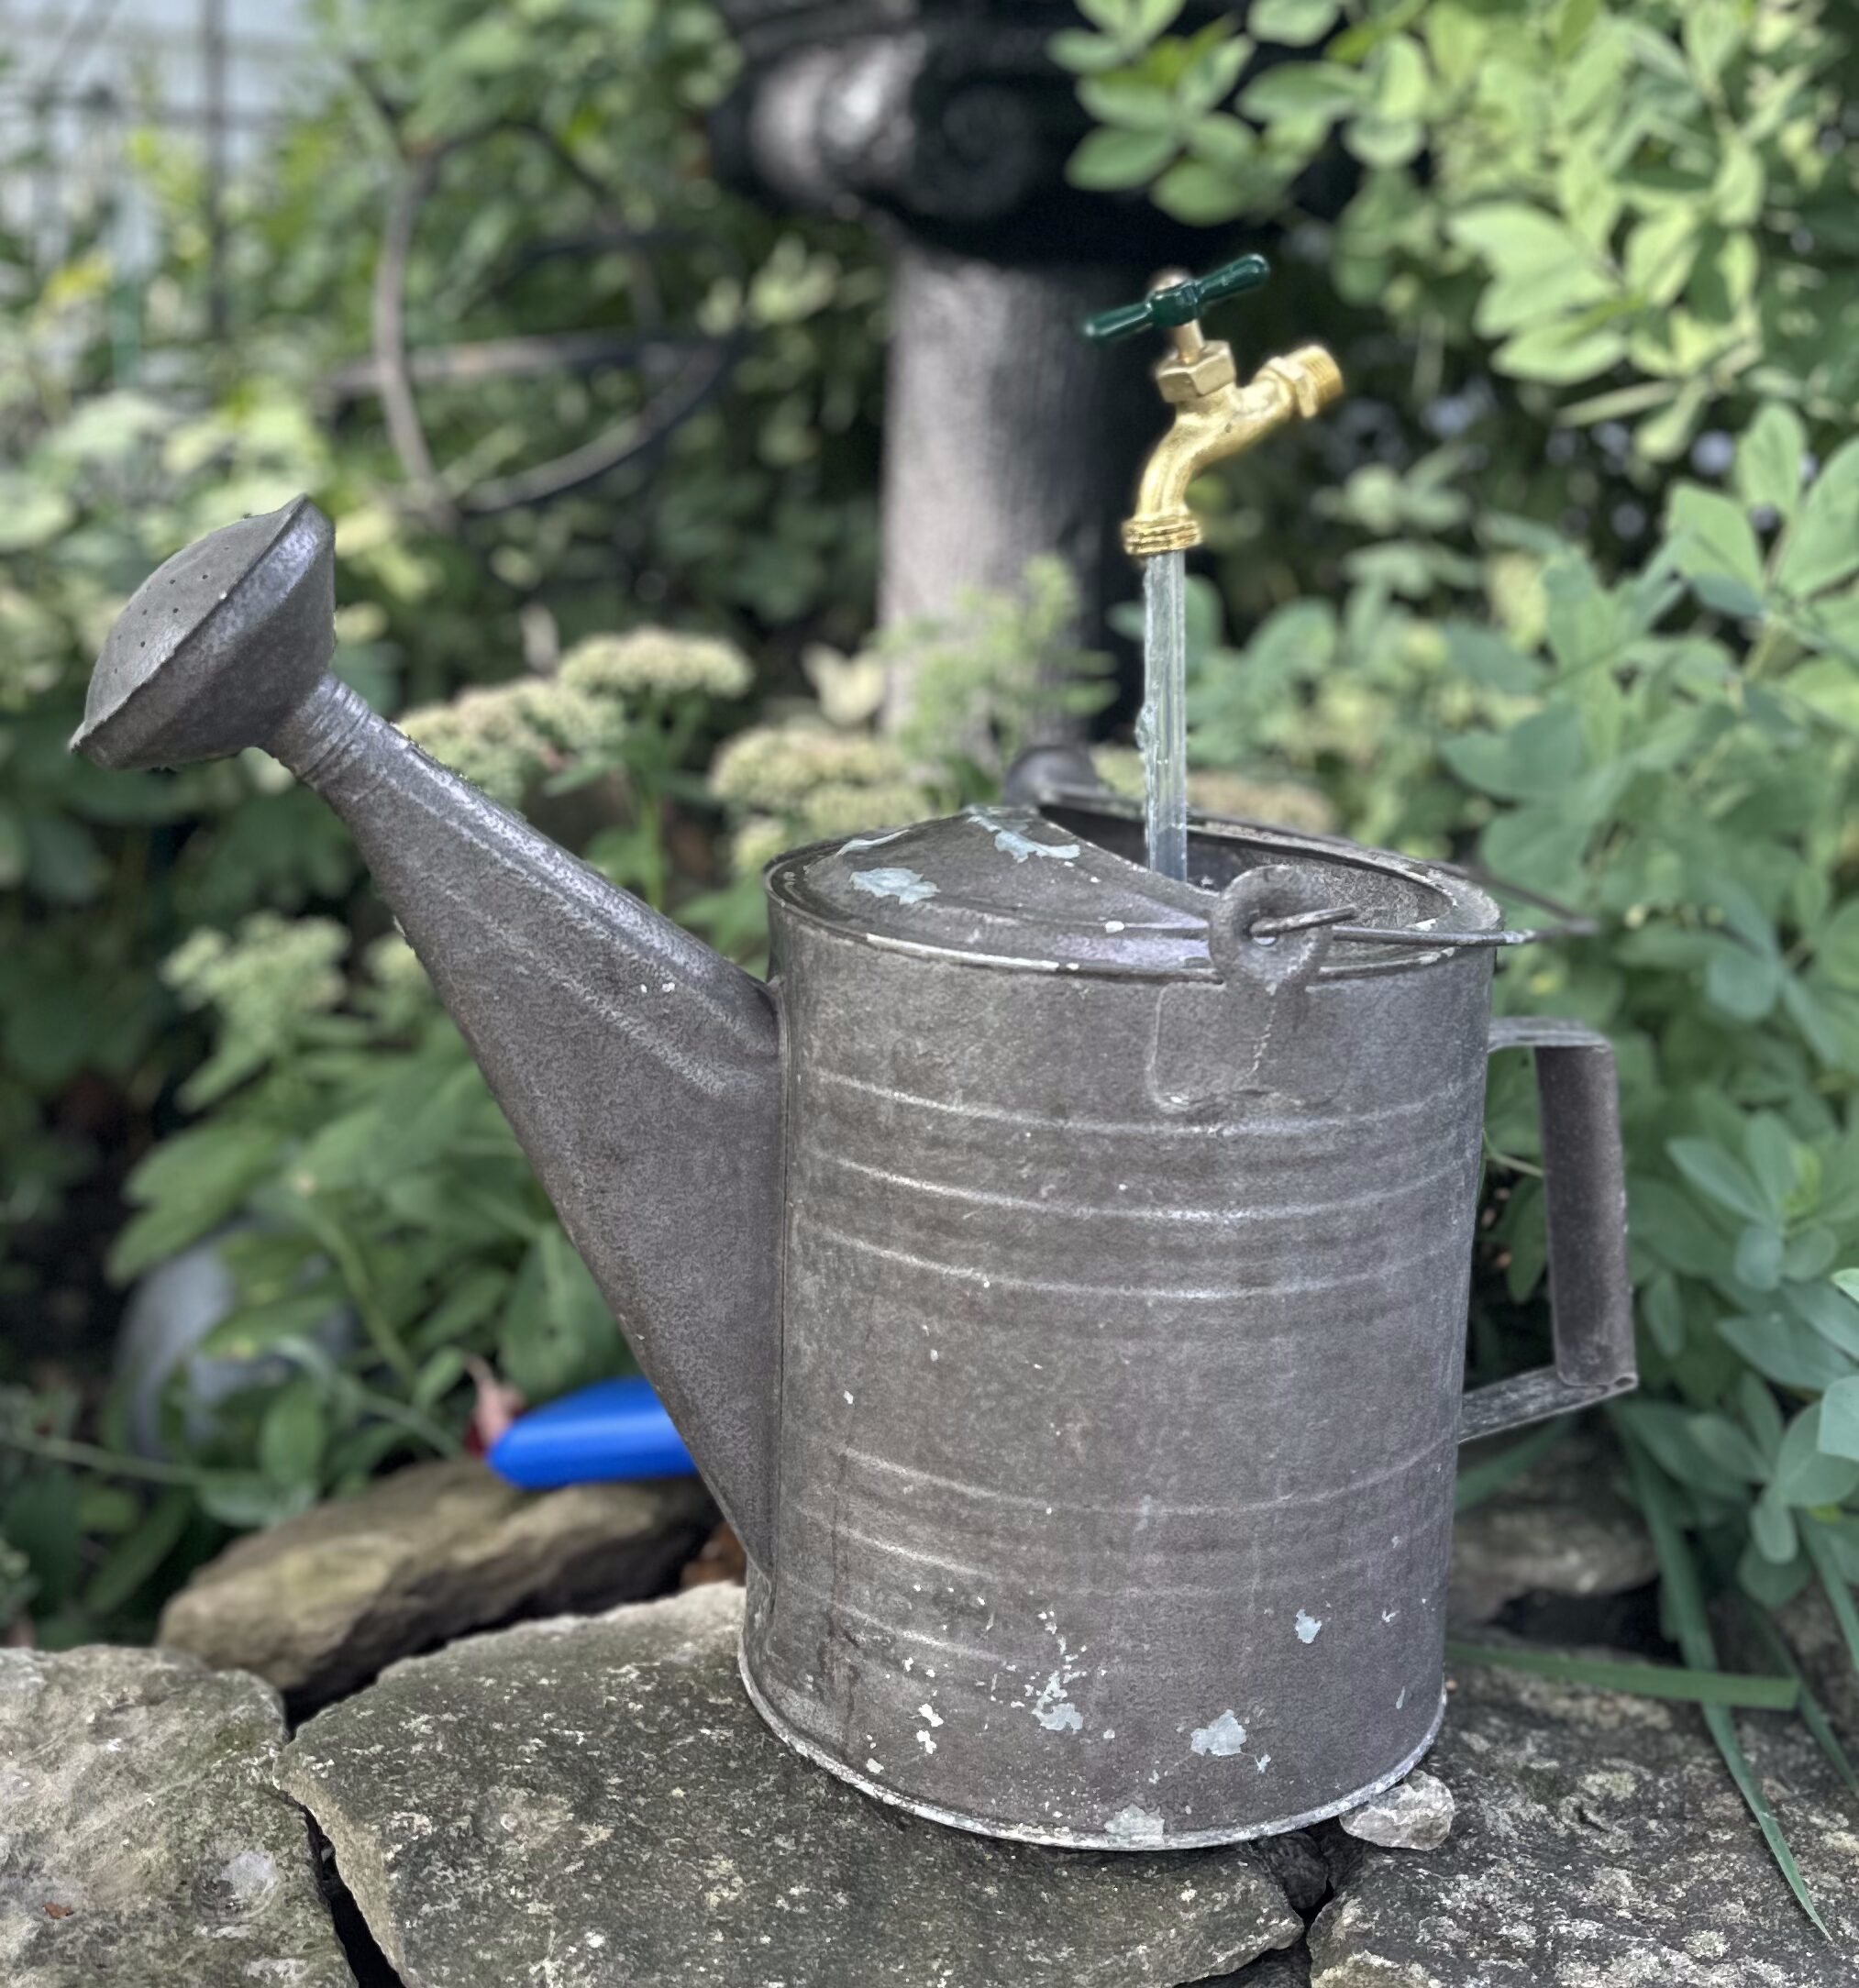
Watering Can Fountain
I love watering cans…I mean LOVE. I have way more than I need, but I can’t resist, it’s as if they’re saying “take me home!” And so, when this watering can was free because it had a hole in the side, how could I say no?
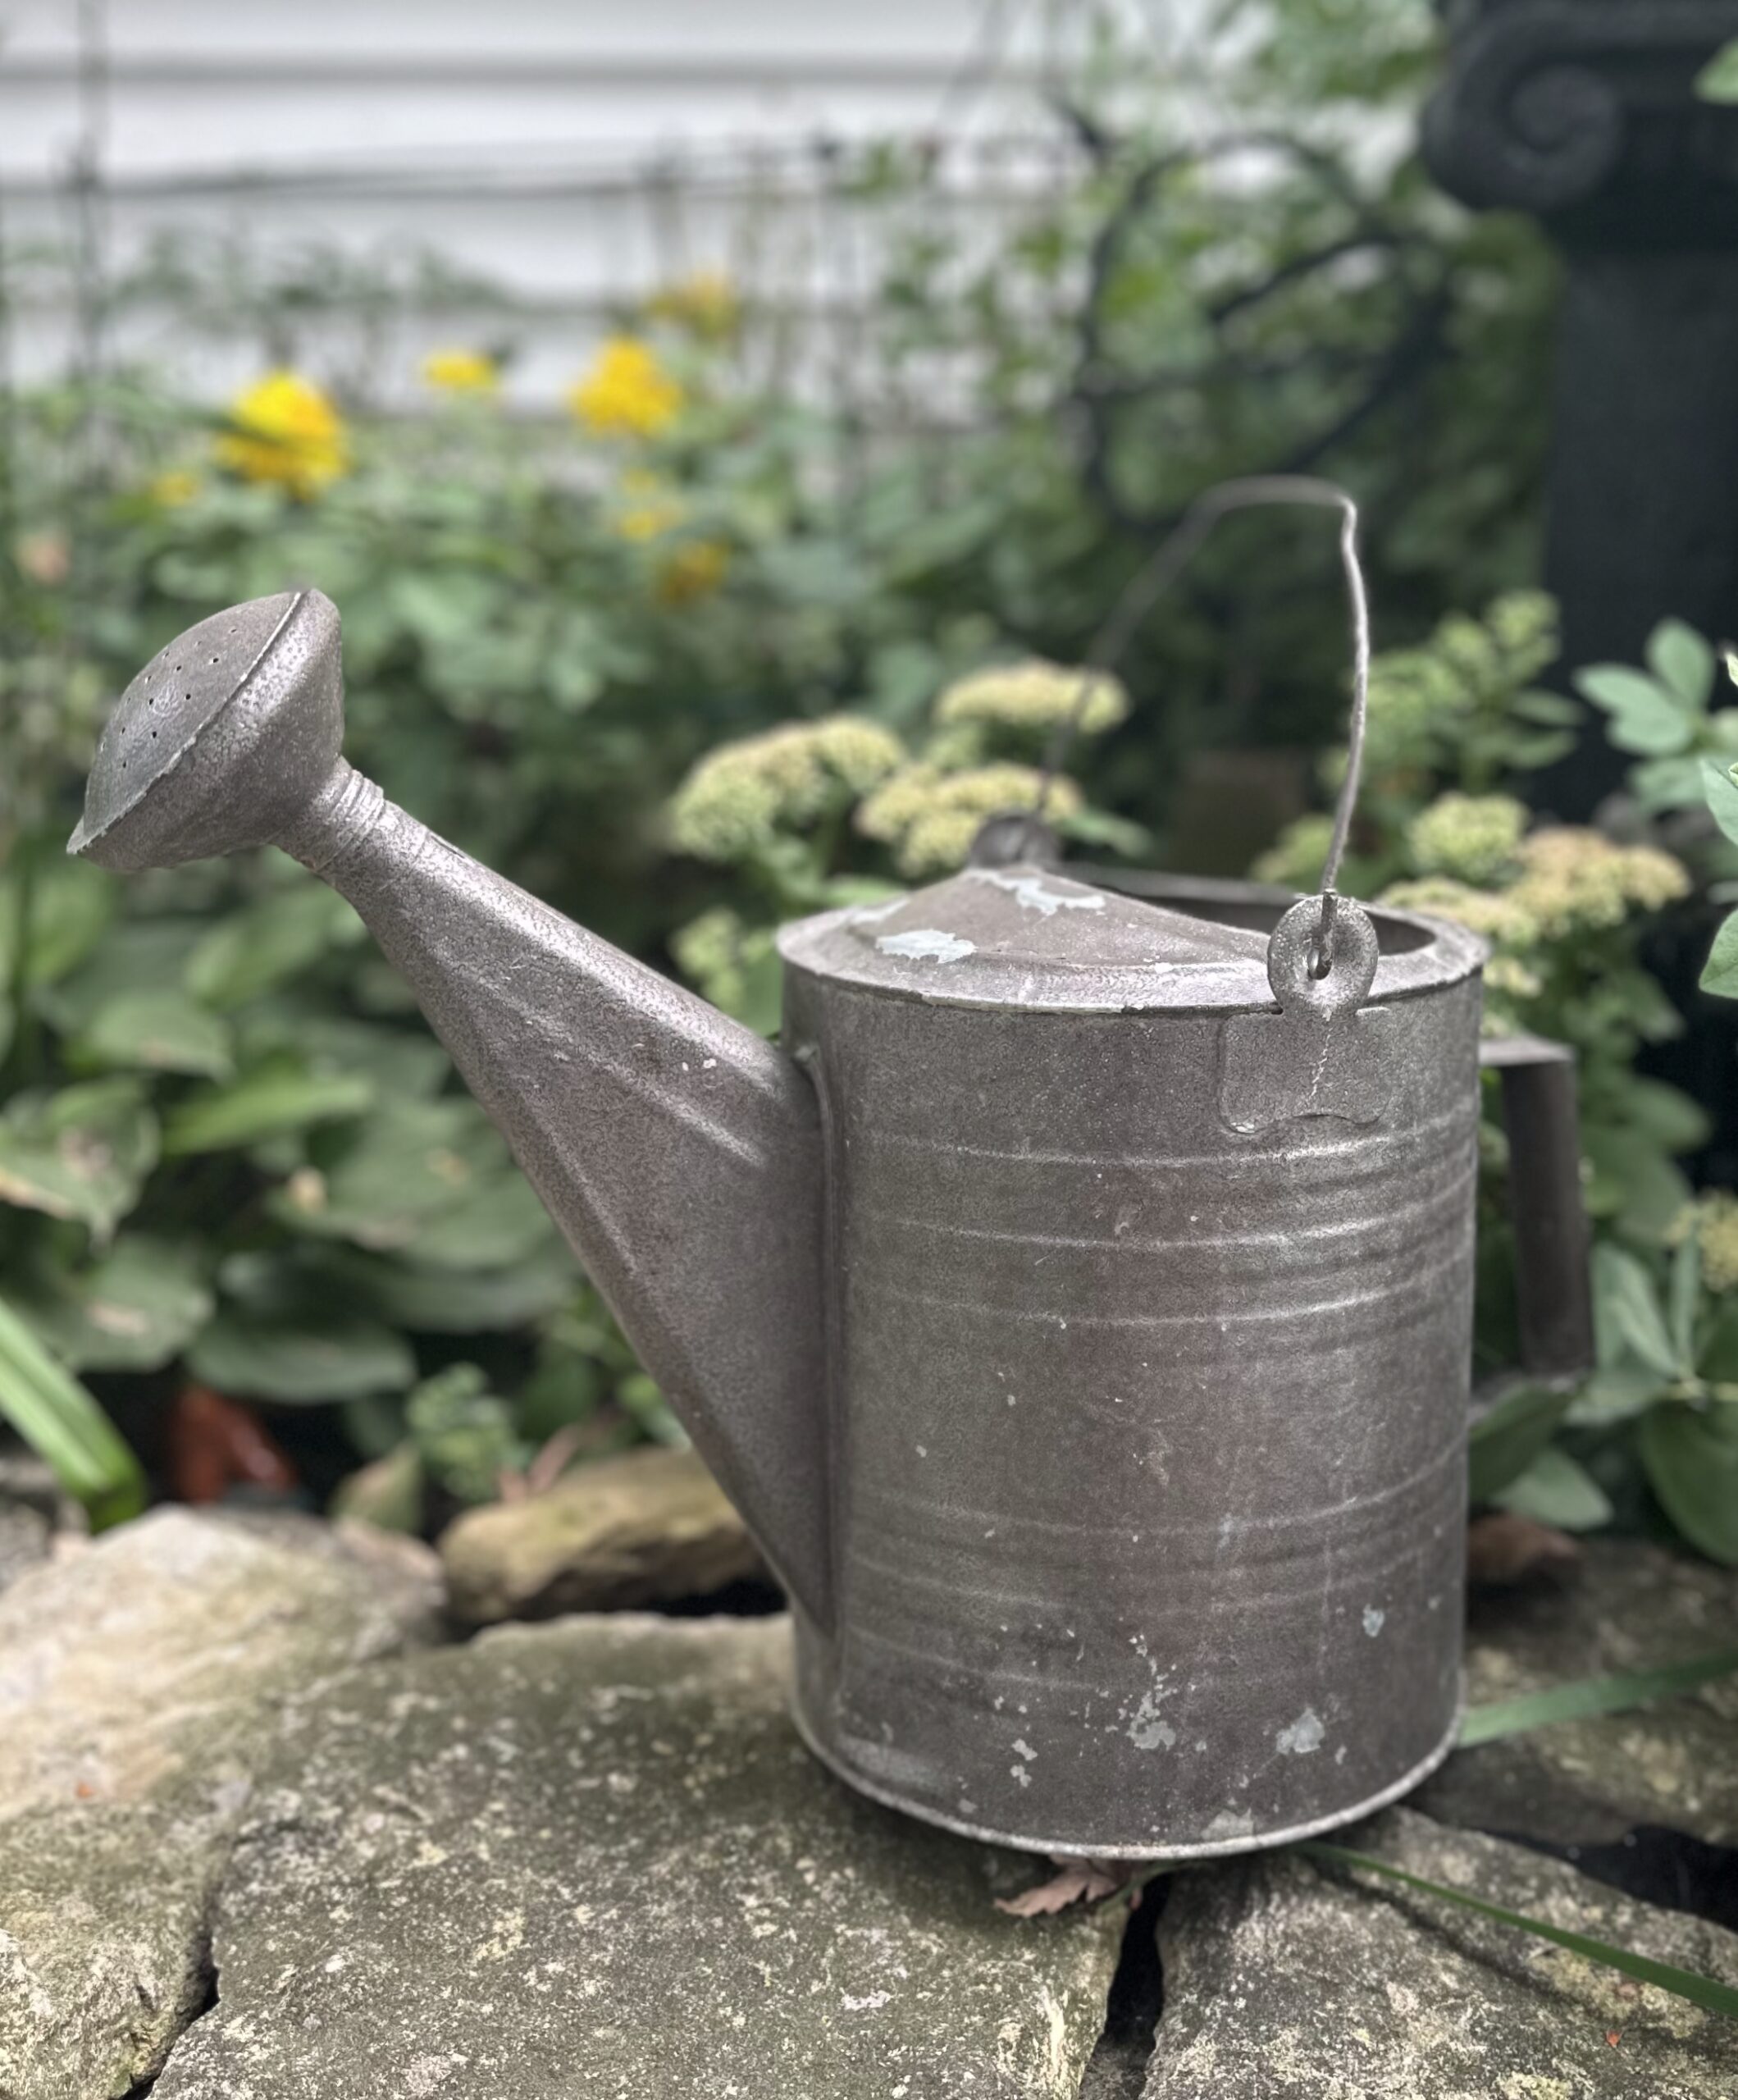
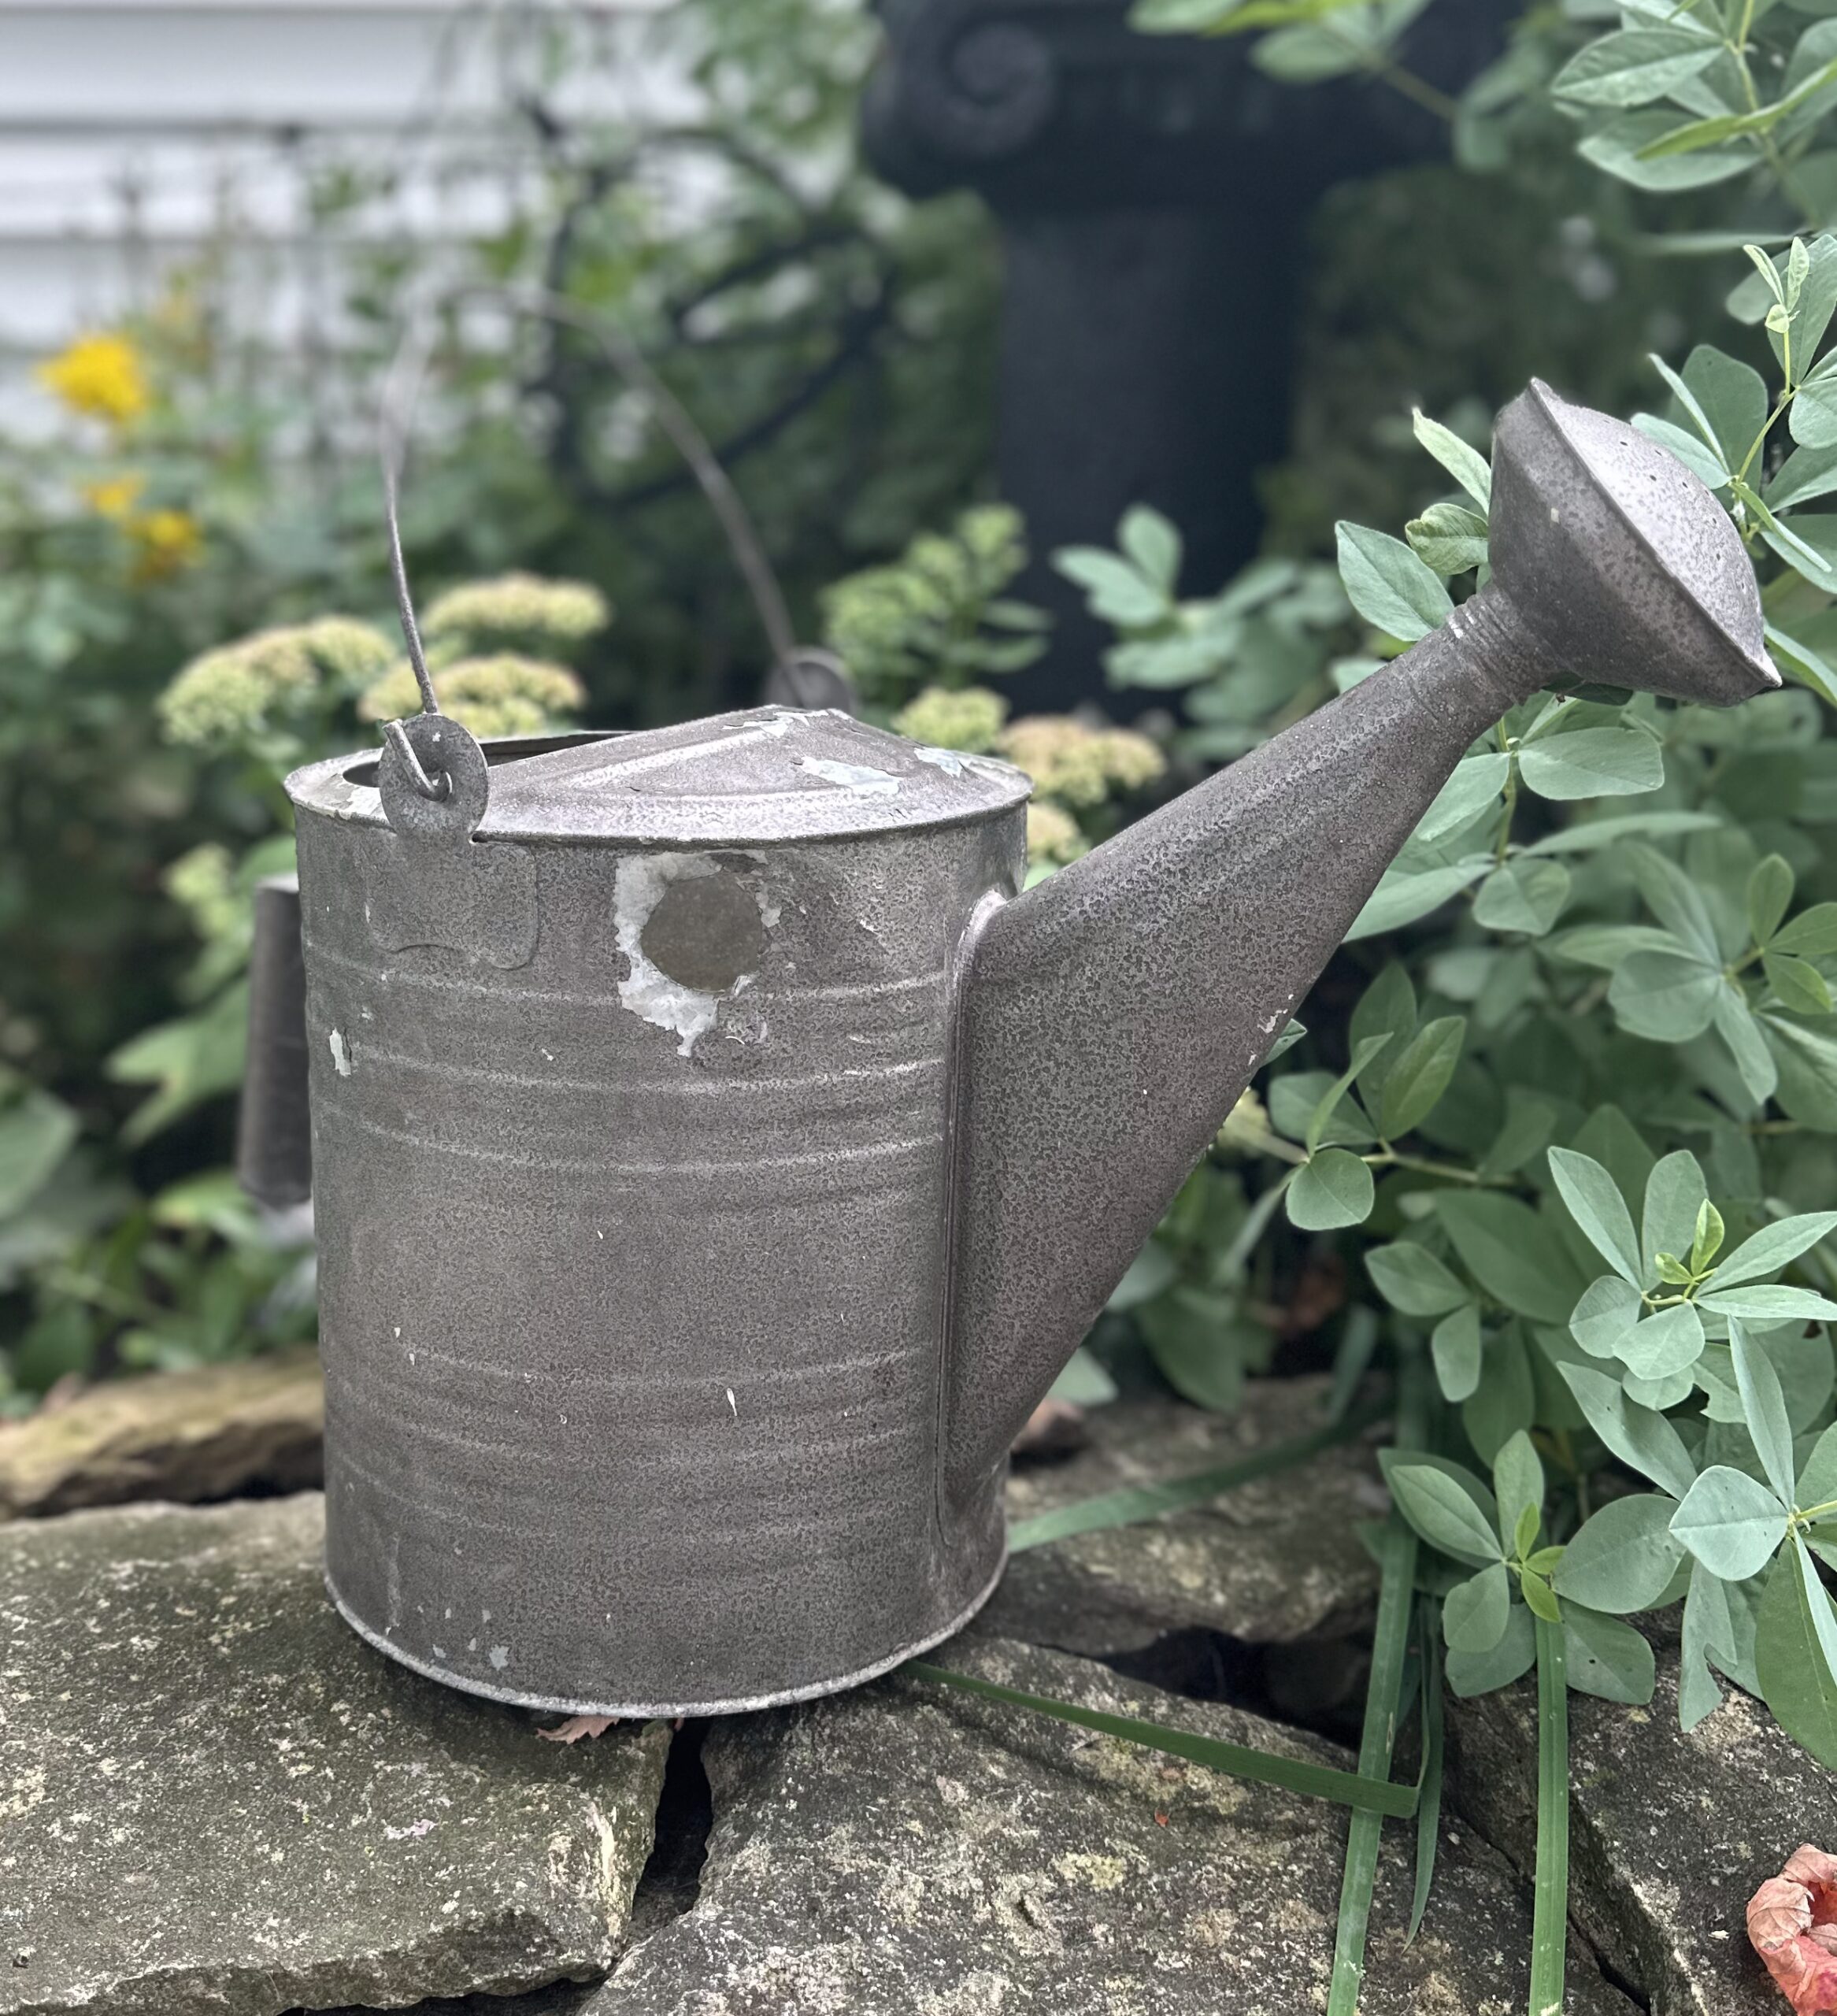
And yep, here’s the hole. Why? I’ll never know. However; it was absolutely perfect for what I had in mind!
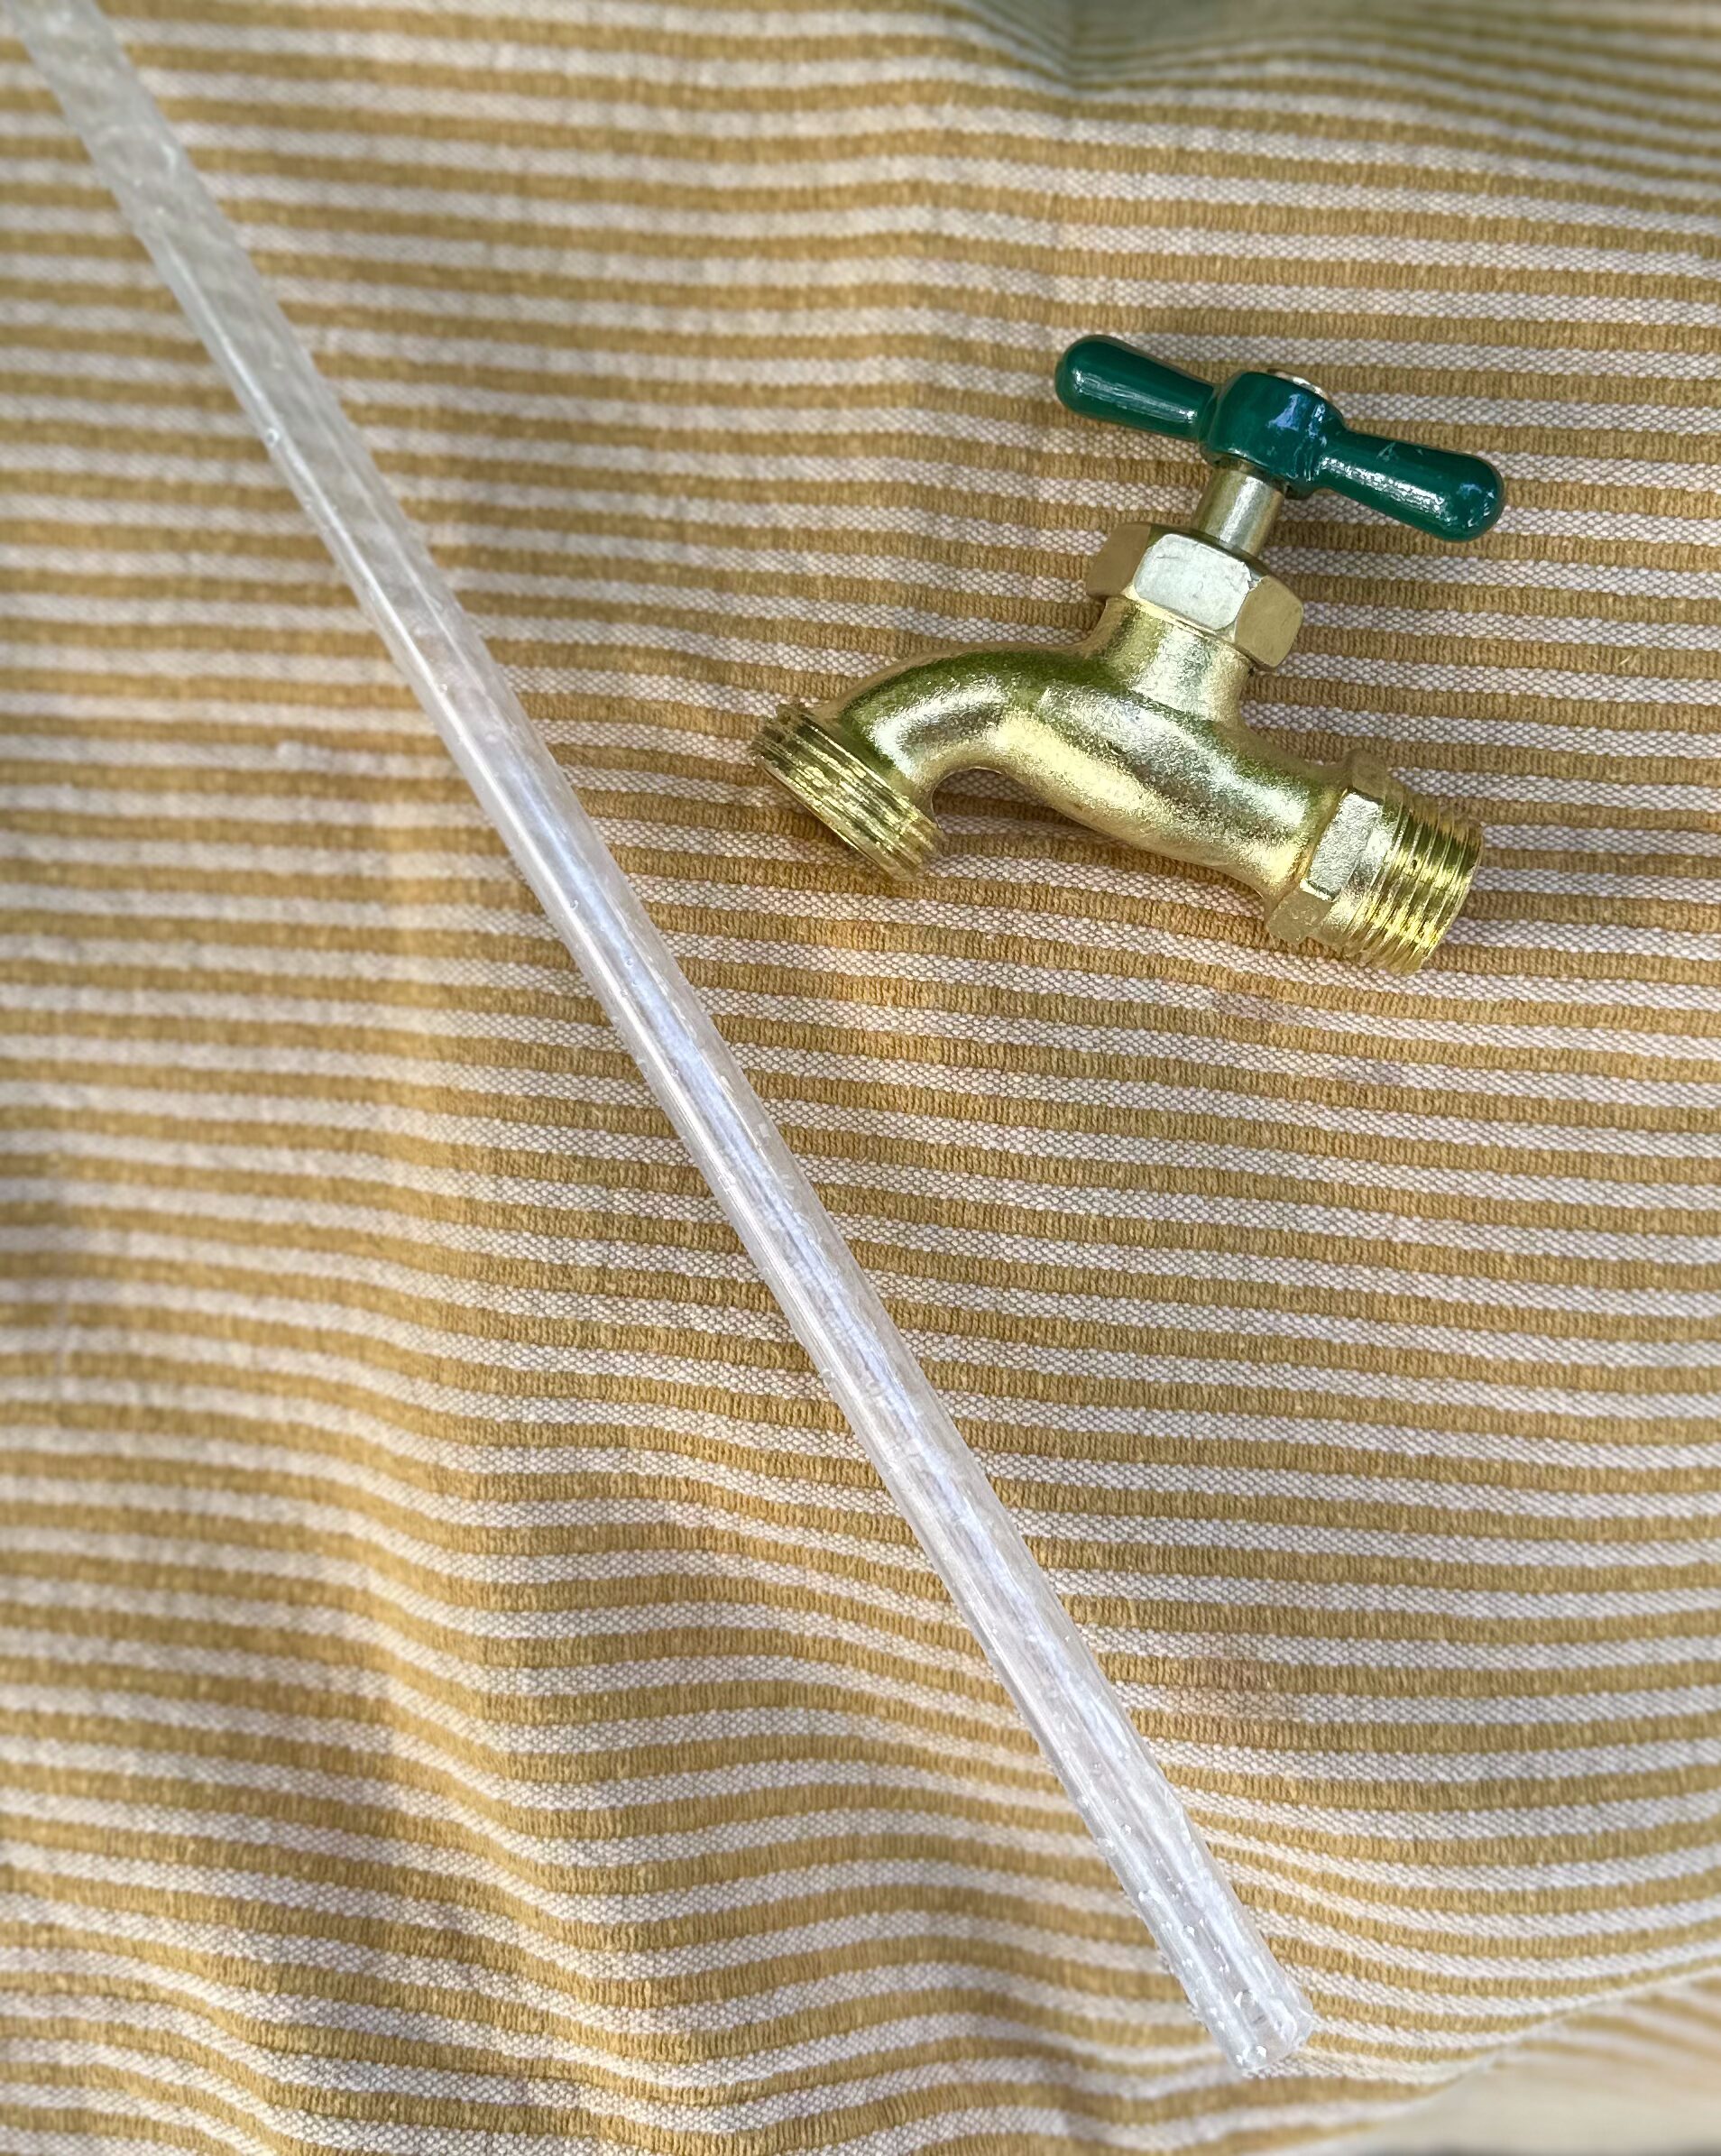
A trip to my local hardware store and I found all I needed to make an invisible flowing fountain. I’m sure you’ve seen them before, and they’re so simple to make.
You’ll need a watering can, section of rigid, clear plastic tubing (mine is 12 inches), spigot, and a small submersible pump. I discovered there are two types of pumps…one that plugs into an electrical outlet, and one with a USB cord that fits into a battery pack. The USB cord is perfect for a porch or even indoors when an outlet isn’t nearby.
I set the pump in the bottom of the watering can, then ran the cord through the opening in the side. I was lucky because mine had a hole, but you can also make one using a drill with a spade bit.
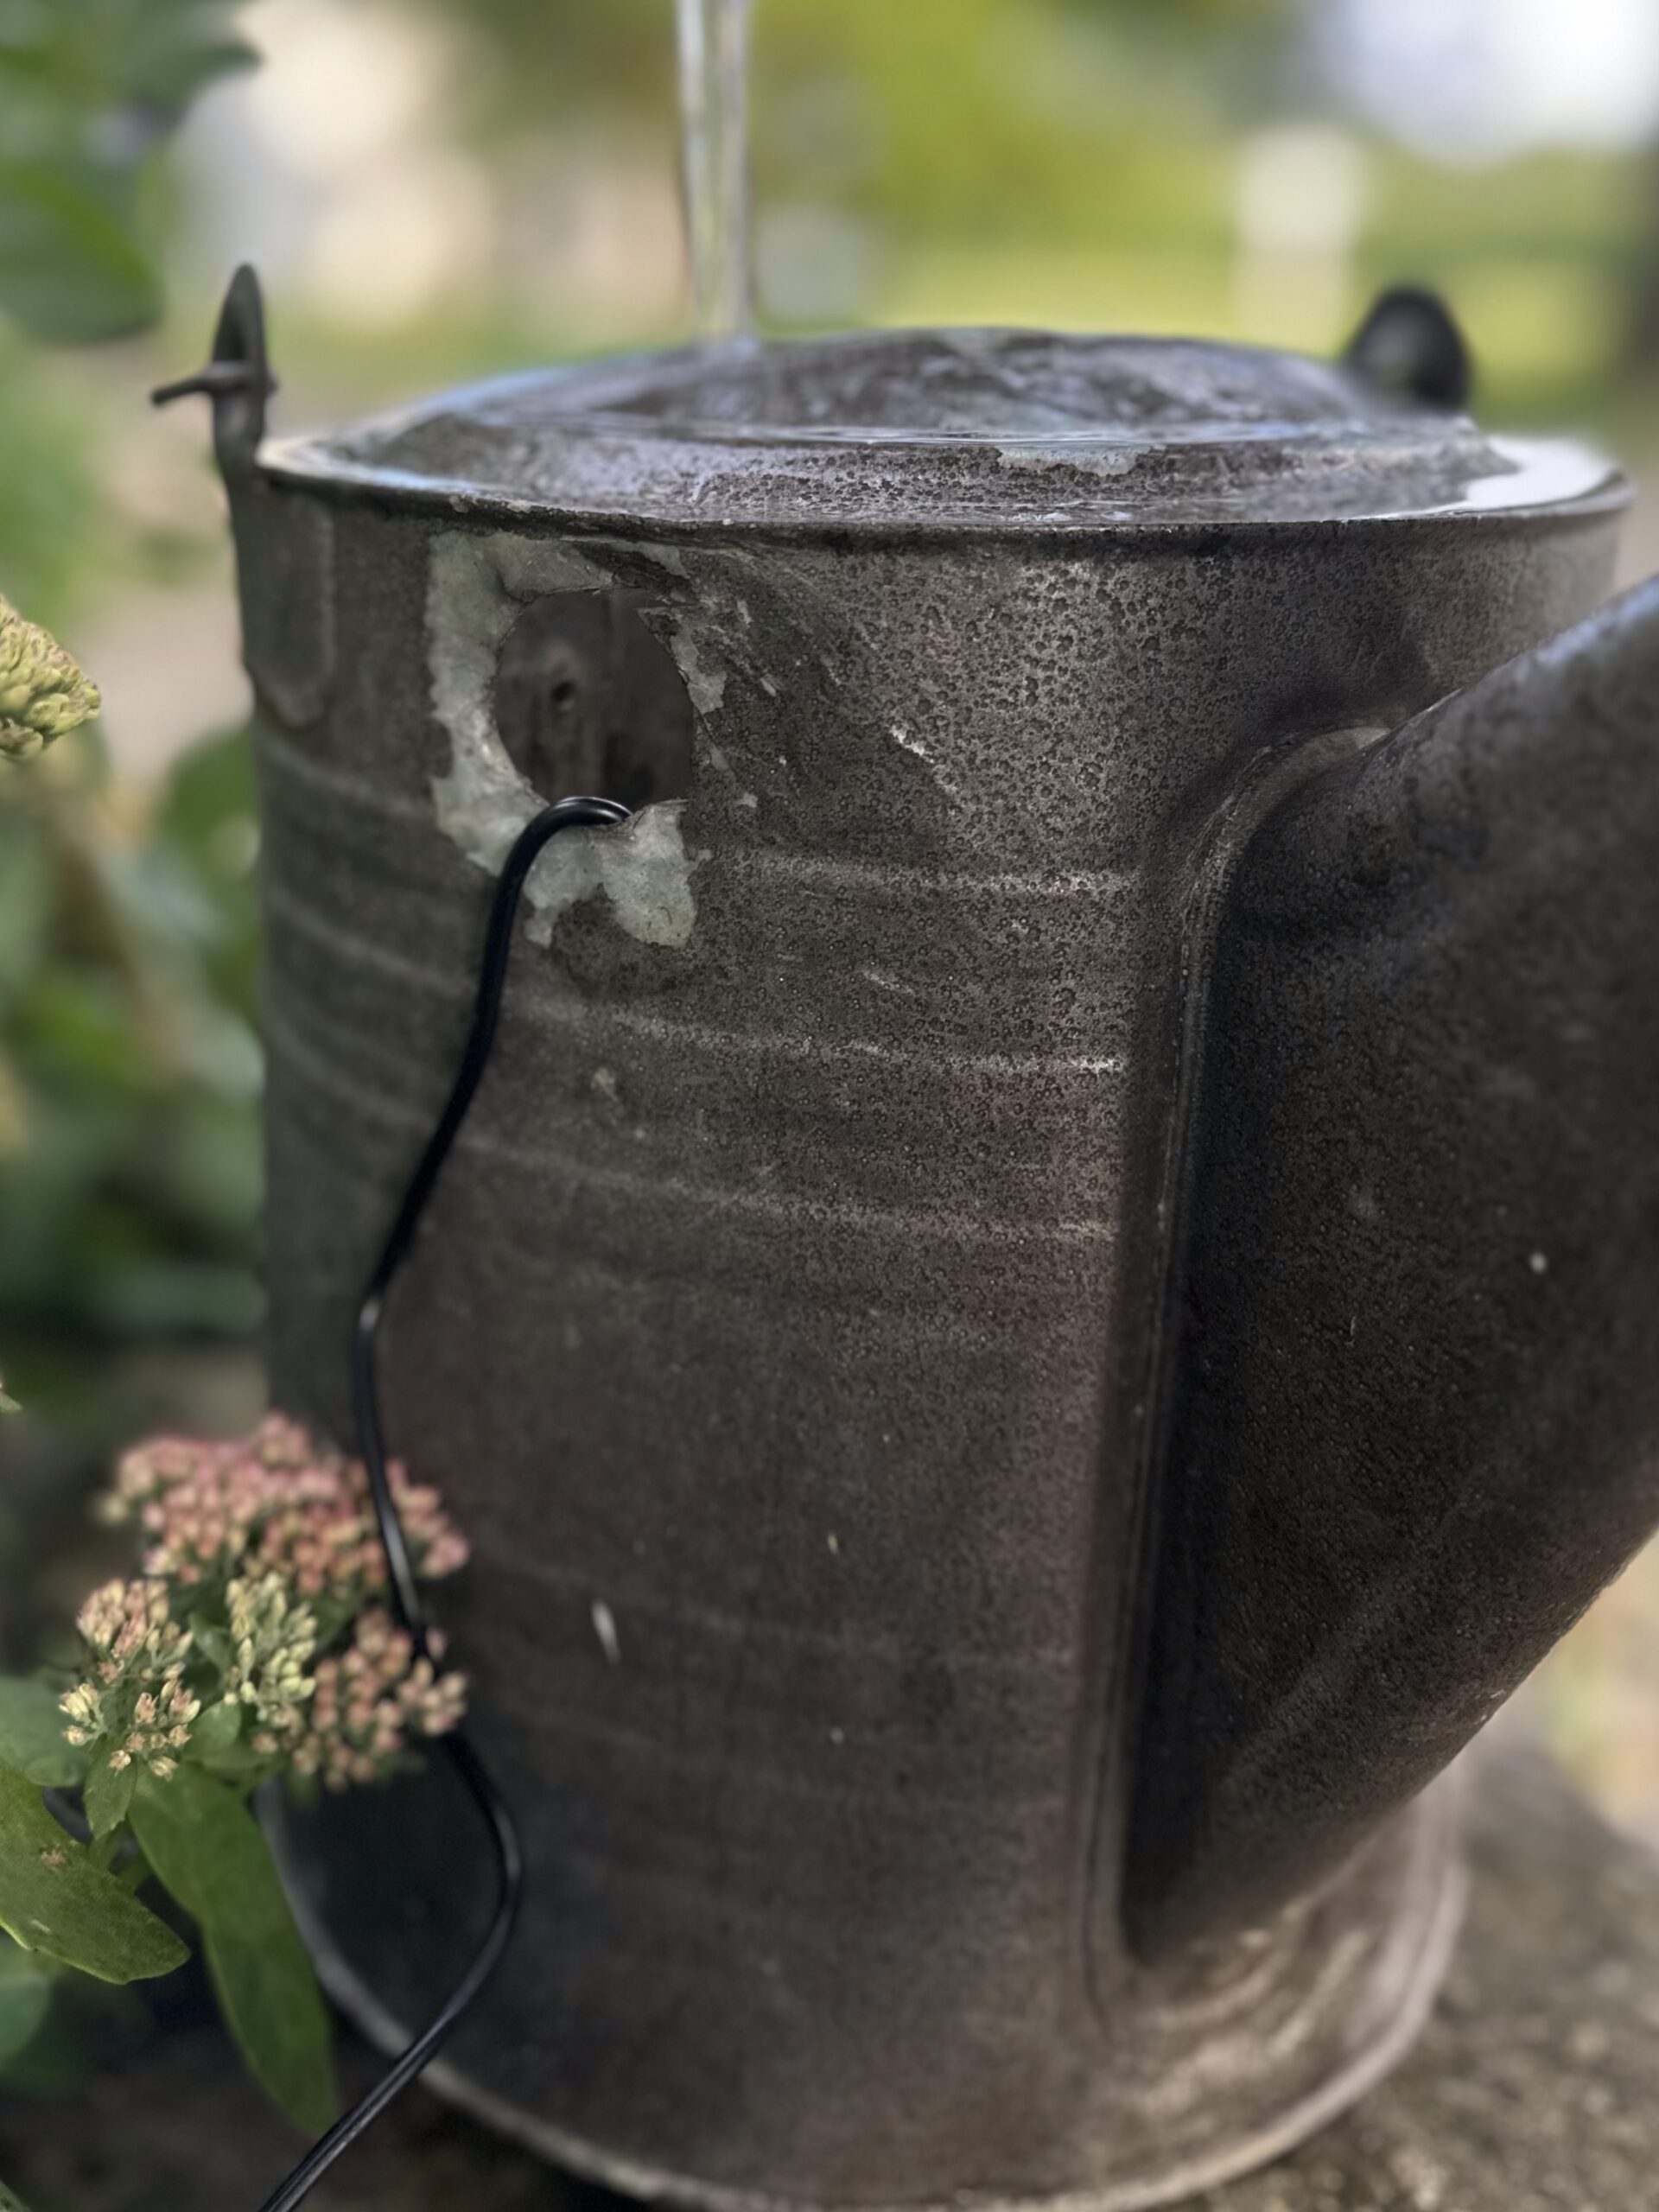
Before I slipped the acrylic tube over the pump’s nozzle, I arranged some rocks around the pump to hold it steady. I slipped on the tubing, filled the watering can with water, and set the spigot on top. Yay, it works! The water comes up through the tube and spills over the edges, making it look as if there’s water magically coming from the spigot.
Mine is on a little table by the back door, and because there’s no outlet near the table, I used the USB cord pump (you can see the blue battery pack below.) I’ll be sure to bring it inside whenever there’s a chance of rain.
Galvanized Tub Fountain
This came together with no trips to the hardware store at all. I found this in the barn (one of the good things about old, old barns!) I’ve been told it’s a rain barrel downspout…does anyone know for certain?
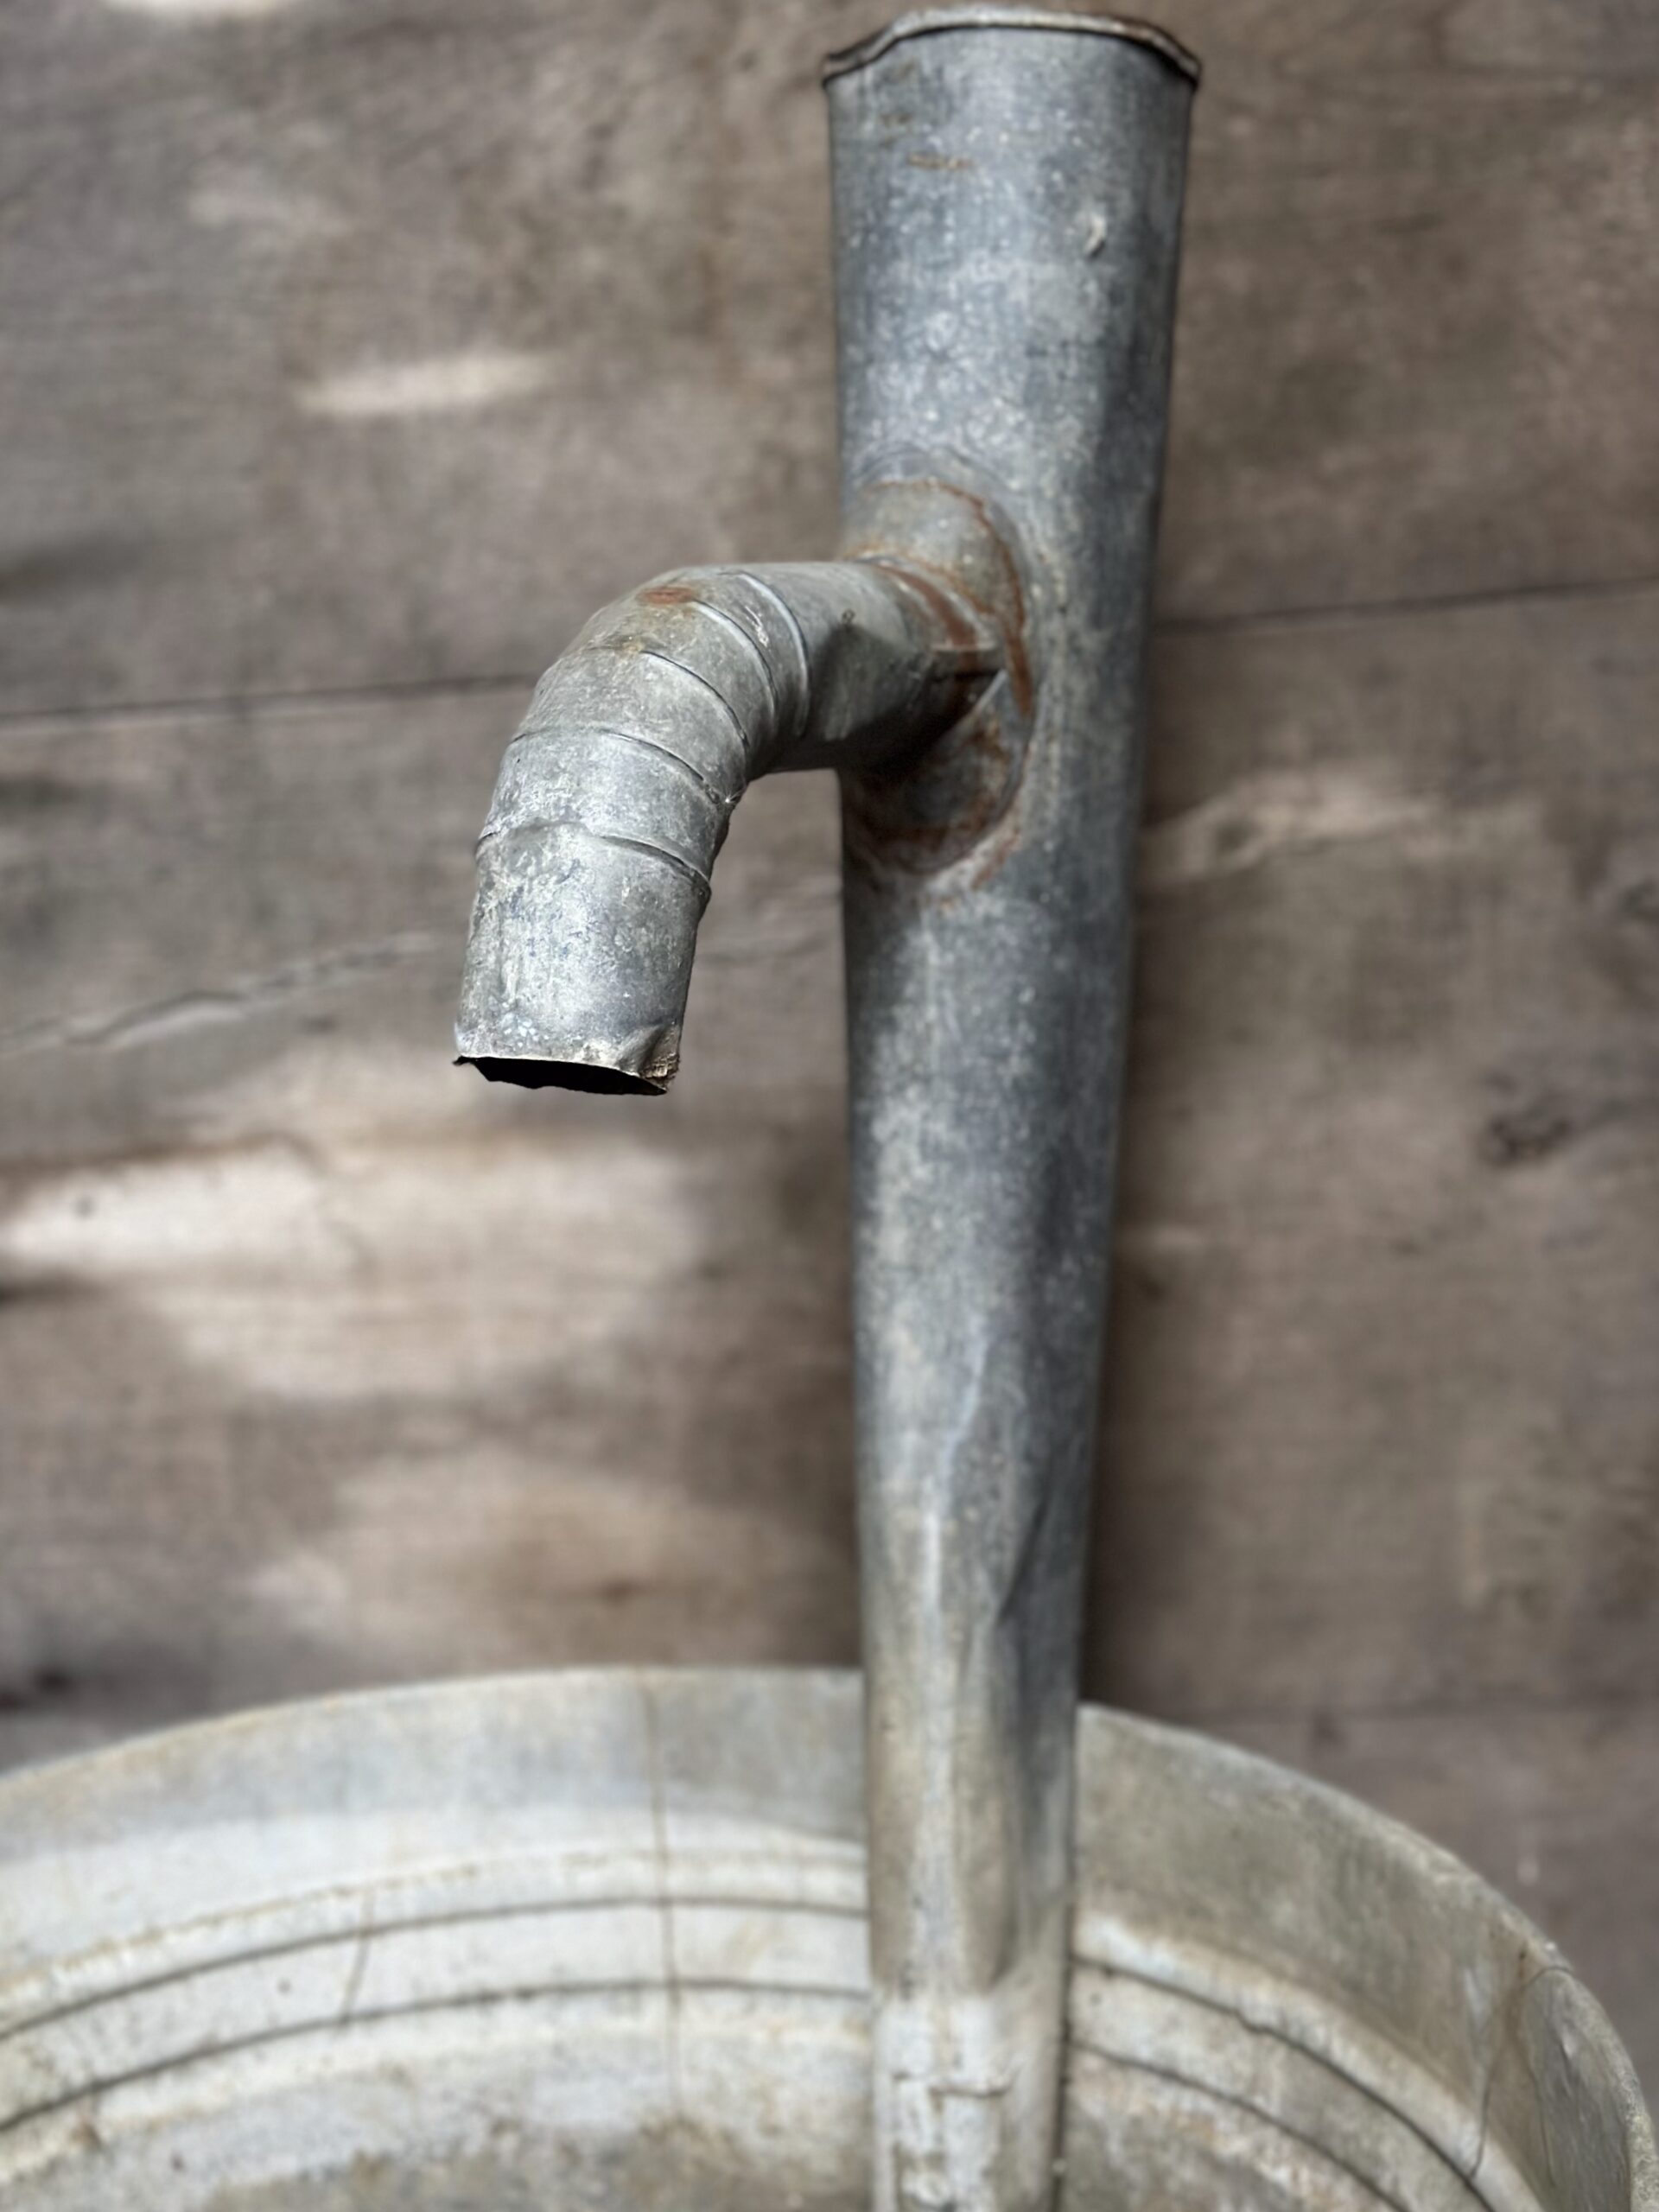
I already had an old galvanized tub, tubing, and an extra water pump, so this was done in minutes. I attached the downspout to the inside of the tub with hex head bolts,
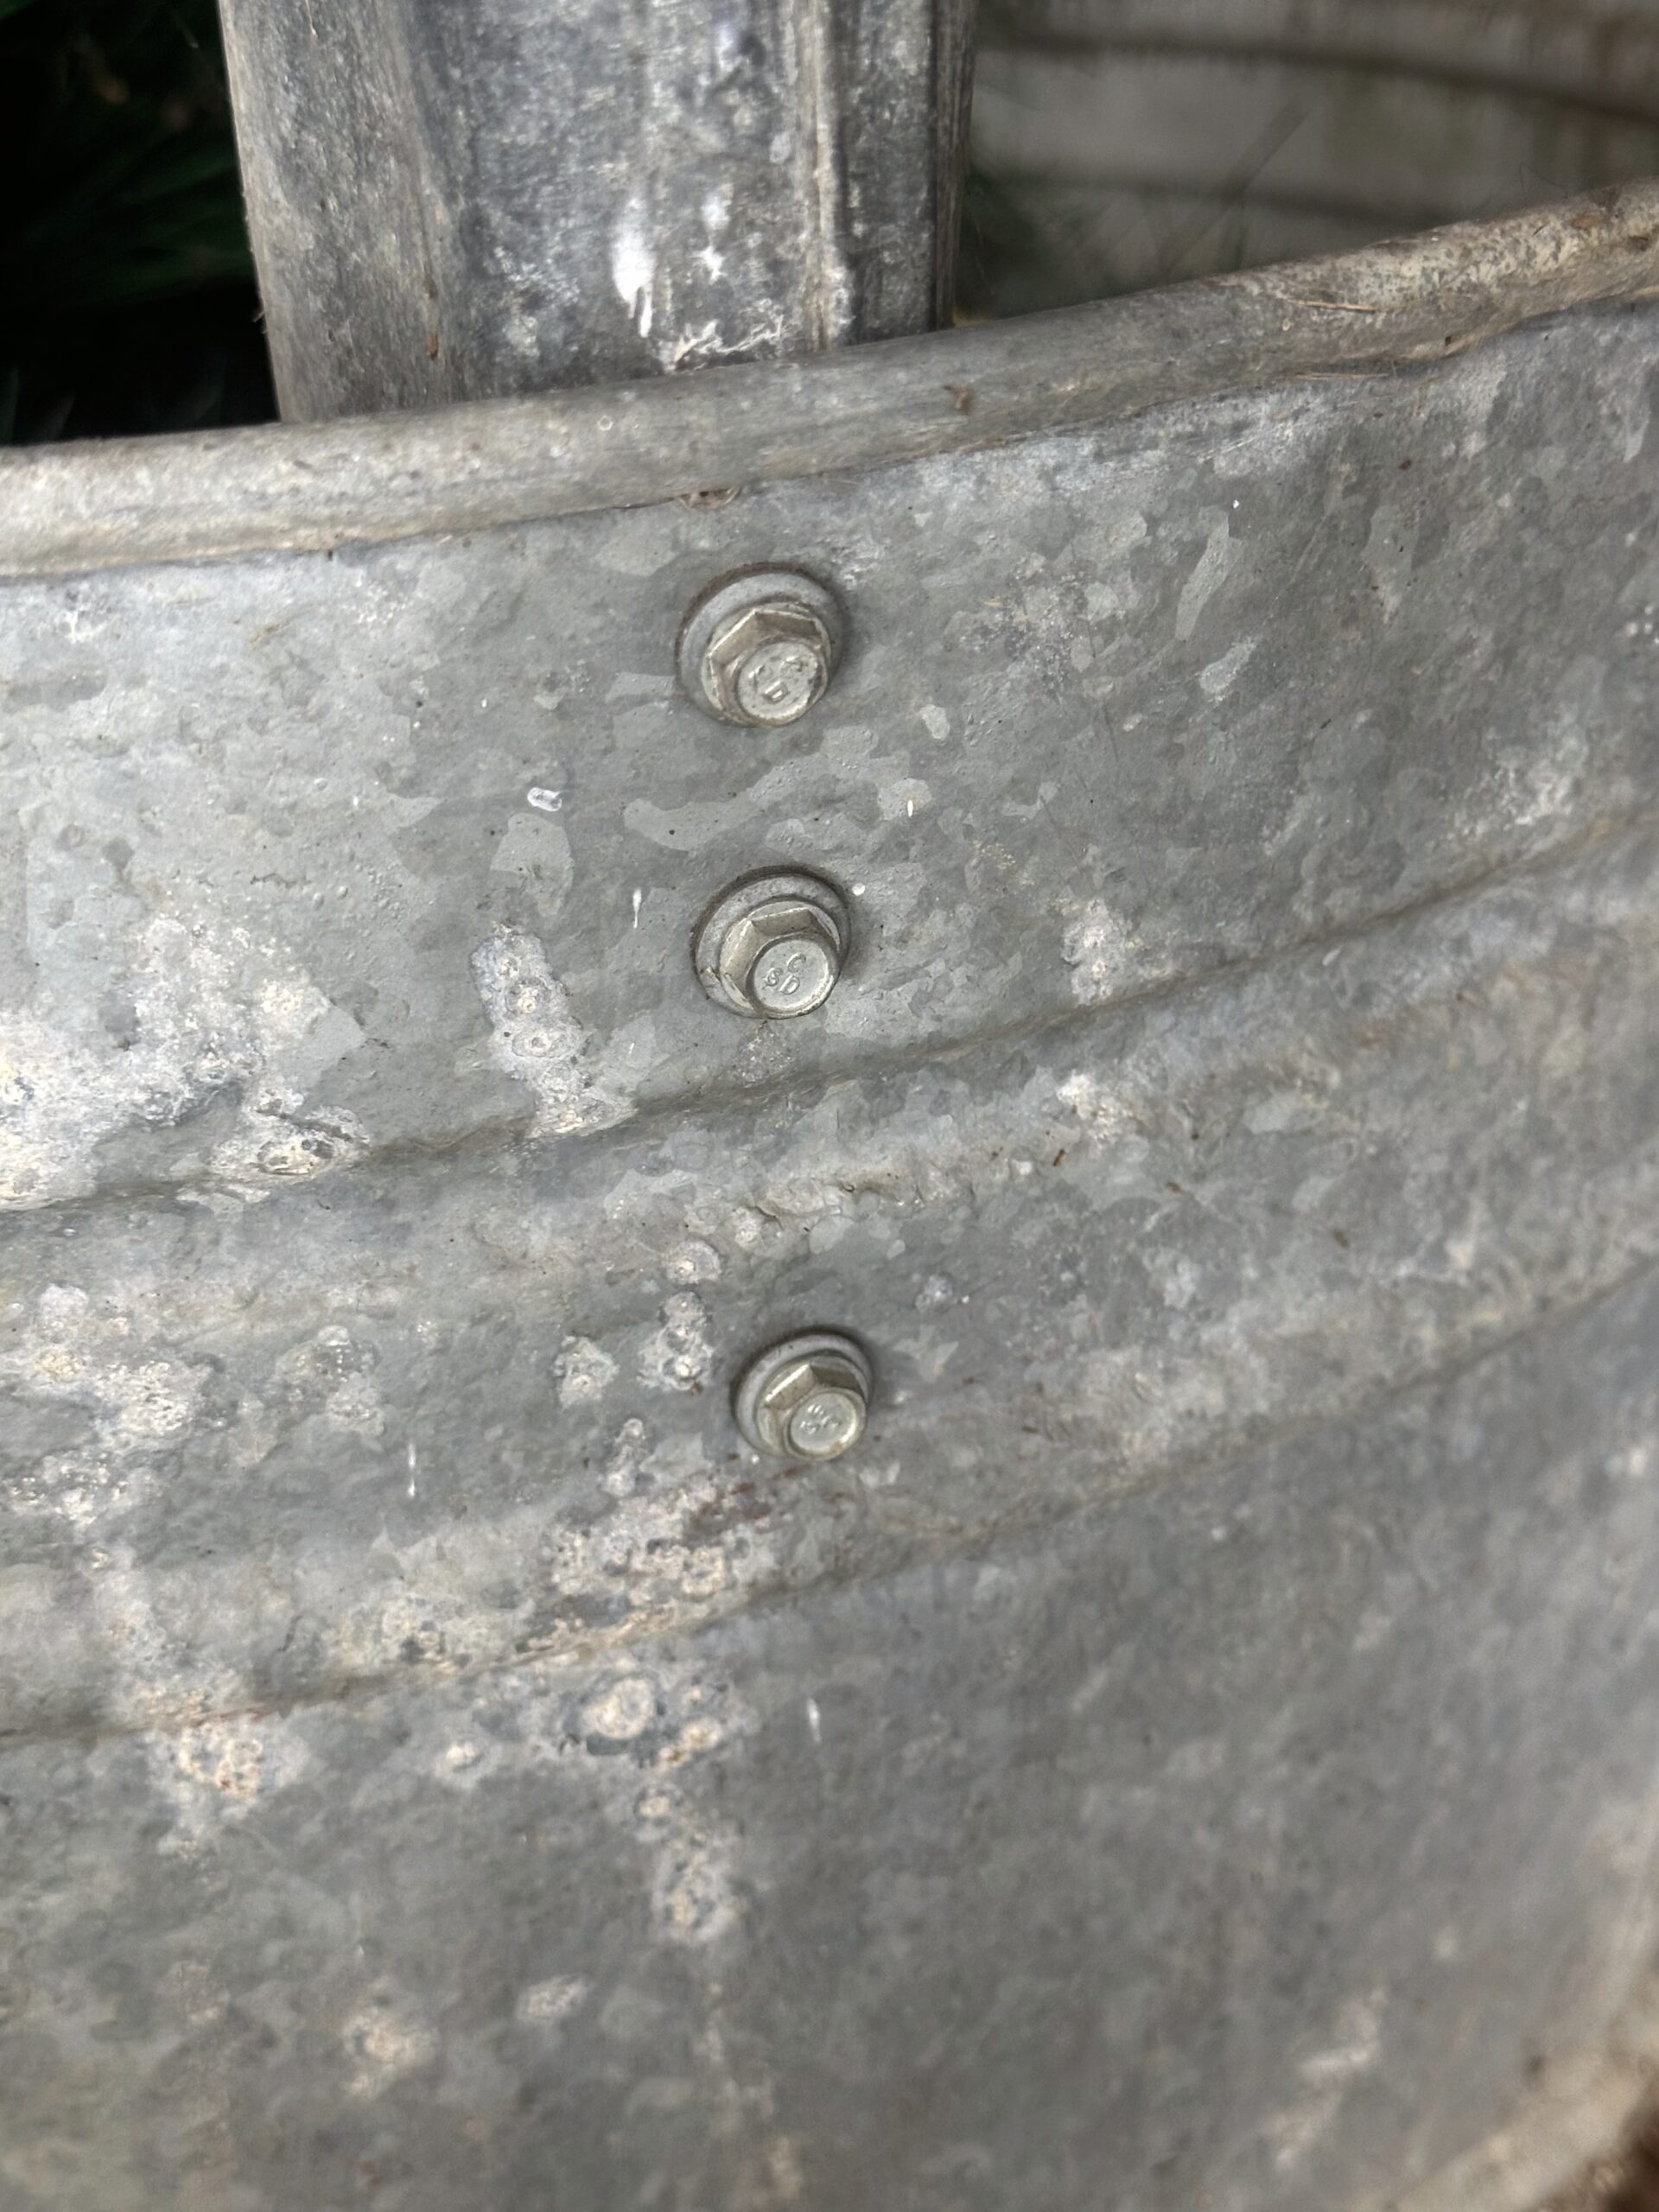
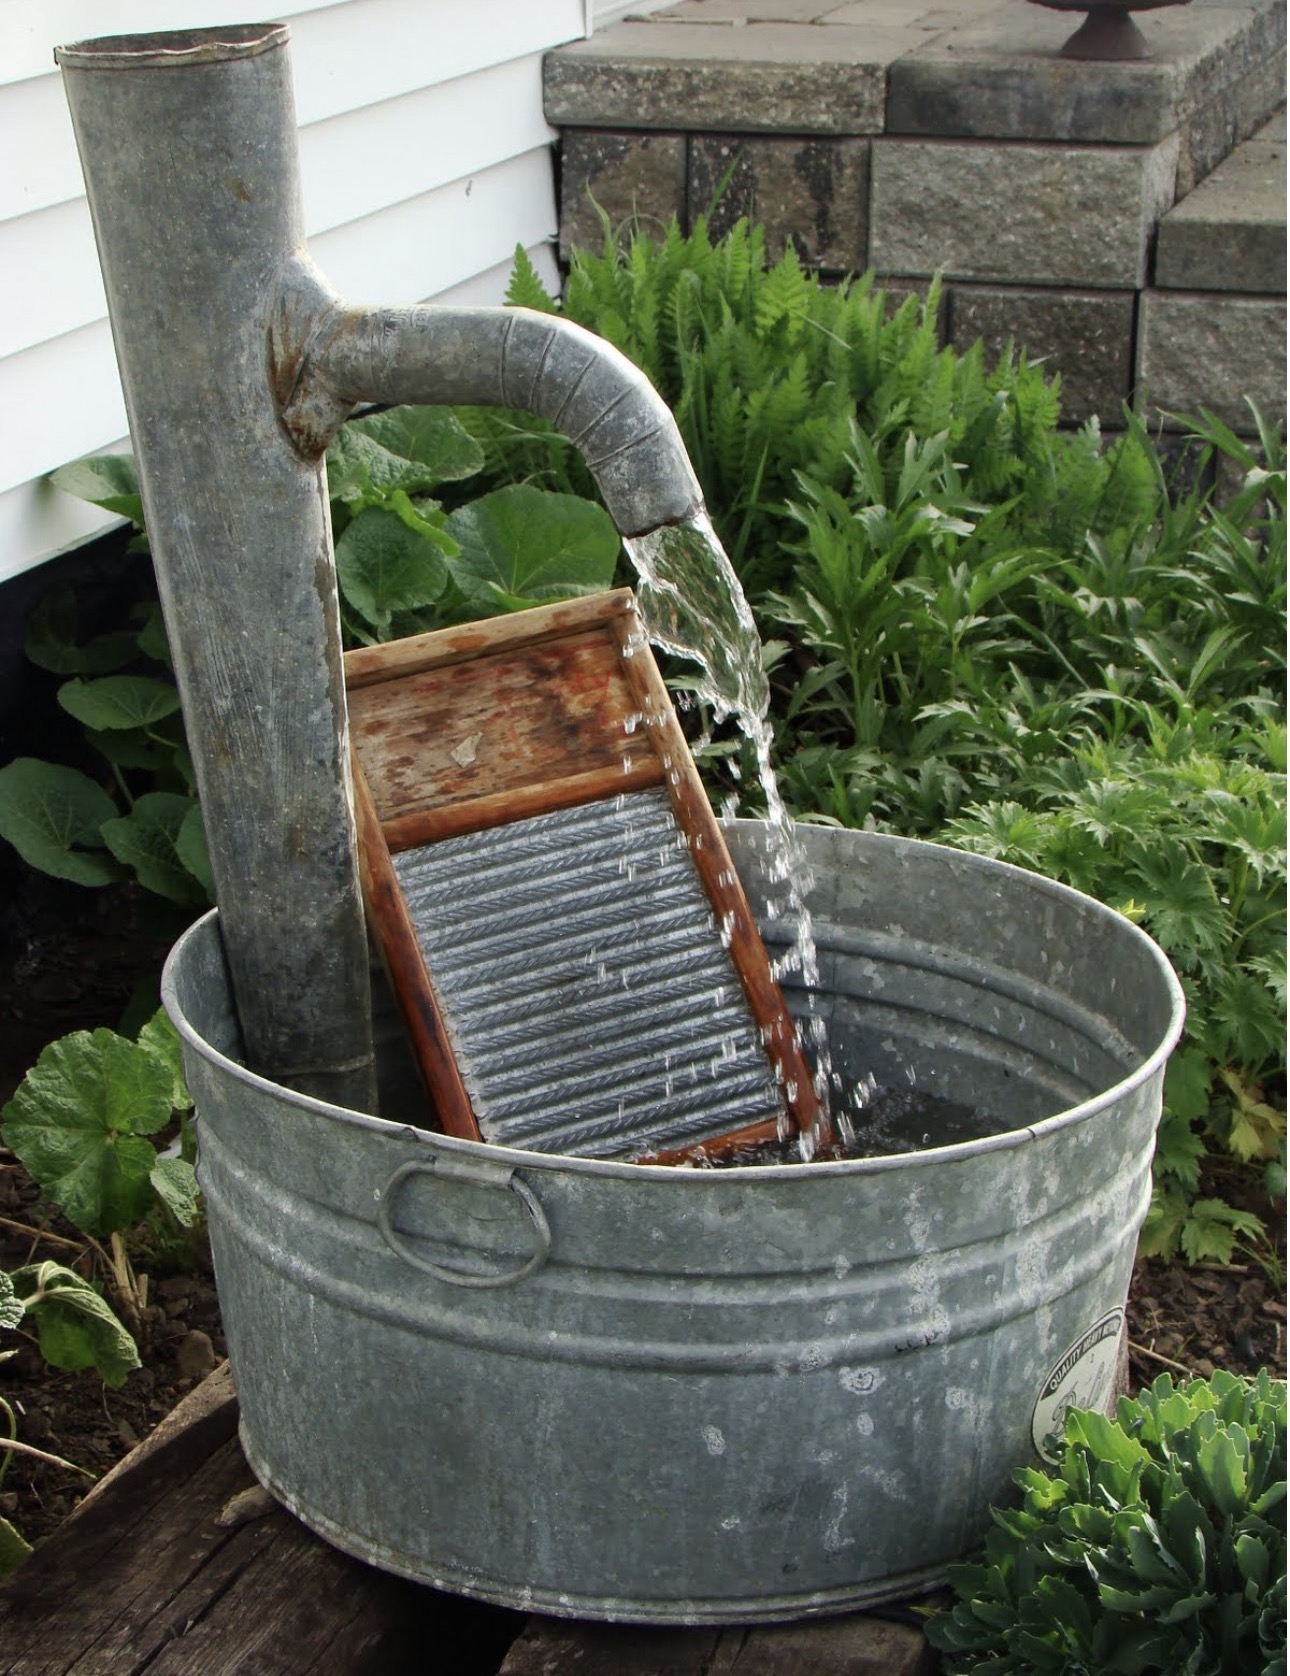
and set the pump inside…it’s small suction cup feet help hold it in place, but I added rocks as well. Then I ran the tubing through the spout and attached it to the pump nozzle. Some water, an old wash board, and I was done!
Pitcher Pump Fountain
Now this last fountain is one I’ve wanted to make for years, but I just never seemed to get around to it. I had all the parts I needed, but there was one tricky job to be done: feeding the water tube through the interior of the pump.
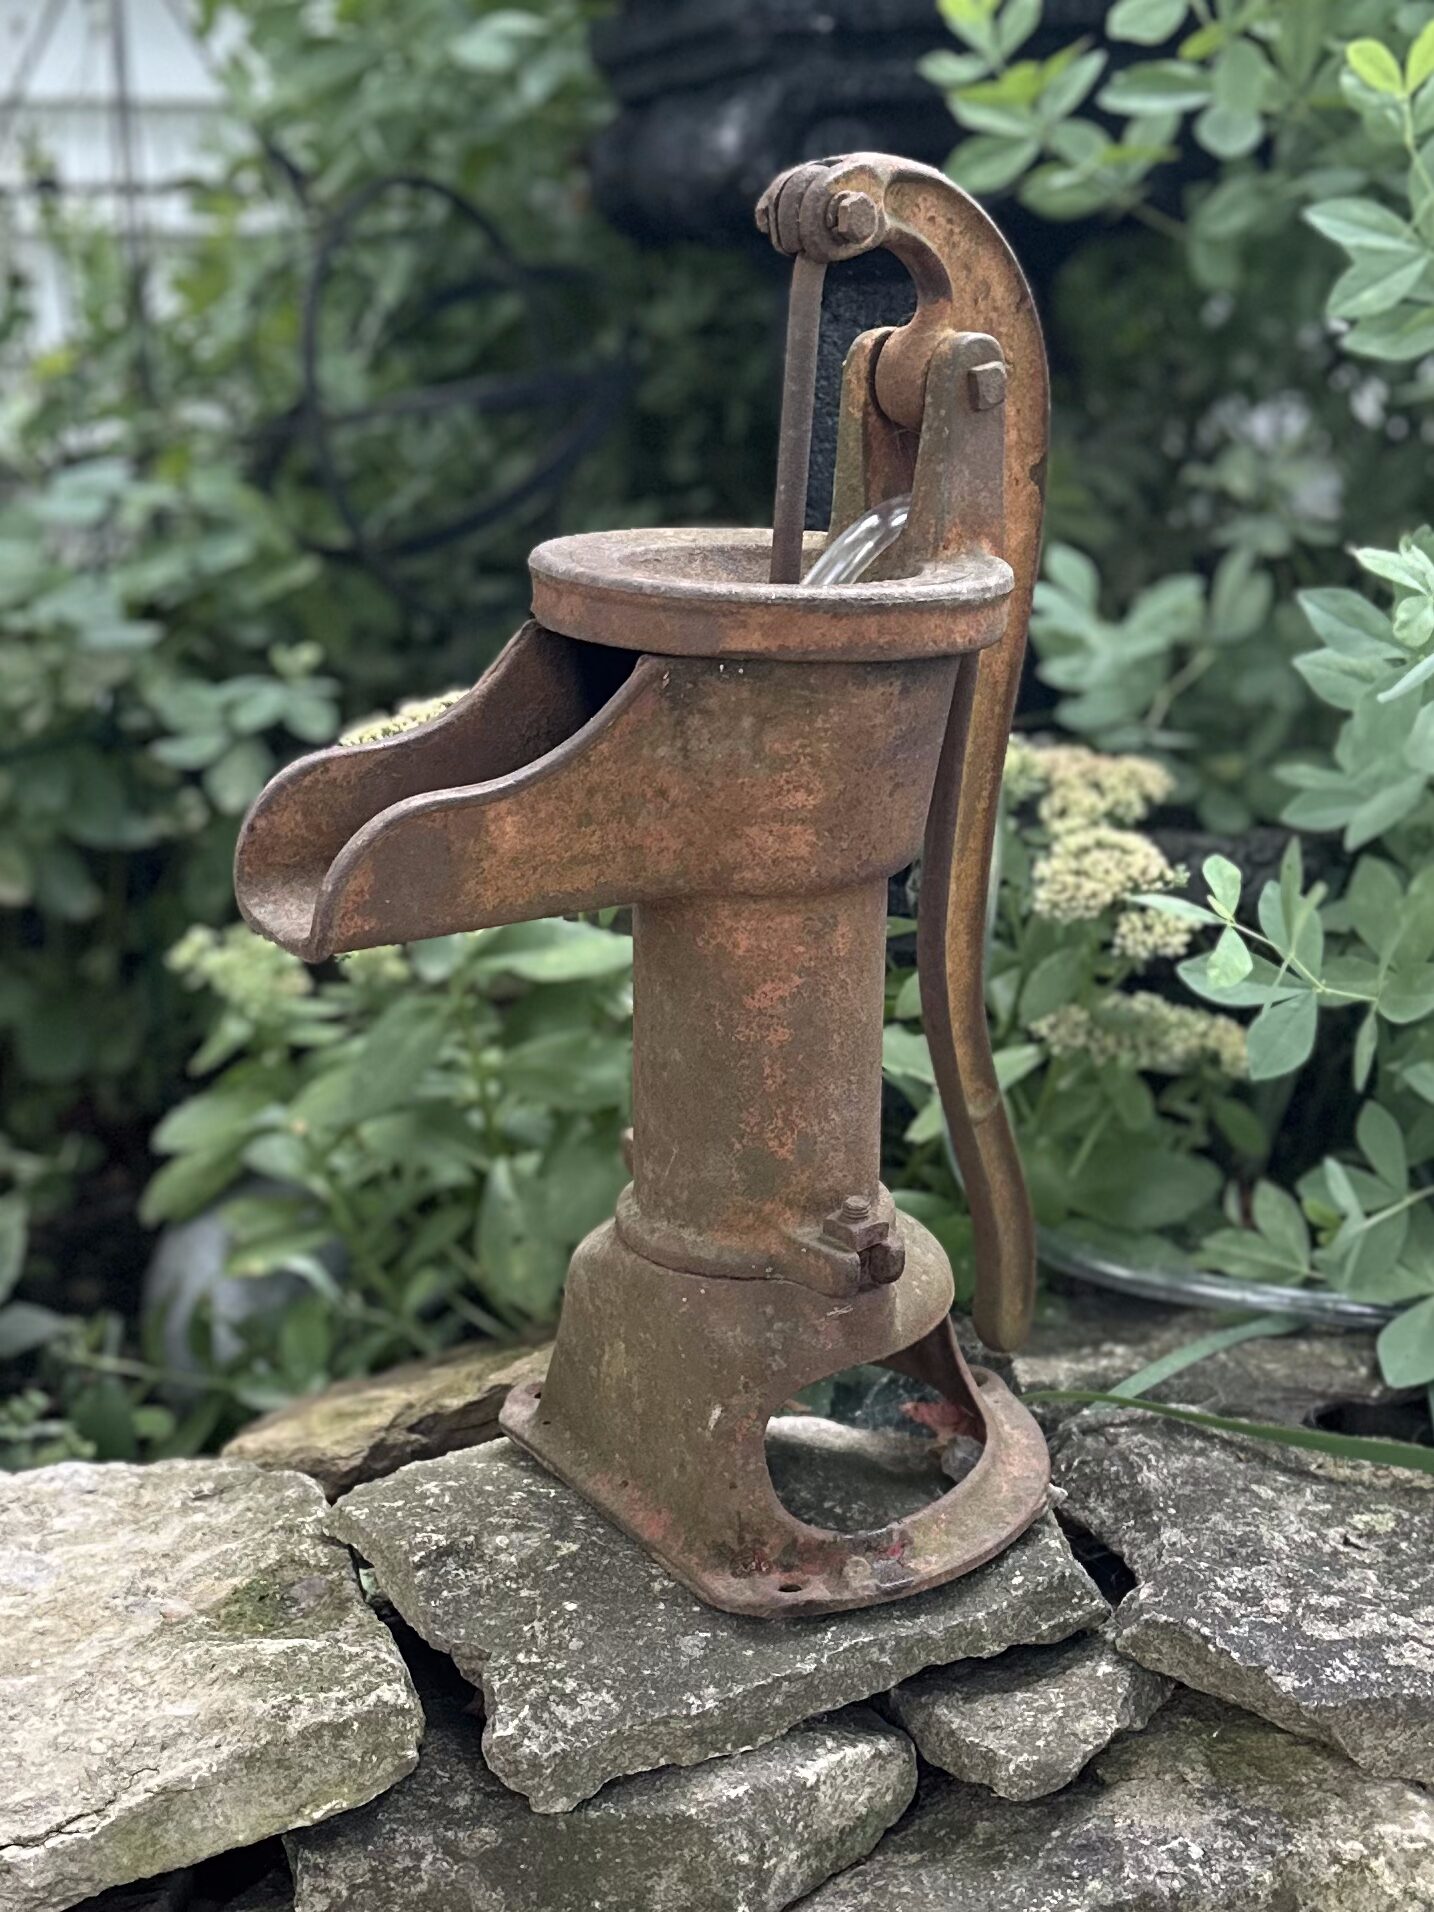
These old pumps are made in such a way that I couldn’t simply feed the tubing through the bottom and then inside without removing the inner workings of the pump. Looking online, it seemed like an easy enough job…simply take the pump apart, run the tubing through the inside and out the spout.
Was it Easy?
No.
Absolutely, positively no!
This old pump was so rusted, simply “taking it apart” was not going to happen without a struggle. Bolts were sprayed with lubricating oil and scrubbed with wire brushes. Coated in oil and scrubbed yet again (and again, and again.) This “fun” project was becoming less fun by the minute.
Now, some folks have been successful snaking the tubing through the bottom and around the plunger, but for me, that was not happening. Perhaps a job for another day, but for now, I just ran the tubing through the handle support and into the spout.
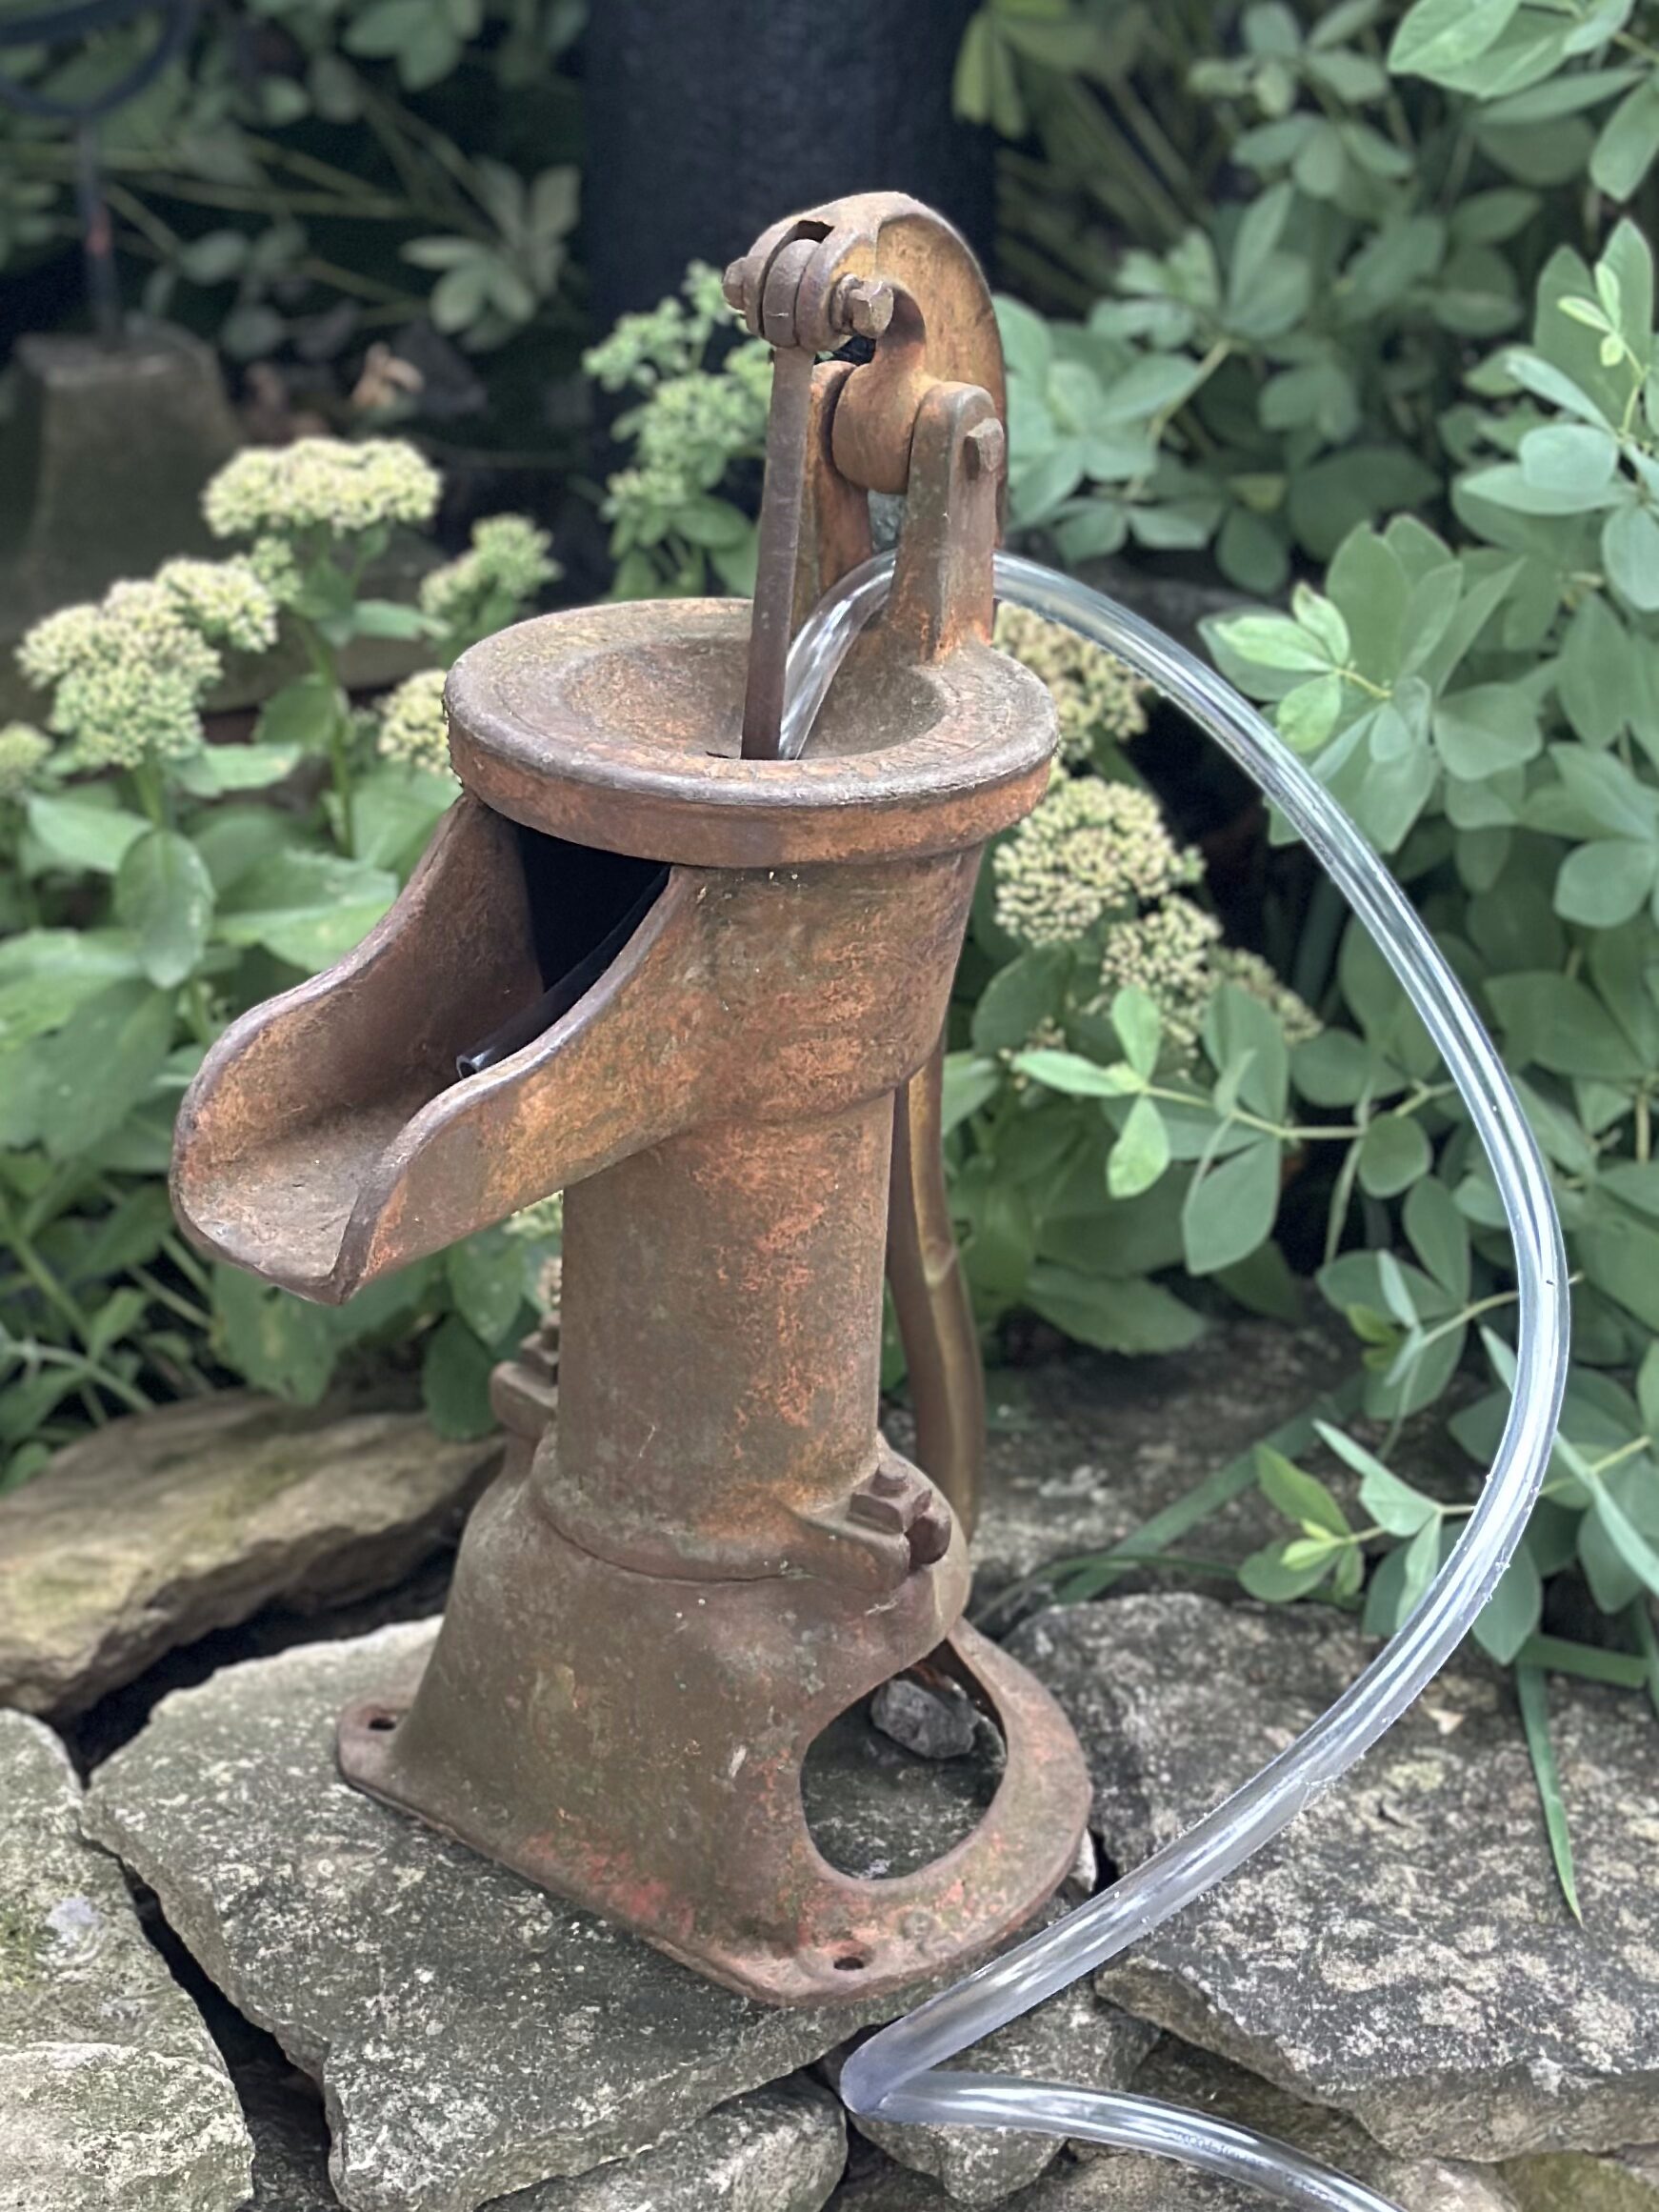
After that, it was time to rummage through a drawer in search of rusty screws that were a good match to secure the pump to a section of wood.
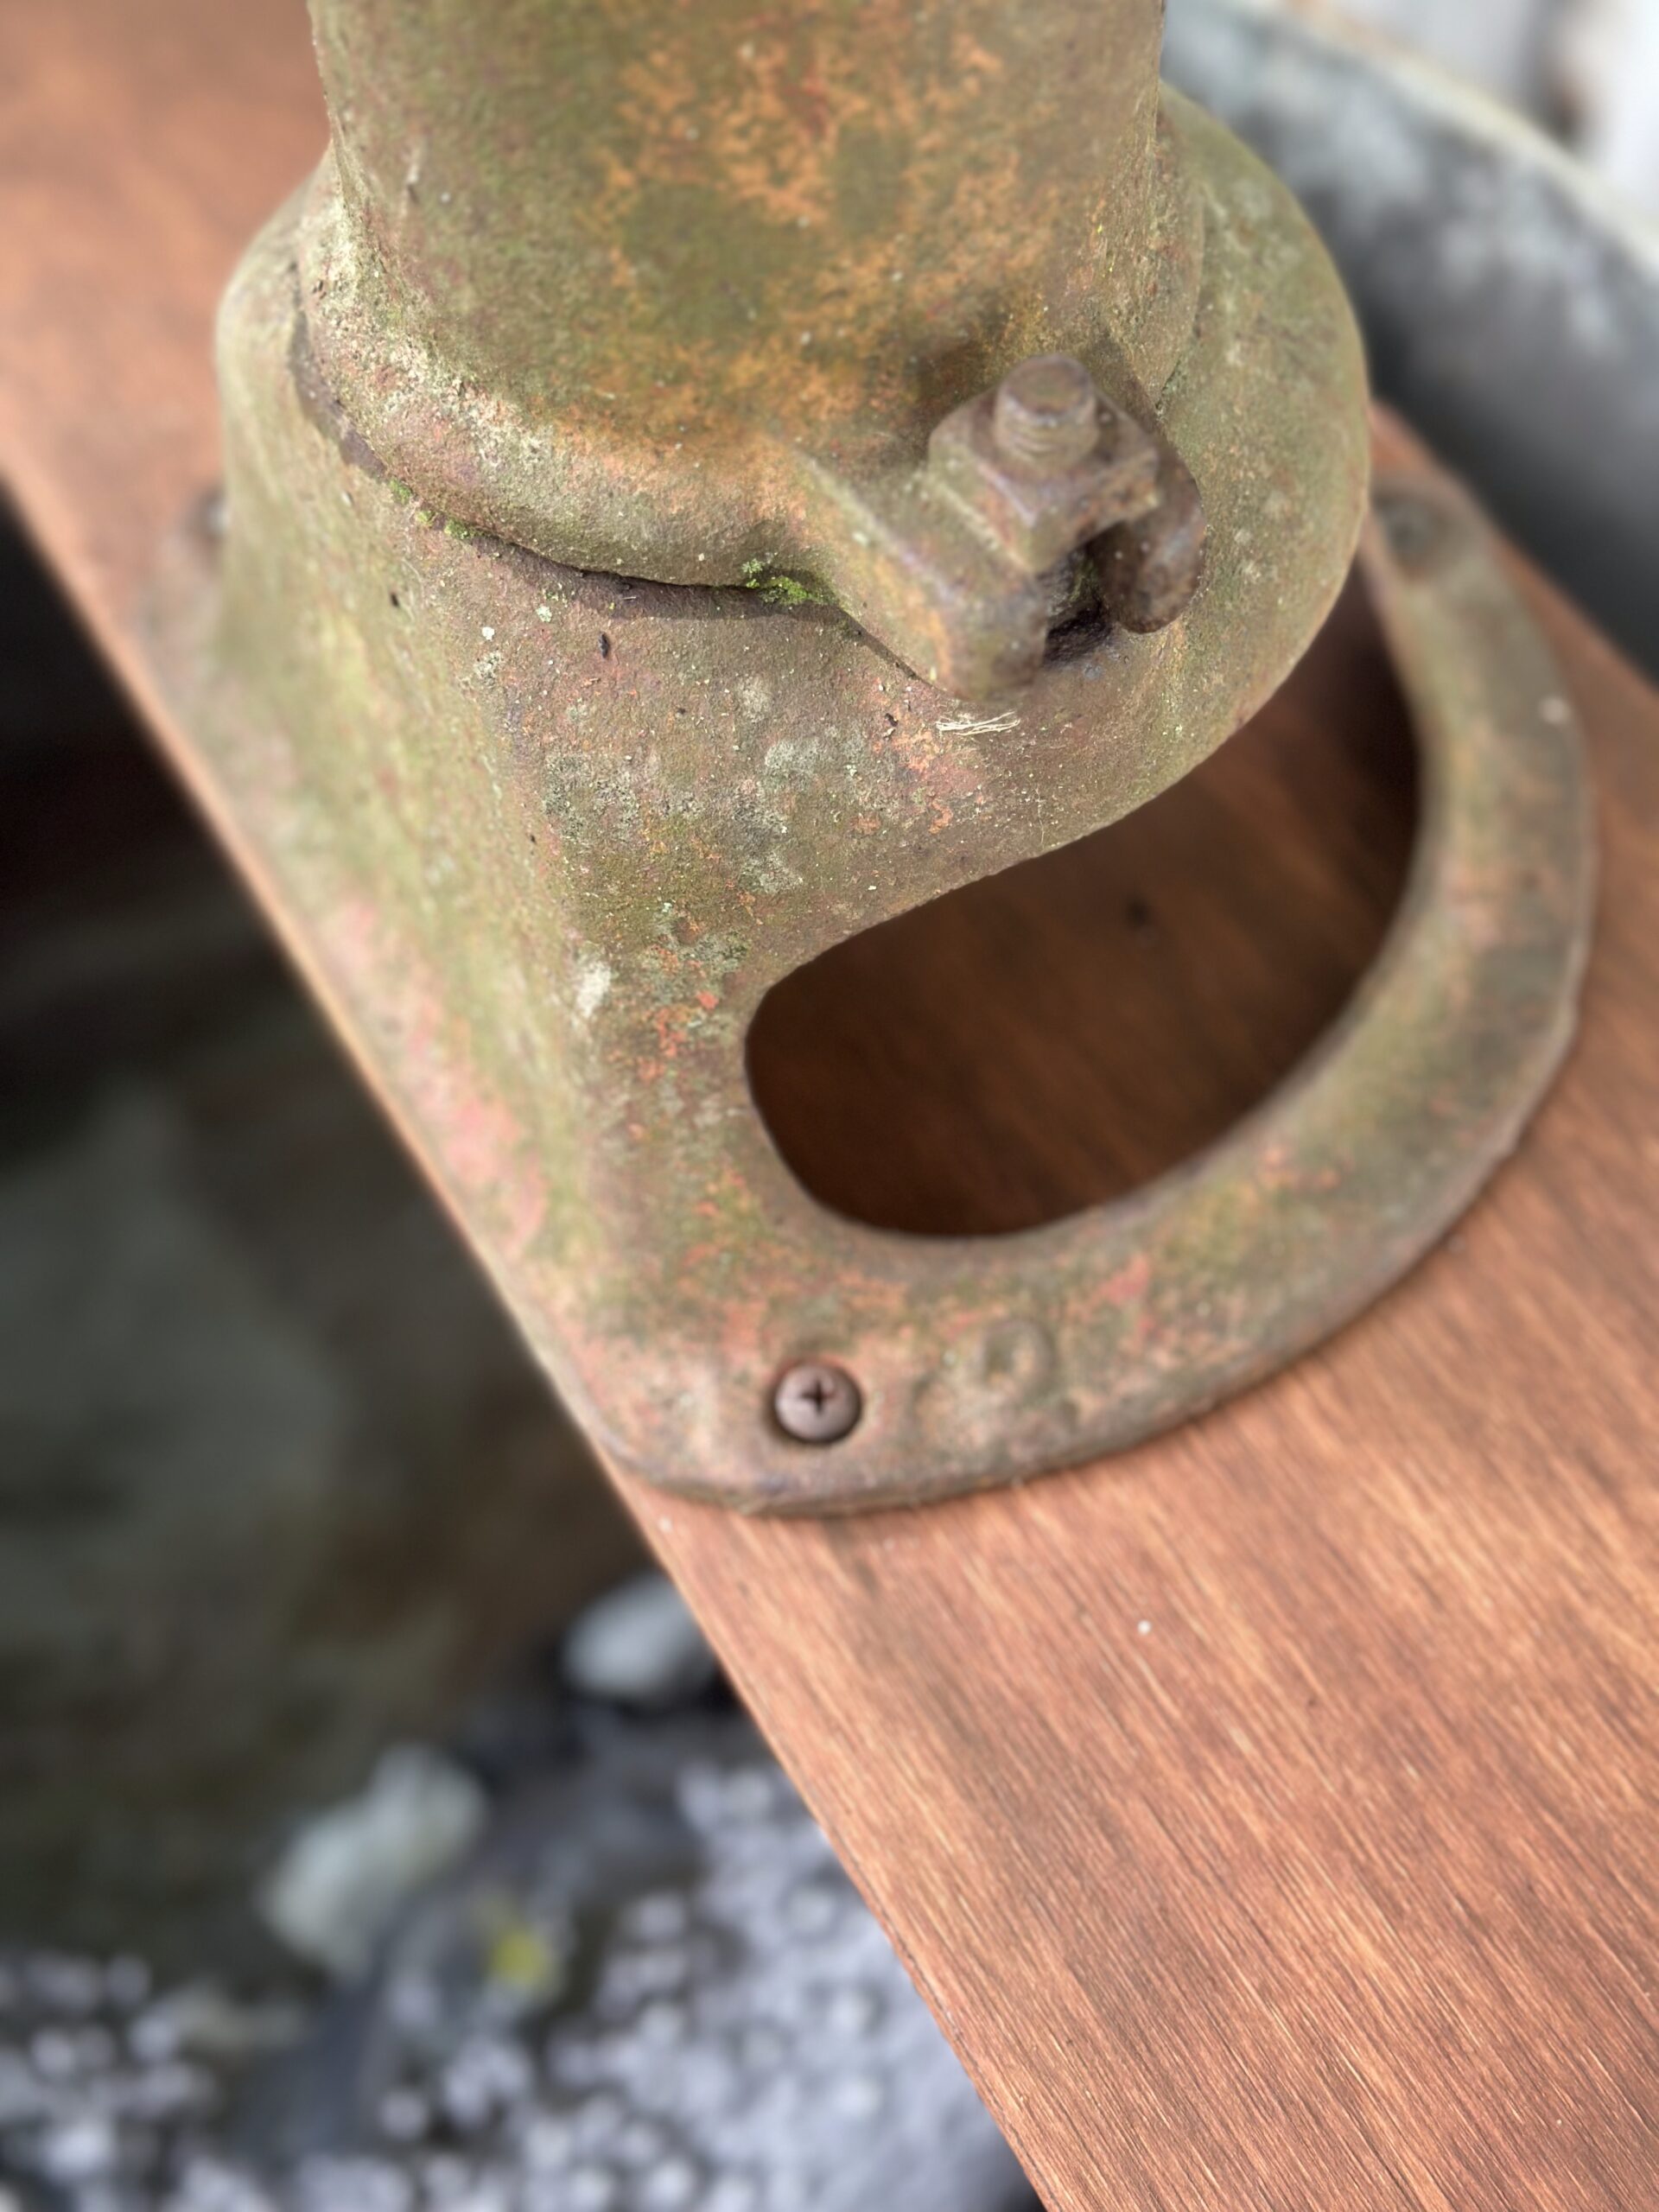
While I would have liked to used a galvanized tub, what I had on hand was an old copper kettle…no worries, it would be just fine. However; with its rounded bottom, I needed to add some shims underneath to keep it level.
I added the pump, surrounded it with rocks, attached the tubing, and filled the kettle with water. The pump cord was placed over the top and along the back of the kettle and plugged into an outdoor extension cord (I added a plastic safety cover over the cords.) Finally it was time to add the pump…fingers crossed!
The section of wood and the pump were set firmly on the kettle, along with some flowers to hide the tubing and cord.
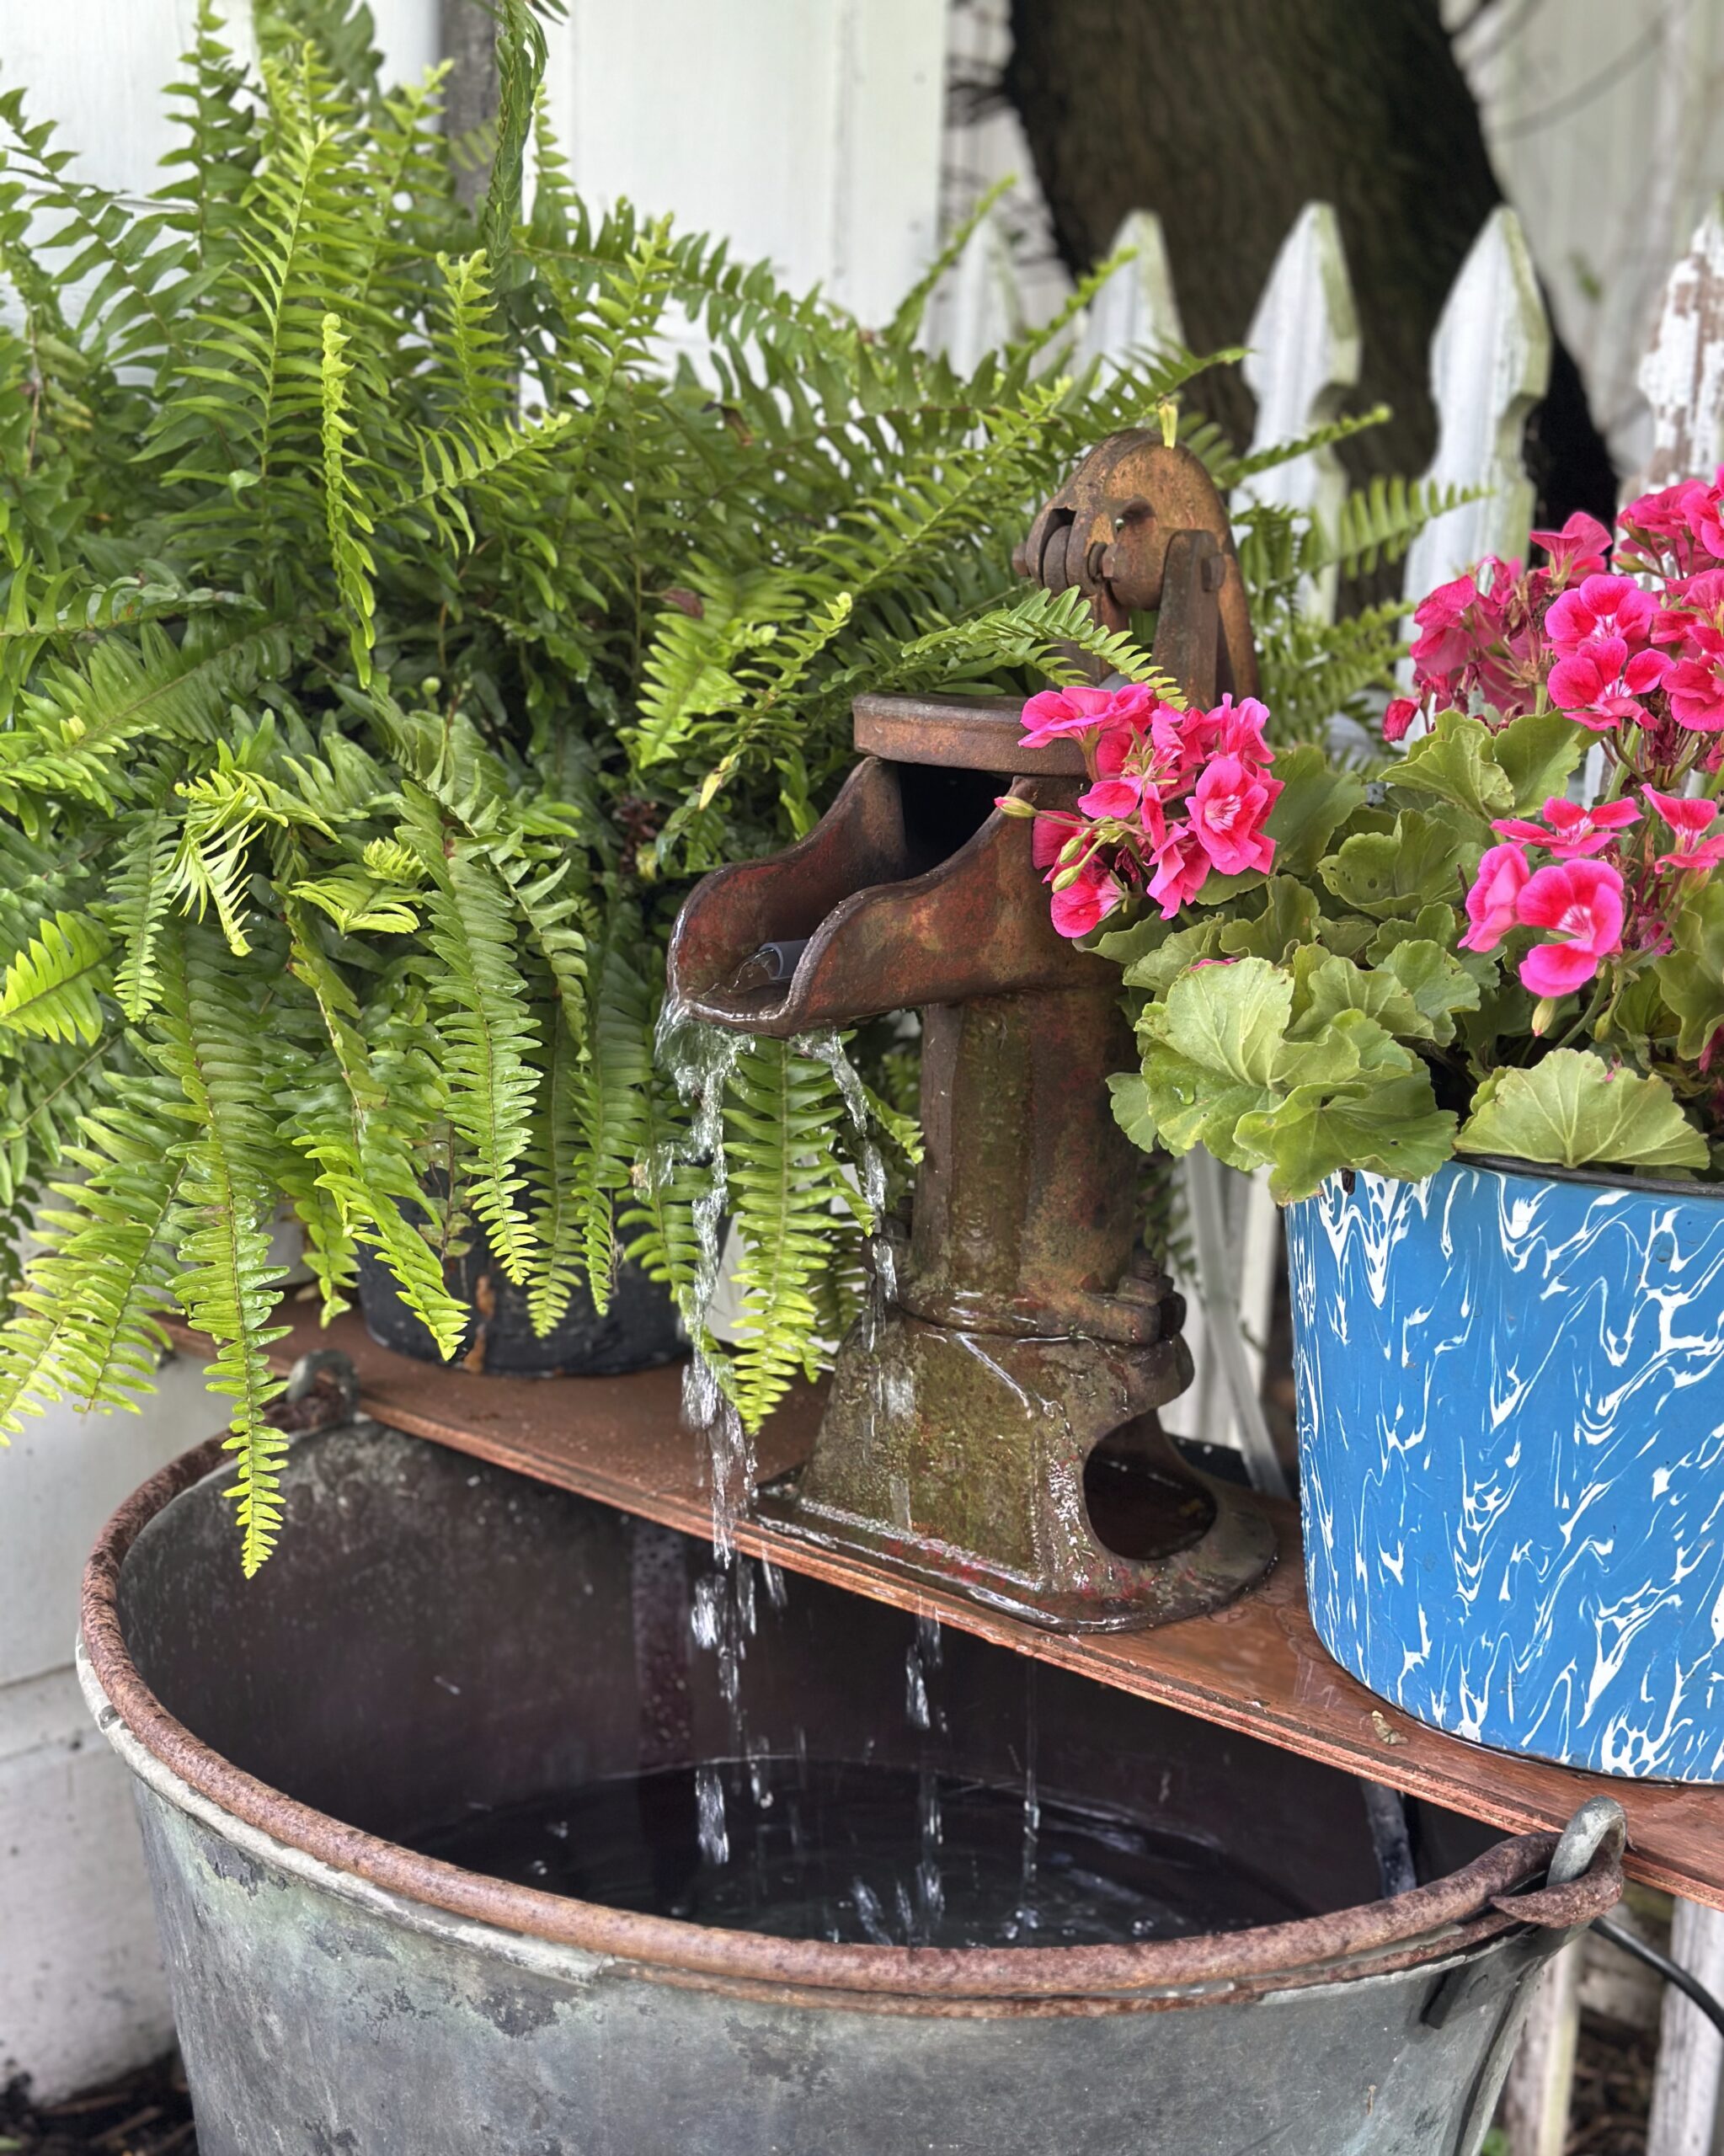
Happy dance!
I’ve always wanted a pump like this. No, it’s not “picture perfect,” but it’s one of those simple, country pleasures that make my heart happy.

Taking a break from the summertime to-do list turned out to be a delight, Tinkering with these fountains was the perfect cure for the these sweltering, muggy August days.
How are you spending your summer? Family get-togethers, splashing in cool water, rocking on the porch, puttering in the garden, or heading out for a road trip adventure…whatever makes our hearts happy!
See you soon friends, with more “tails” from the farm…










Weekly Blogs and Recipes