.
Hello Farmgirl Friends!
It has been so hot here in Tennessee that when I had the opportunity to participate in a fun “mud” run with my daughter and her girls and some of their friends, no way was I going to pass it up! I’ve done a couple of these Mud Girl runs in the past and they are always fun!
.
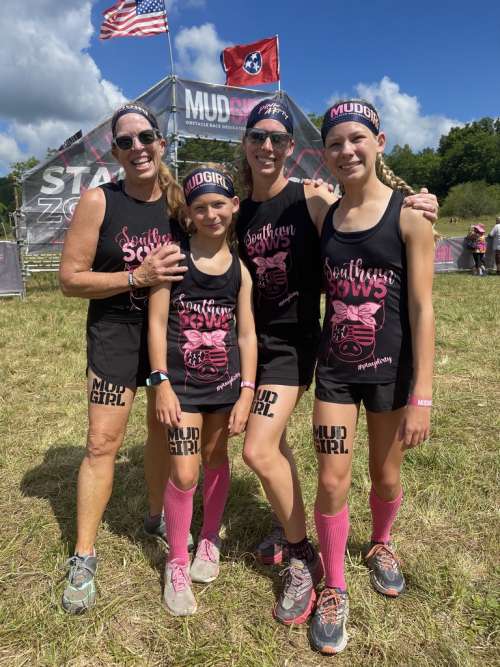
My daughter and I and her precious girls – before mud!
.
Have you ever participated in a mud run of any sort? The Mud Girl Run is 3 miles with a total of 22 obstacles. It’s not a race or a competition; everyone gets a finisher medal. It’s all about coming together as women and helping each other through the obstacles and up and out of the mud! It’s all outdoors of course and just such fun to be with other females of all ages and fitness abilities. As one of the gals in our group said, “It’s a hot day, but it’s so beautiful and I’m just so happy to be alive and enjoying being together”. Honestly that has stuck with me so much because I think that is what it’s all about. Being together.
.
 ..
..
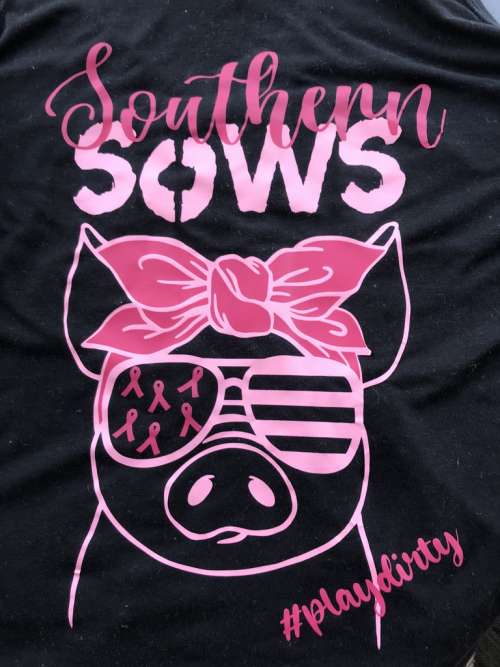
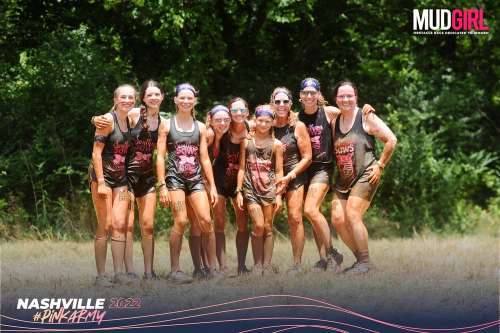
The five girls in our group came up with the name of Southern Sows for our team! And one of the mom’s designed our shirts. Aren’t they so much fun? I think they came out absolutely adorable! (Obviously very fitting since we were definitely piggies in our happy mud place!)
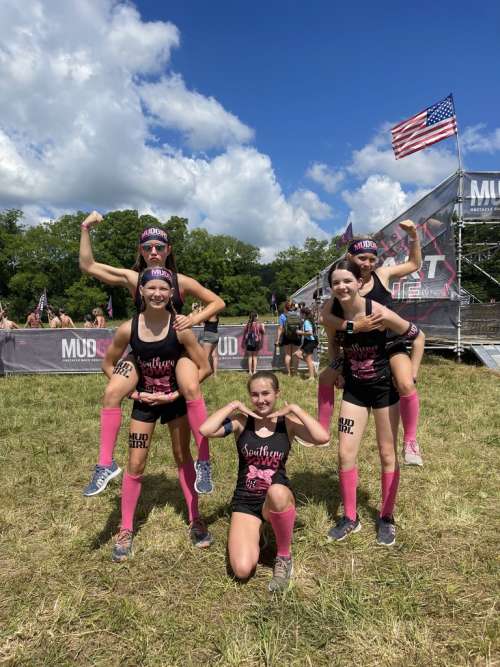
.Here are the pictures we took before the mud!
.
.
These five girls were so much fun! They ranged in age from 10 – 15 and incredibly good sports and cheerful and laughing the whole time!
.

.
And the three moms plus me. They were super sweet to invite me along! (Take note of those adorable hot pink socks!)
.

.
And now, here are some mud pictures!
.
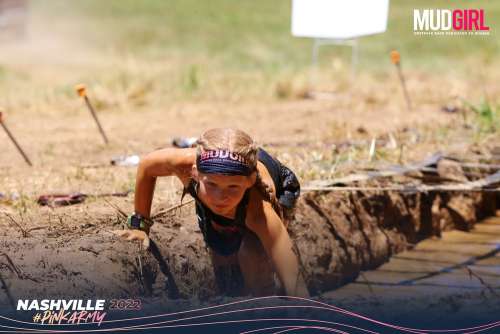
My grand-girl Rosetta! She absolutely had the best time in the mud!
.

.
It was a lot harder getting to the top of this mud hill than you would think! We were slipping, sliding and falling back into the mud pit trying to get to the top. Once there, it was a challenge to hang on until our whole team got to the top! (I know it looks like Rosetta was just lounging there in the front, but two of us were hanging on to her to keep her from sliding!) And then….
.

..
…sliding off a muddy hill into a total pig pen of mud! Why in the world is that so much fun? HaHa!!
..
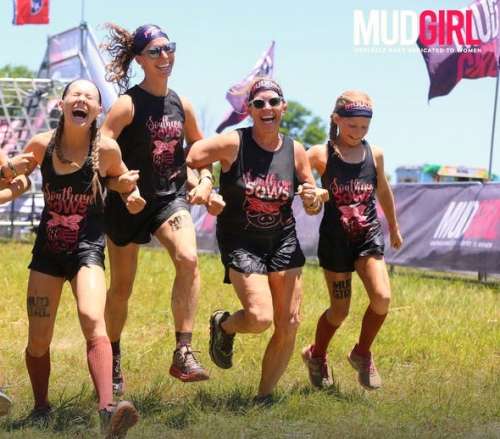
Southern Sows at their muddy happiest! (Notice those adorable hot pink socks now!)
.

Swimming/crawling in mud under a “ceiling” of webbing!
.

And then my daughter and I trying to climb out of it at the other end was a whole other obstacle in itself!
.

.
And all too soon the 3 miles were over and the finish line was in sight. We joined arms and ran through the finish…
.
.
…laughing to the very end!
.

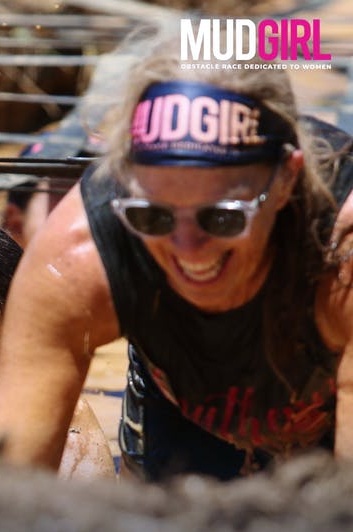
So very muddy and worn out… but happy!
.

I couldn’t help but zoom in on my hair – dried mud at it’s best!!! HaHaHa!!!
.
If you EVER get the opportunity to participate in a Mud Girl Run say YES!!!
Until our gravel roads cross again… so long.
Dori
.


Kind is a nice adjective to strive for. Fair, honest, caring and loving would also be a nice way to be remembered.
So sorry for your loss! God be with you.
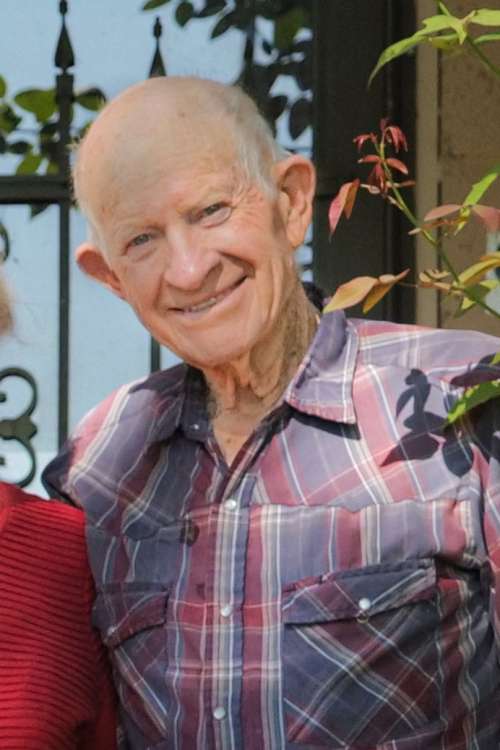
I’m so sorry to hear you lost your dad. It sounds like he was a wonderful man, and had a wonderful life. What a great testament to hear that everyone he knew described him as kind!
Wonderful post, as always. My sympathies for the loss of your dad.
So sorry for your loss!
My dad stepped into heaven a year ago August 1. At his memorial service the thing that people mentioned to us the most was my dad’s servant heart. He was always trying to help & always volunteering for anything he could. That is what I want to be remembered for is always being willing to help others. I think that is the best way to honor my dad by following in his footsteps of service.
Dori, I’m so sorry about your Dad. I miss my Mom and Dad so very much. I’ve found something that helps with the grief and loss…..
On clear starry nights, I look at the stars and find the two that (for me) are Mom and Dad….I talk to them and I feel that they hear me. Sometimes there are tears but there is always a warm feeling in my heart when I say goodnight and head inside.
I hope that you can find something like that to help, too. I am in the Blueridge mountains of West Virginia where the night skies are clear. Your beautiful ranch will have a sky like that with stars you could almost reach out and touch.
My prayer is that I leave “peace” in the hearts of my loved ones.
The familiar “God’s Peace” greeting in our lives has always felt so special. Whether times were good, hard, painful, or challenging . . . the simple hello (or goodbye) of “God’s Peace” seems to make everything right.
I hope that my friends and family, my children, especially, will remember me with a feeling of peace in their hearts
You got me to thinking about my own left behind sentiments
For you- you are a wonderful blogger that makes an impact in-mine and others lives
God bless you
I’m so sorry Dori, much love for you and your momma. Kindness, patience, honesty, trying to uplift others. Not just one quality, but kindness has always been the most important to me.
I am so sorry for your loss Dori. What a wonderful way to be remembered, for being Kind. You Dad sounds like a great man.
Hugs,
Debbie
the passing of your dear father. He sounds like an incredible man. How blessed are you to have him as your dad.
Your question of what do I want to leave behind really has me thinking and rethinking how I move through this life. Kindness is the ultimate goal but for me, I need to work on patience and grace first.
Thank you for this thought provoking post. Praying for God’s comfort, peace, and healing in your time of grief.
Dear Dori, I pray God’s comfort for you and your family and friends on the passing of your dad. I’m also the daughter of a dad (who passed in 2001) who was known for his kindness, generosity, honesty, and love of people. We’re so blessed. And, better yet, we know we’ll see our dads again. God’s peace, love.
I have had the amazing experience of meeting 3 people in my life who truly exuded kindness, and every time it rocked me and made such an impression on my soul. Kindness flowing in all its glory is truly an amazing and impacting thing of beauty. I think it shines so brightly to us because this world is so in need of this gift. Yes, I want to be one of the kind ones.
Thanks for the reminder, and I pray peace for you and your family as you go through this season of loss.
Dori,
Like you, my dad was know for his patience and kindness. I have spent my life trying to be known for the patience and kindness he taught me.
May God be with you on this new journey and may He bring you peace as you follow his lead.
Sorry about your Dad. Hope you can take comfort in your treasured memories. May he rest in peace. I want to be remembered as a kind and gentle lady.
Marilyn
Dear Dori,
I’m so sorry for the loss of your father. You can be so proud to be his daughter, as it is evident he taught you his many virtues: kindness, thoughtfulness, generosity, sincerity and many more attributes you share with so many people through your blog!
My sincere condolences to you, your Ma and family. My thoughts and prayers are with you.
I’m here for you, if you ever need to talk.
Love,
Eileen B.
Dori, my heart goes out to you and your family on the loss of your Dad. Treasure the memories of your hero.
I never knew my real dad but my father-in-law was the father I never had and I told him so, many times; he always called me his daughter, too. He was the kindest man I ever knew.
The legacy I hope to leave behind is in the name of nature, in all the things my husband and I have done over the past 30 + years and are still doing, from creating a nature club on the Texas Gulf Coast to helping preserve an endangered species habitat to building our own little sanctuary in our yard, and providing shelter, food, water and habitat for the little creatures of Mother Nature.
My sincere sympathy to you and your family. So difficult to lost parents. They have always been there for you and know you better than anyone else in the world. Kindness is a wonderful attribute and obviously your dad touched many people in his life with being kind. that is a beautiful legacy. I miss my parents every day and am thankful God gave me a caring Mom and Dad to guide me in life.
What a beautiful tribute to your dear daddy…he LOOKS like he was very kind…it shows in his smile! What an amazing legacy he left behind…truly a wonderful reminder of the attributes we should strive for in this life. God’s blessings to you and your family!
Dori, I’m so sorry for your loss.
It’s very hard to lose a Dad . I lost mine so many years ago ( 42 years!) but I still think of him often. All the lessons he taught me and the ways he inspired me to live my best life . And I still cry when I visit the cemetery .
Just know that you were so blessed to have him and try to think positive thoughts whenever you feel sad.
He would want you to be happy
Janetsue