
.
.
Hello my Farmgirl friends! I’m excited to sit down and visit with you again! I don’t know if it’s just me… but these months fly by like the wind!
.
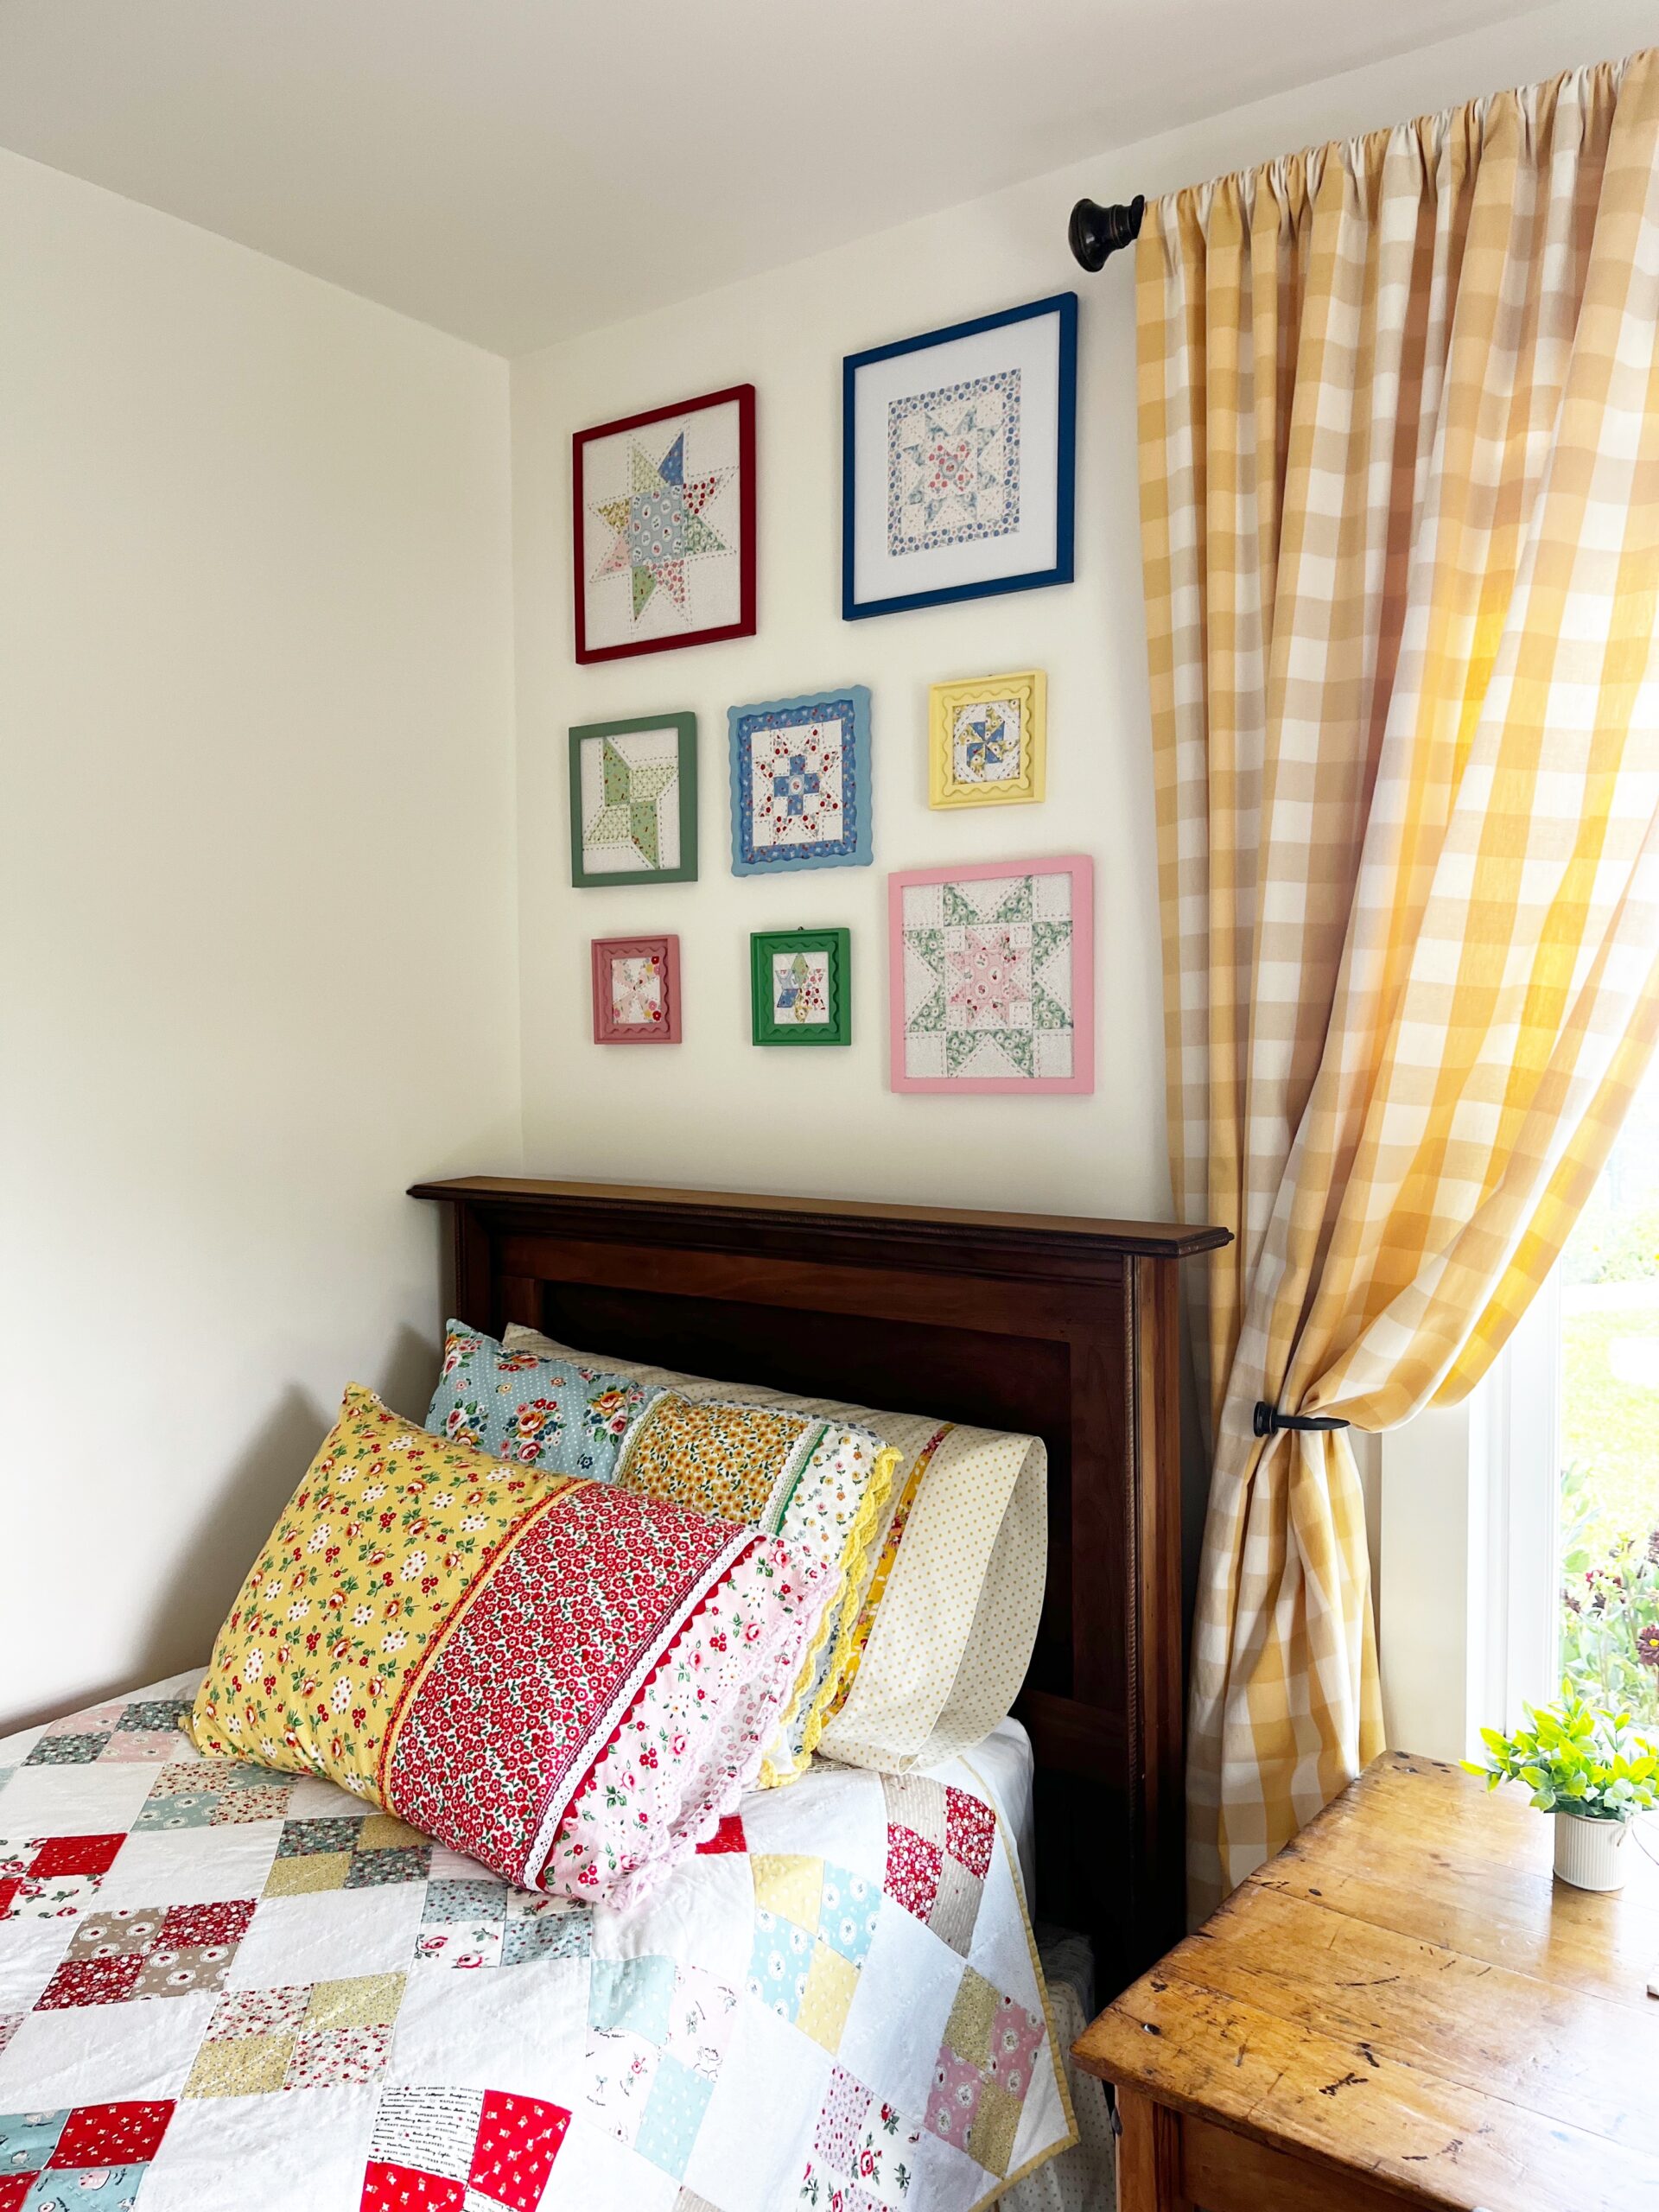
This past month I’ve been doing a few updates in our little farmhouse; mostly just paint touch-up and a few simple changes in decor items. But as I was deep cleaning, touch up painting, and rearranging a few things in my guest bedroom I was wishing for something different and unique to go on the wall above one of the guest beds… a space that was empty right now.
.
.
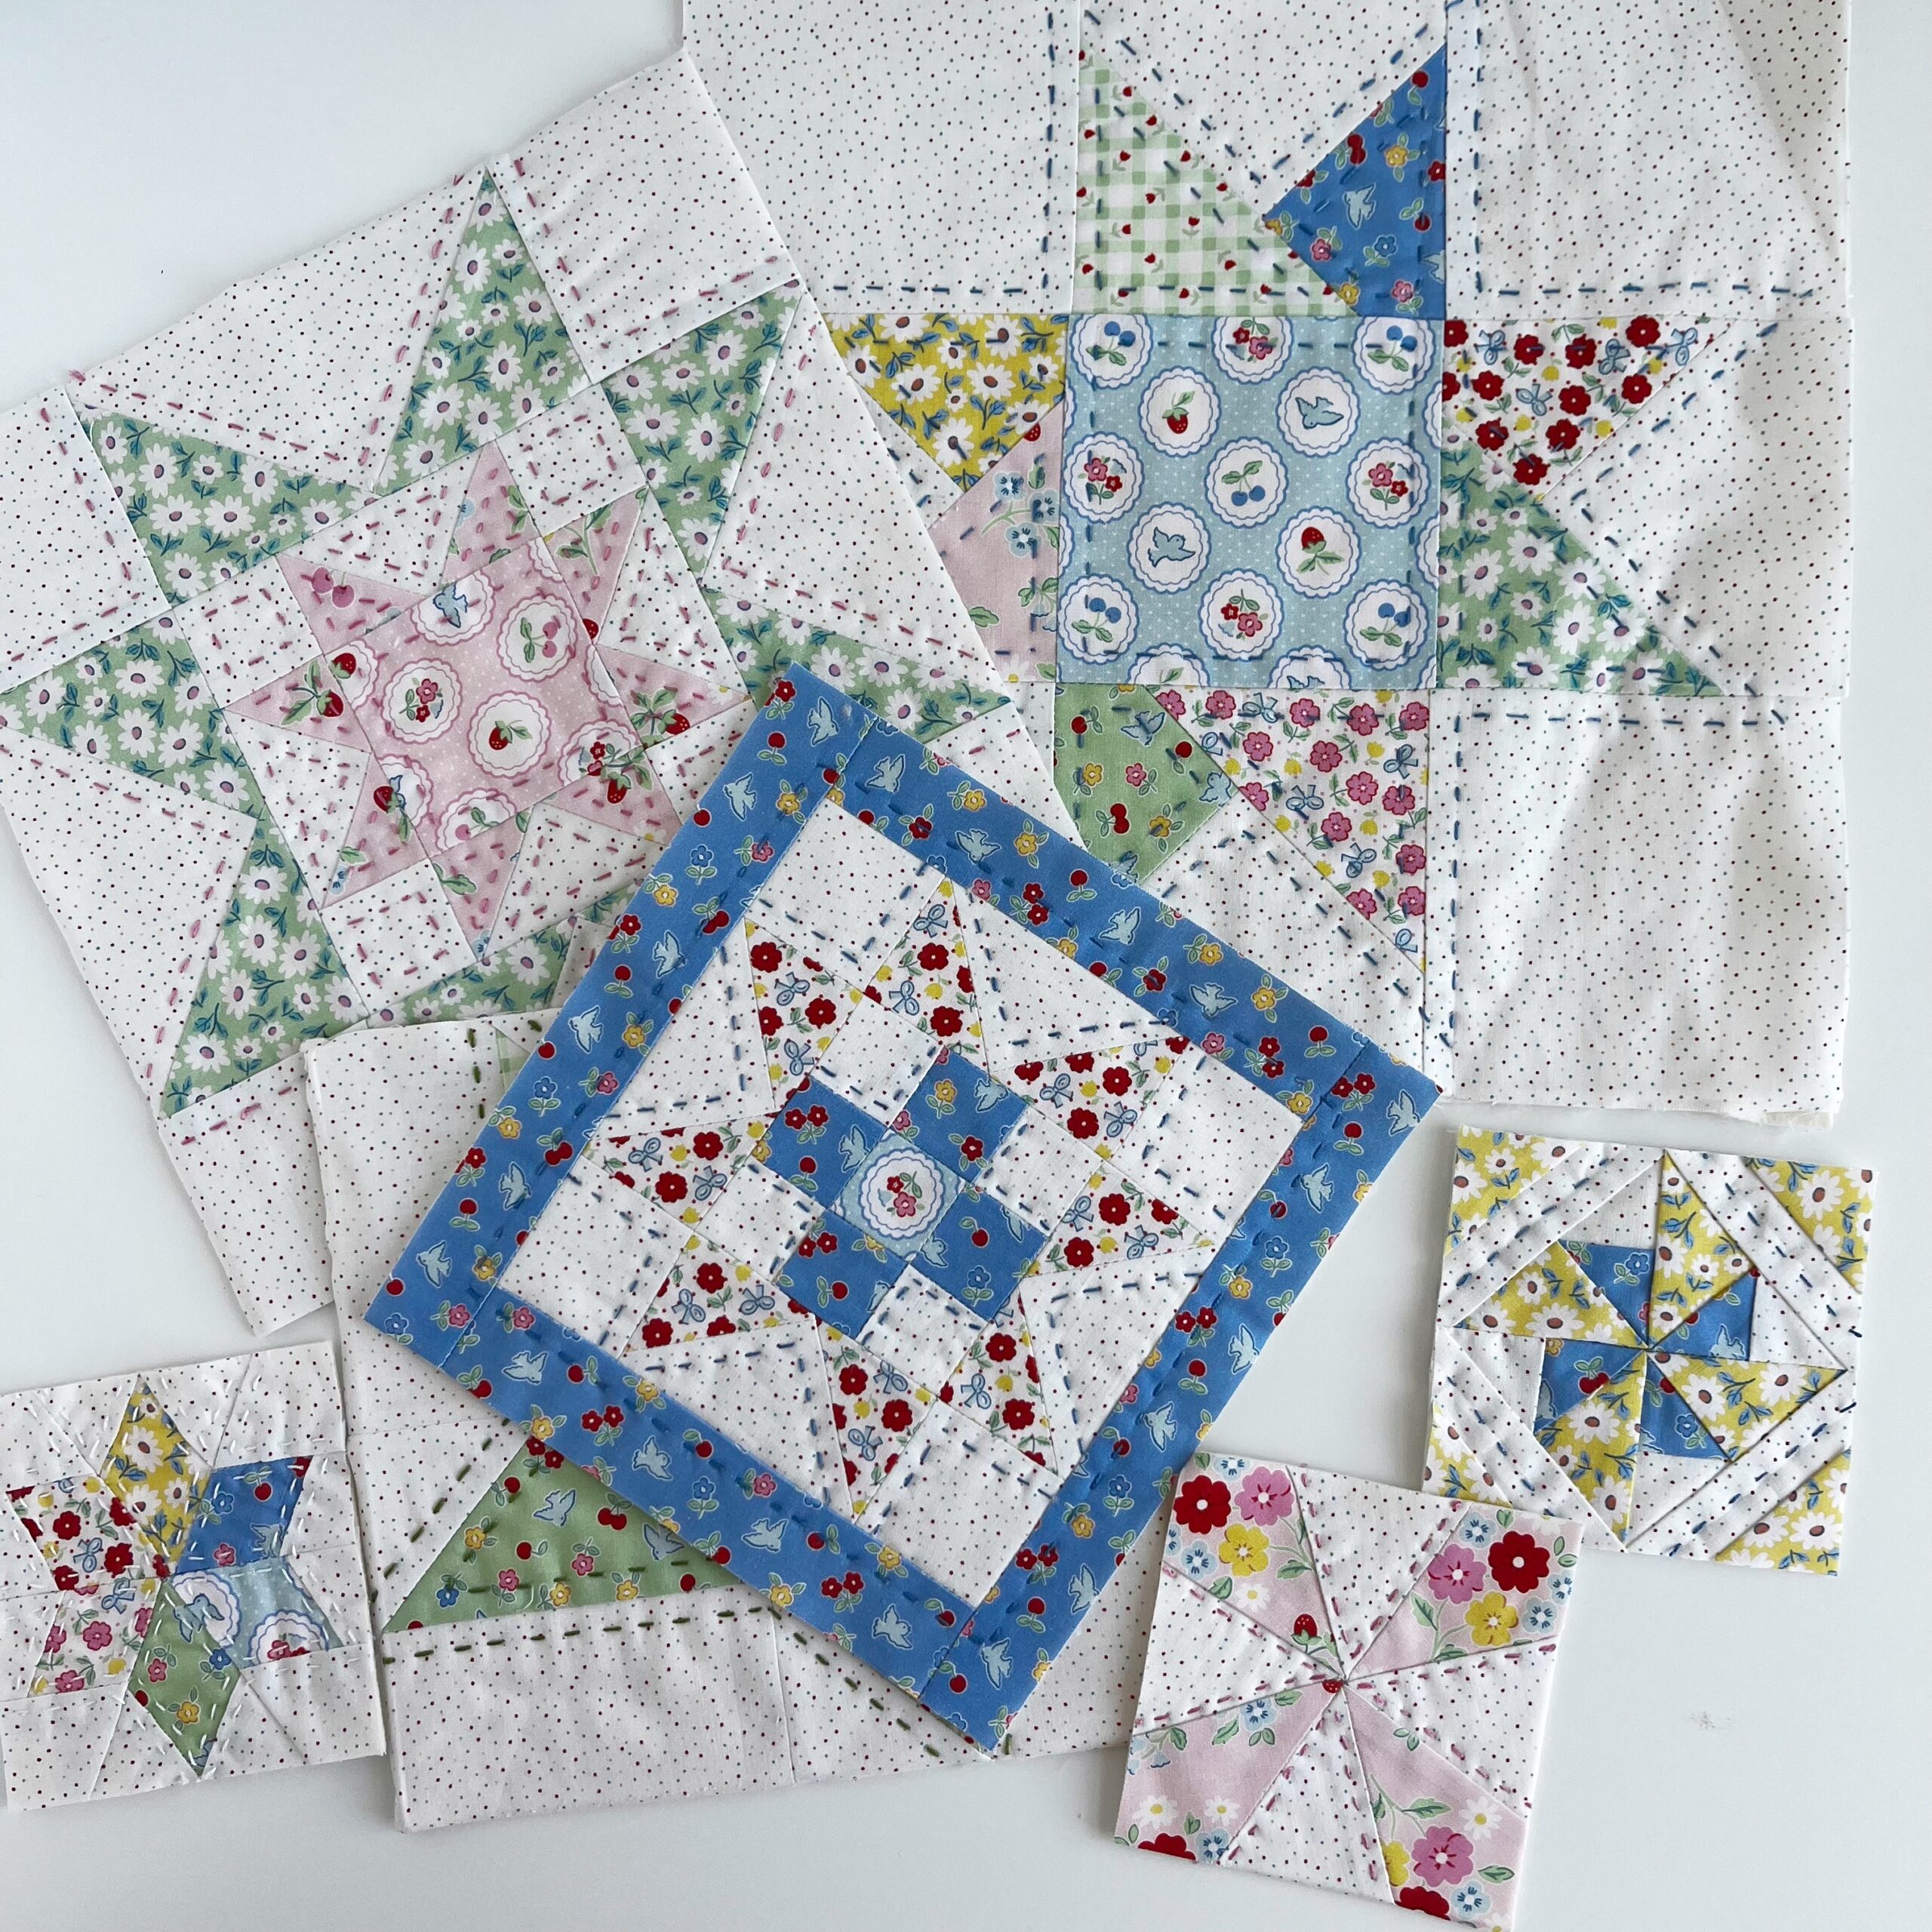
I was drawn to a gallery wall. You know the thing… “a thoughtful collection of framed artwork, photographs, textiles, etc….”, but it just wasn’t speaking to me. In the mean time I was working on a complete different project, absolutely nothing to do with the guest bedroom. And this project was simply sewing different size and style of vintage looking star quilt blocks. I had started the project to sew with a new line of fabric that I was in love with… not with any kind of an end result in mind. (Sometimes I do that… do you?)
.
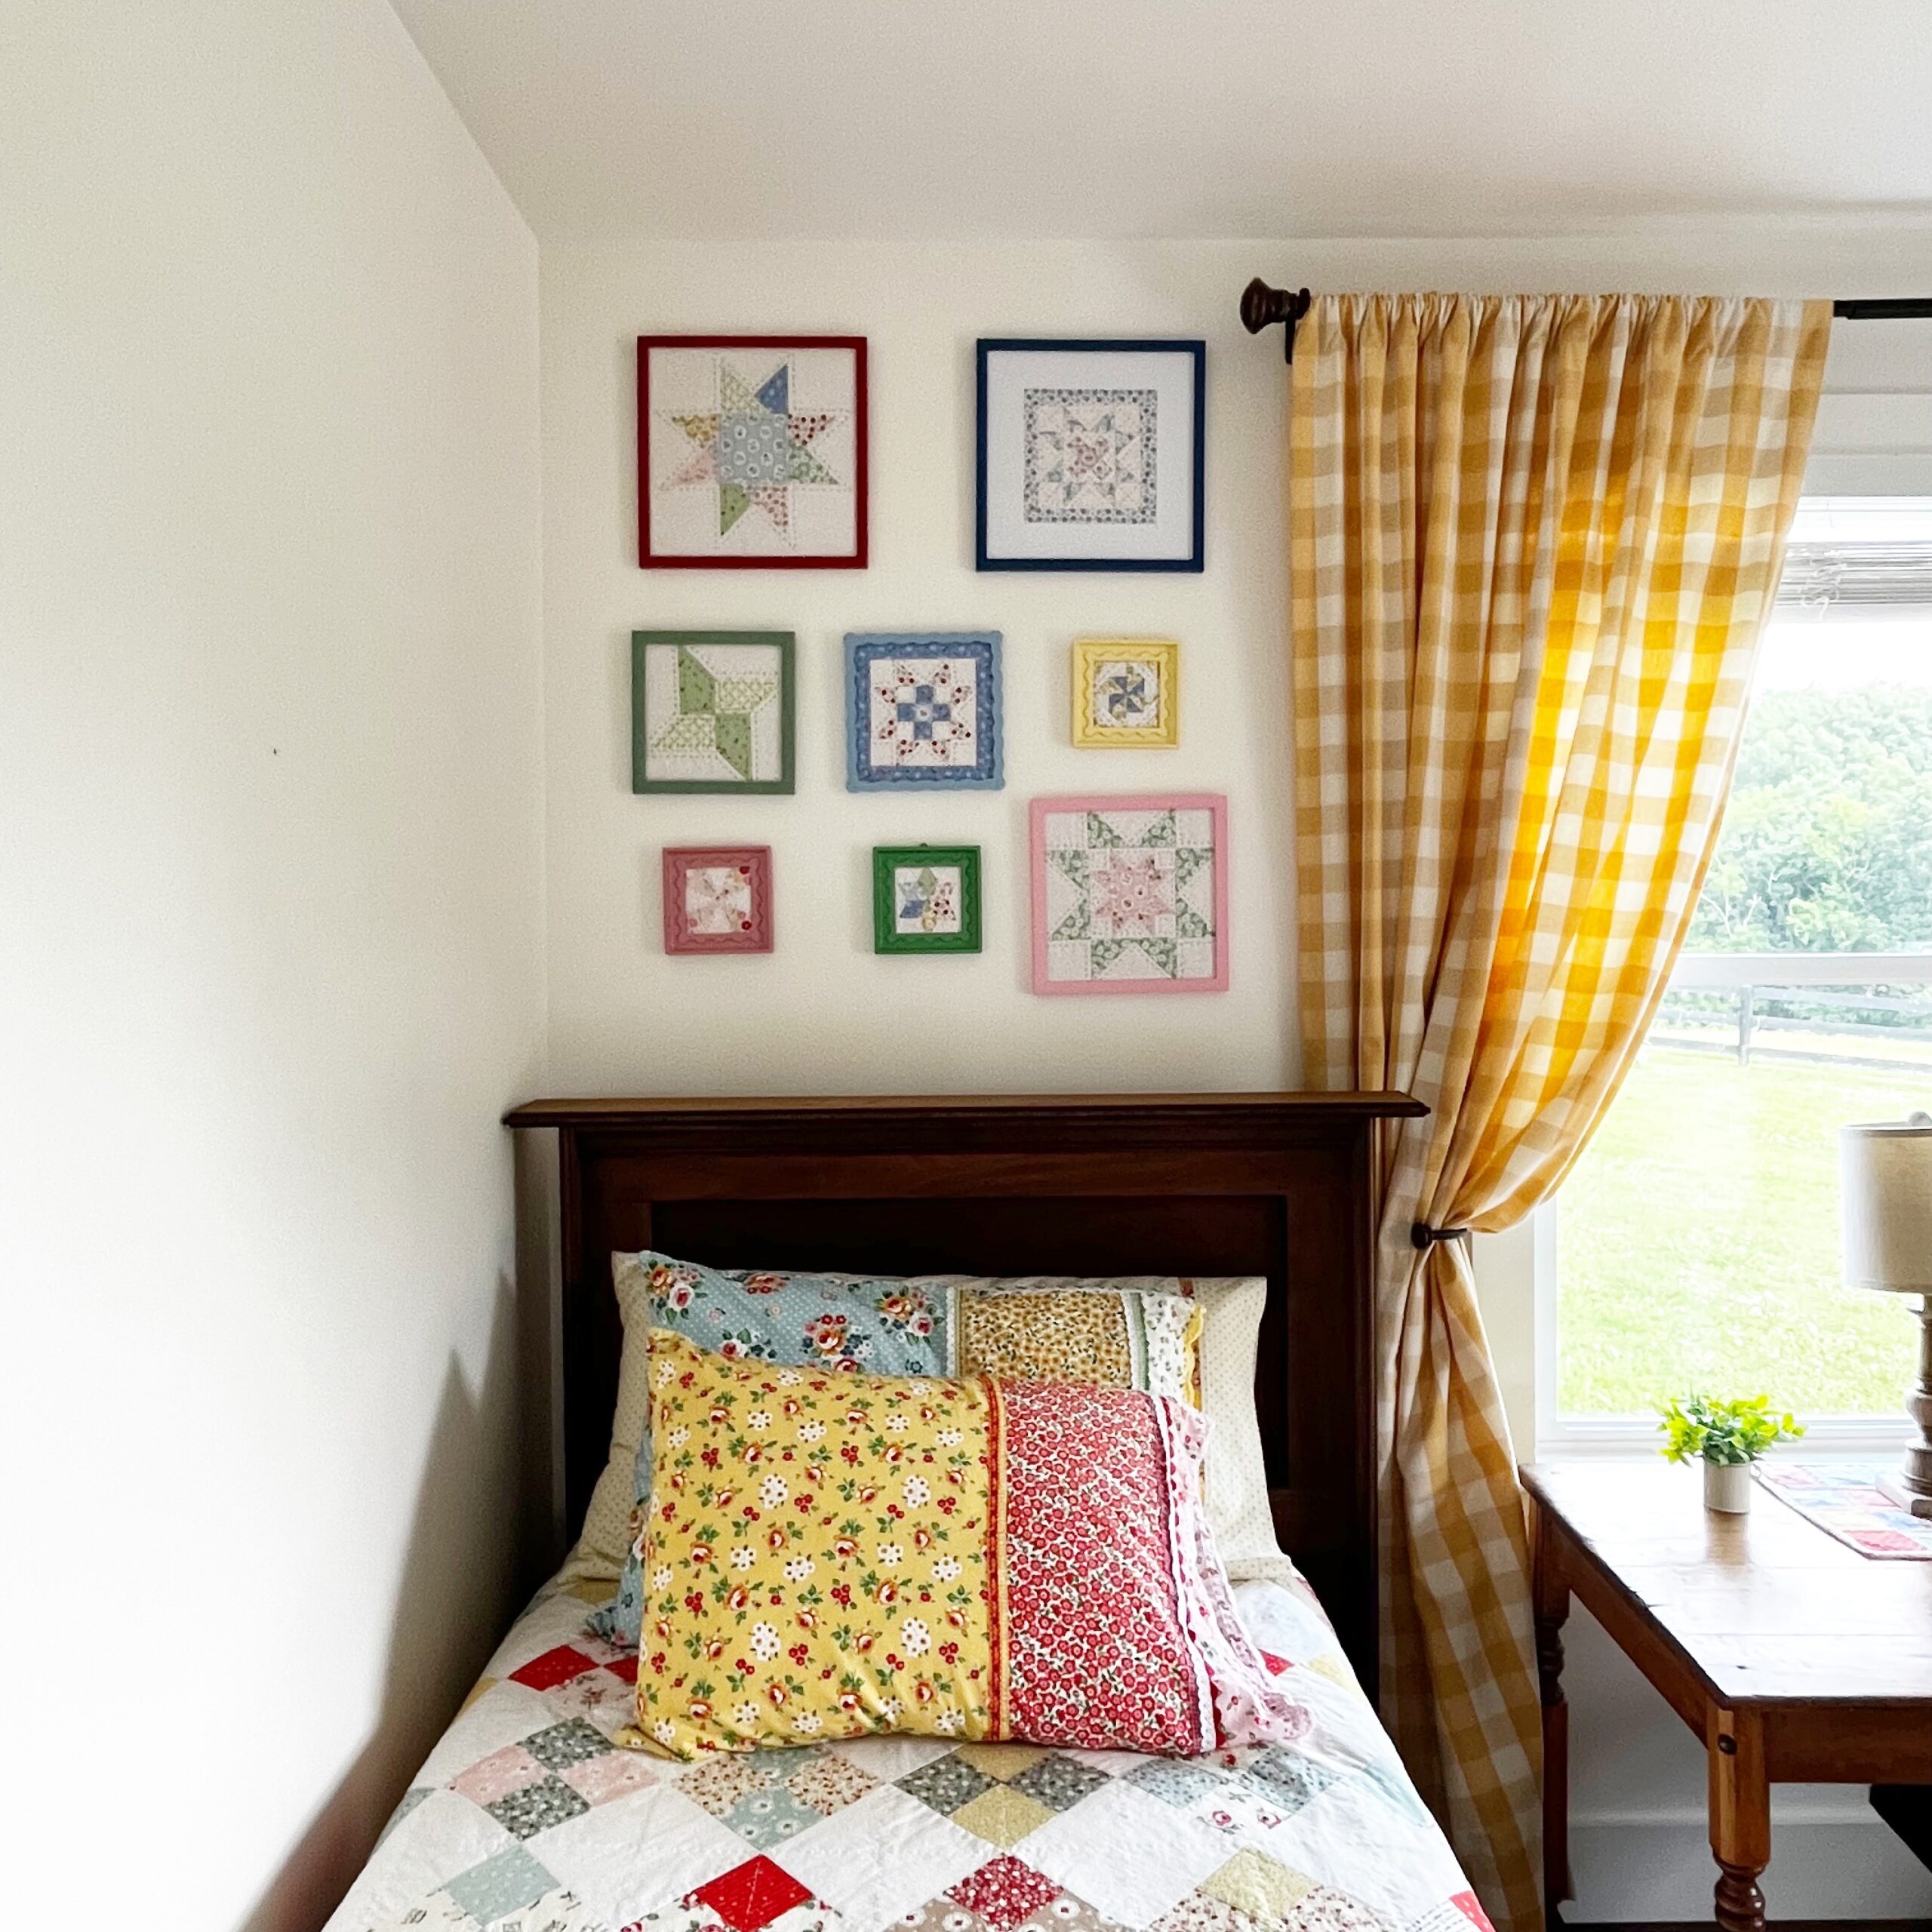
And just like that… BOOM! I had it! “I will turn these quilt blocks into a gallery wall”! So, I was off and running and I LOVE the end result! Today I’ll share a few pointers with you in case you’d like to do the same.
.
.
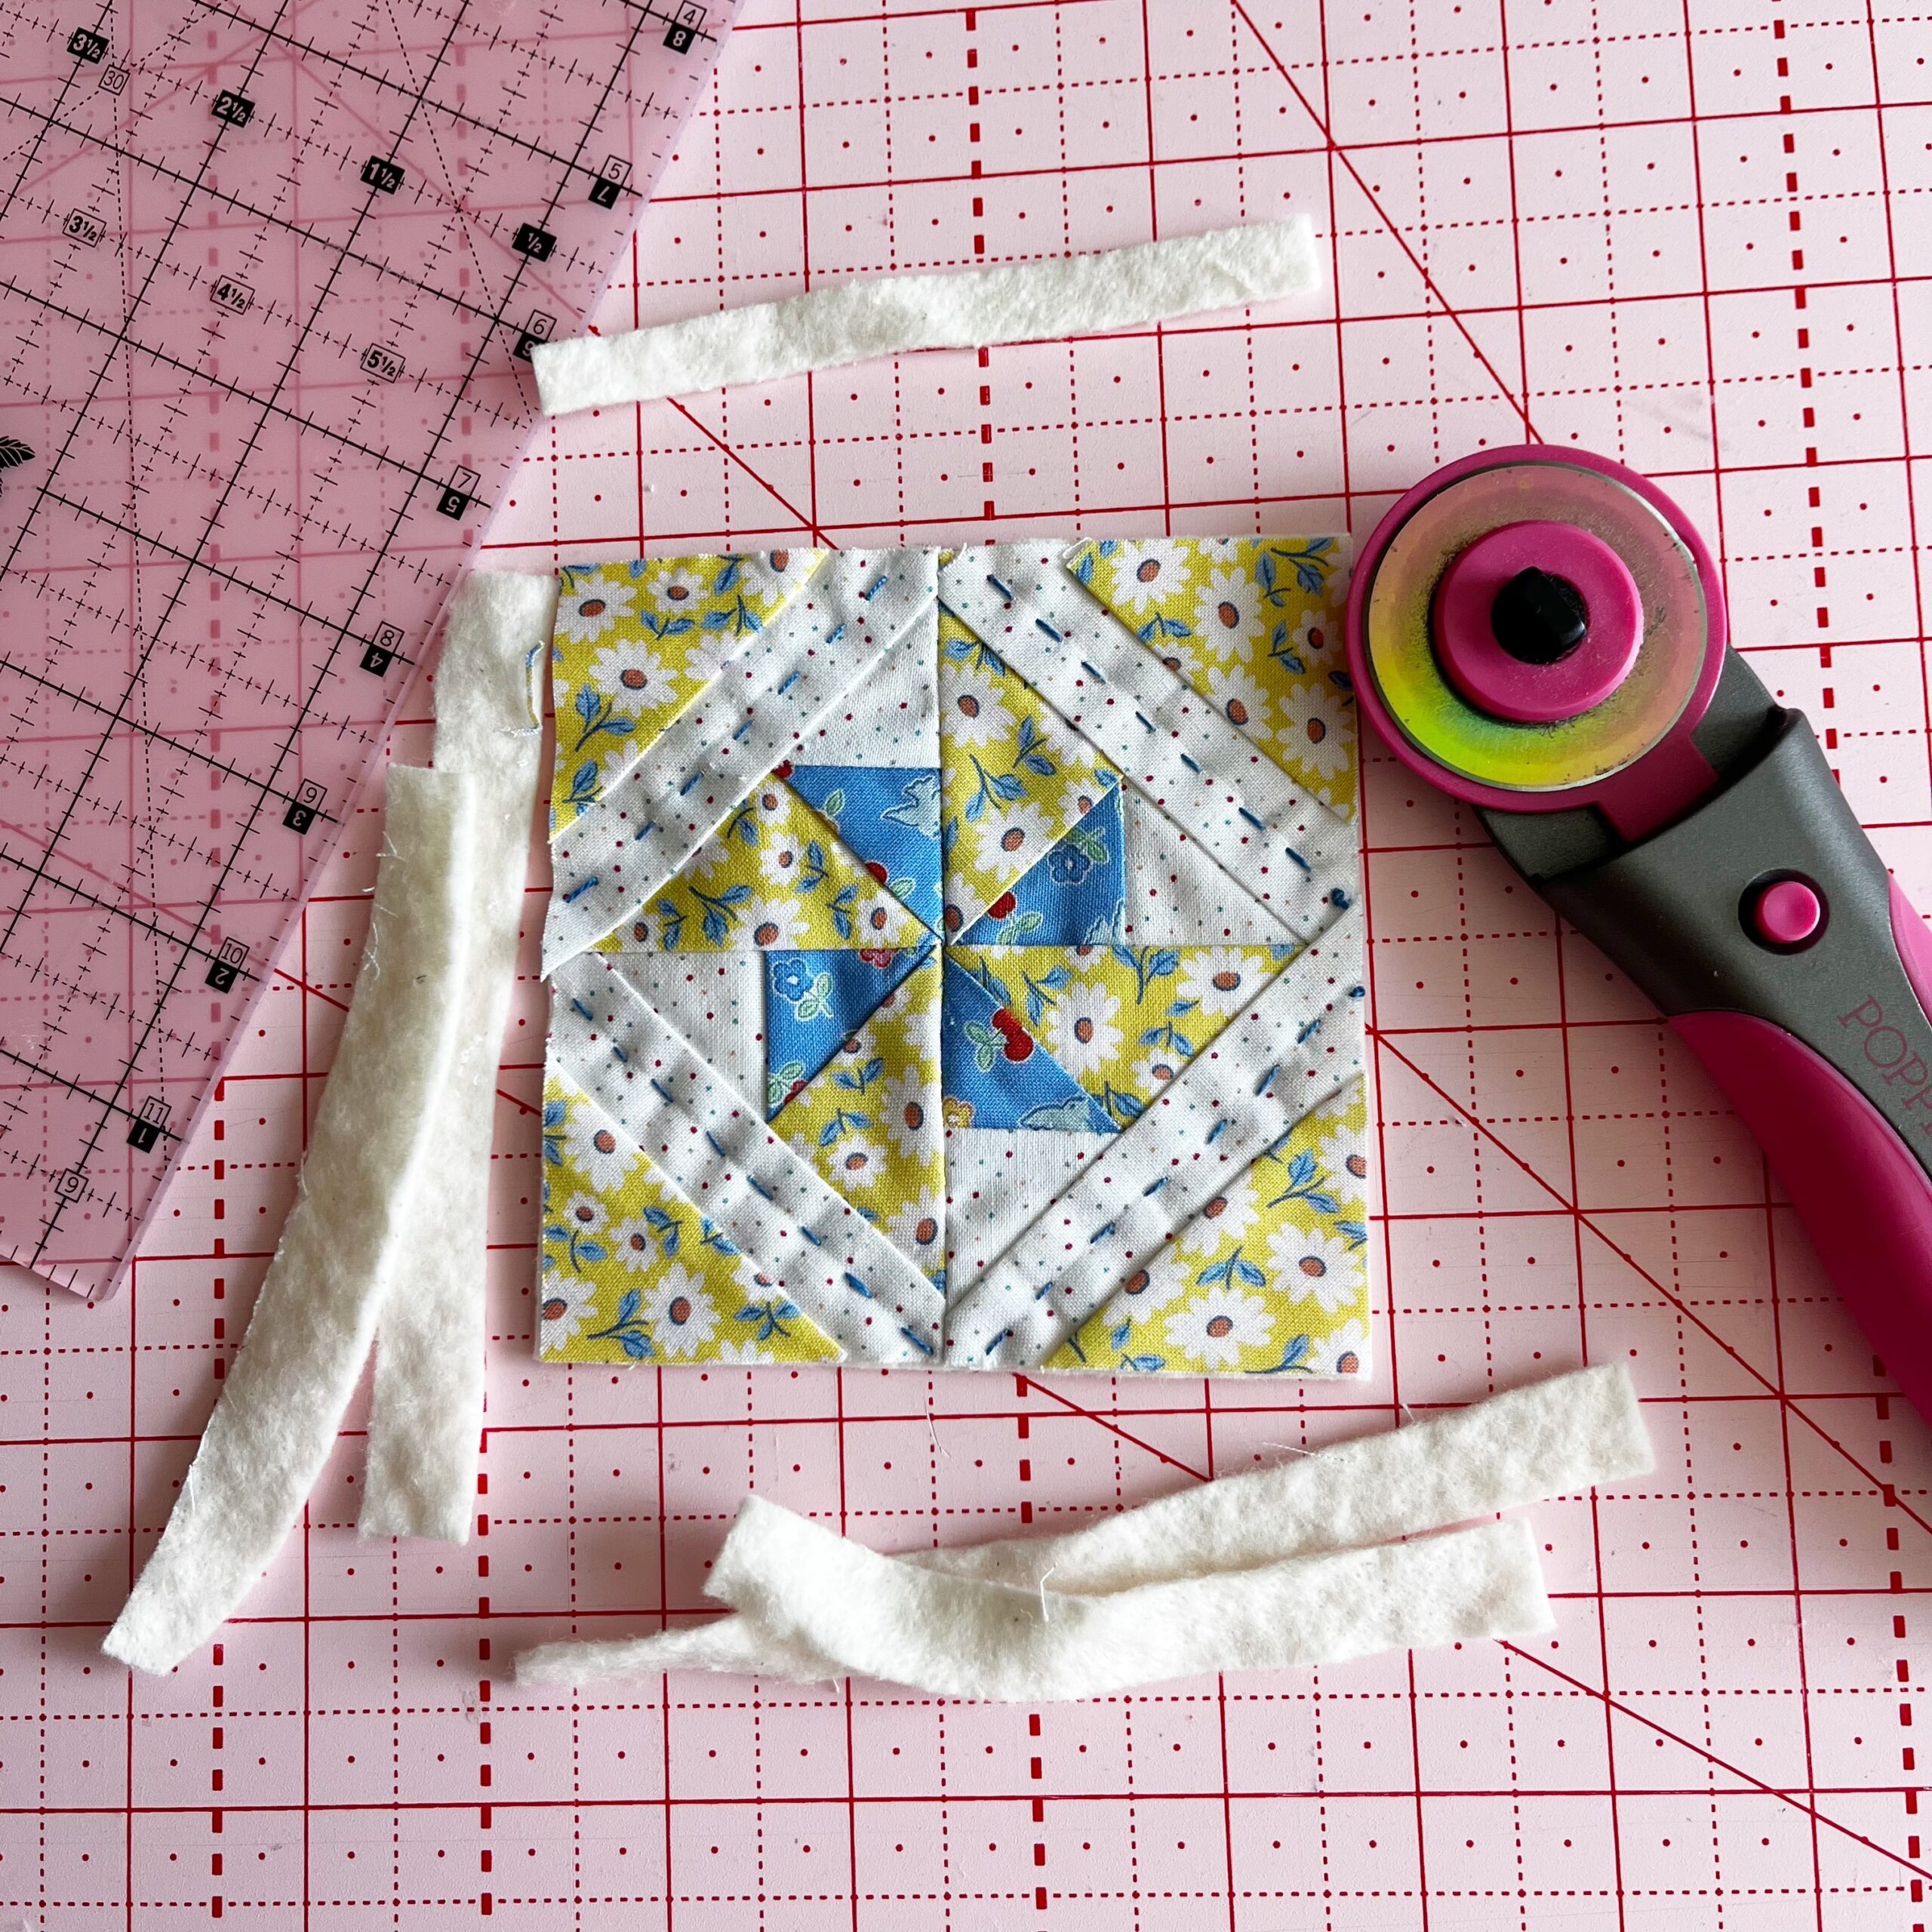
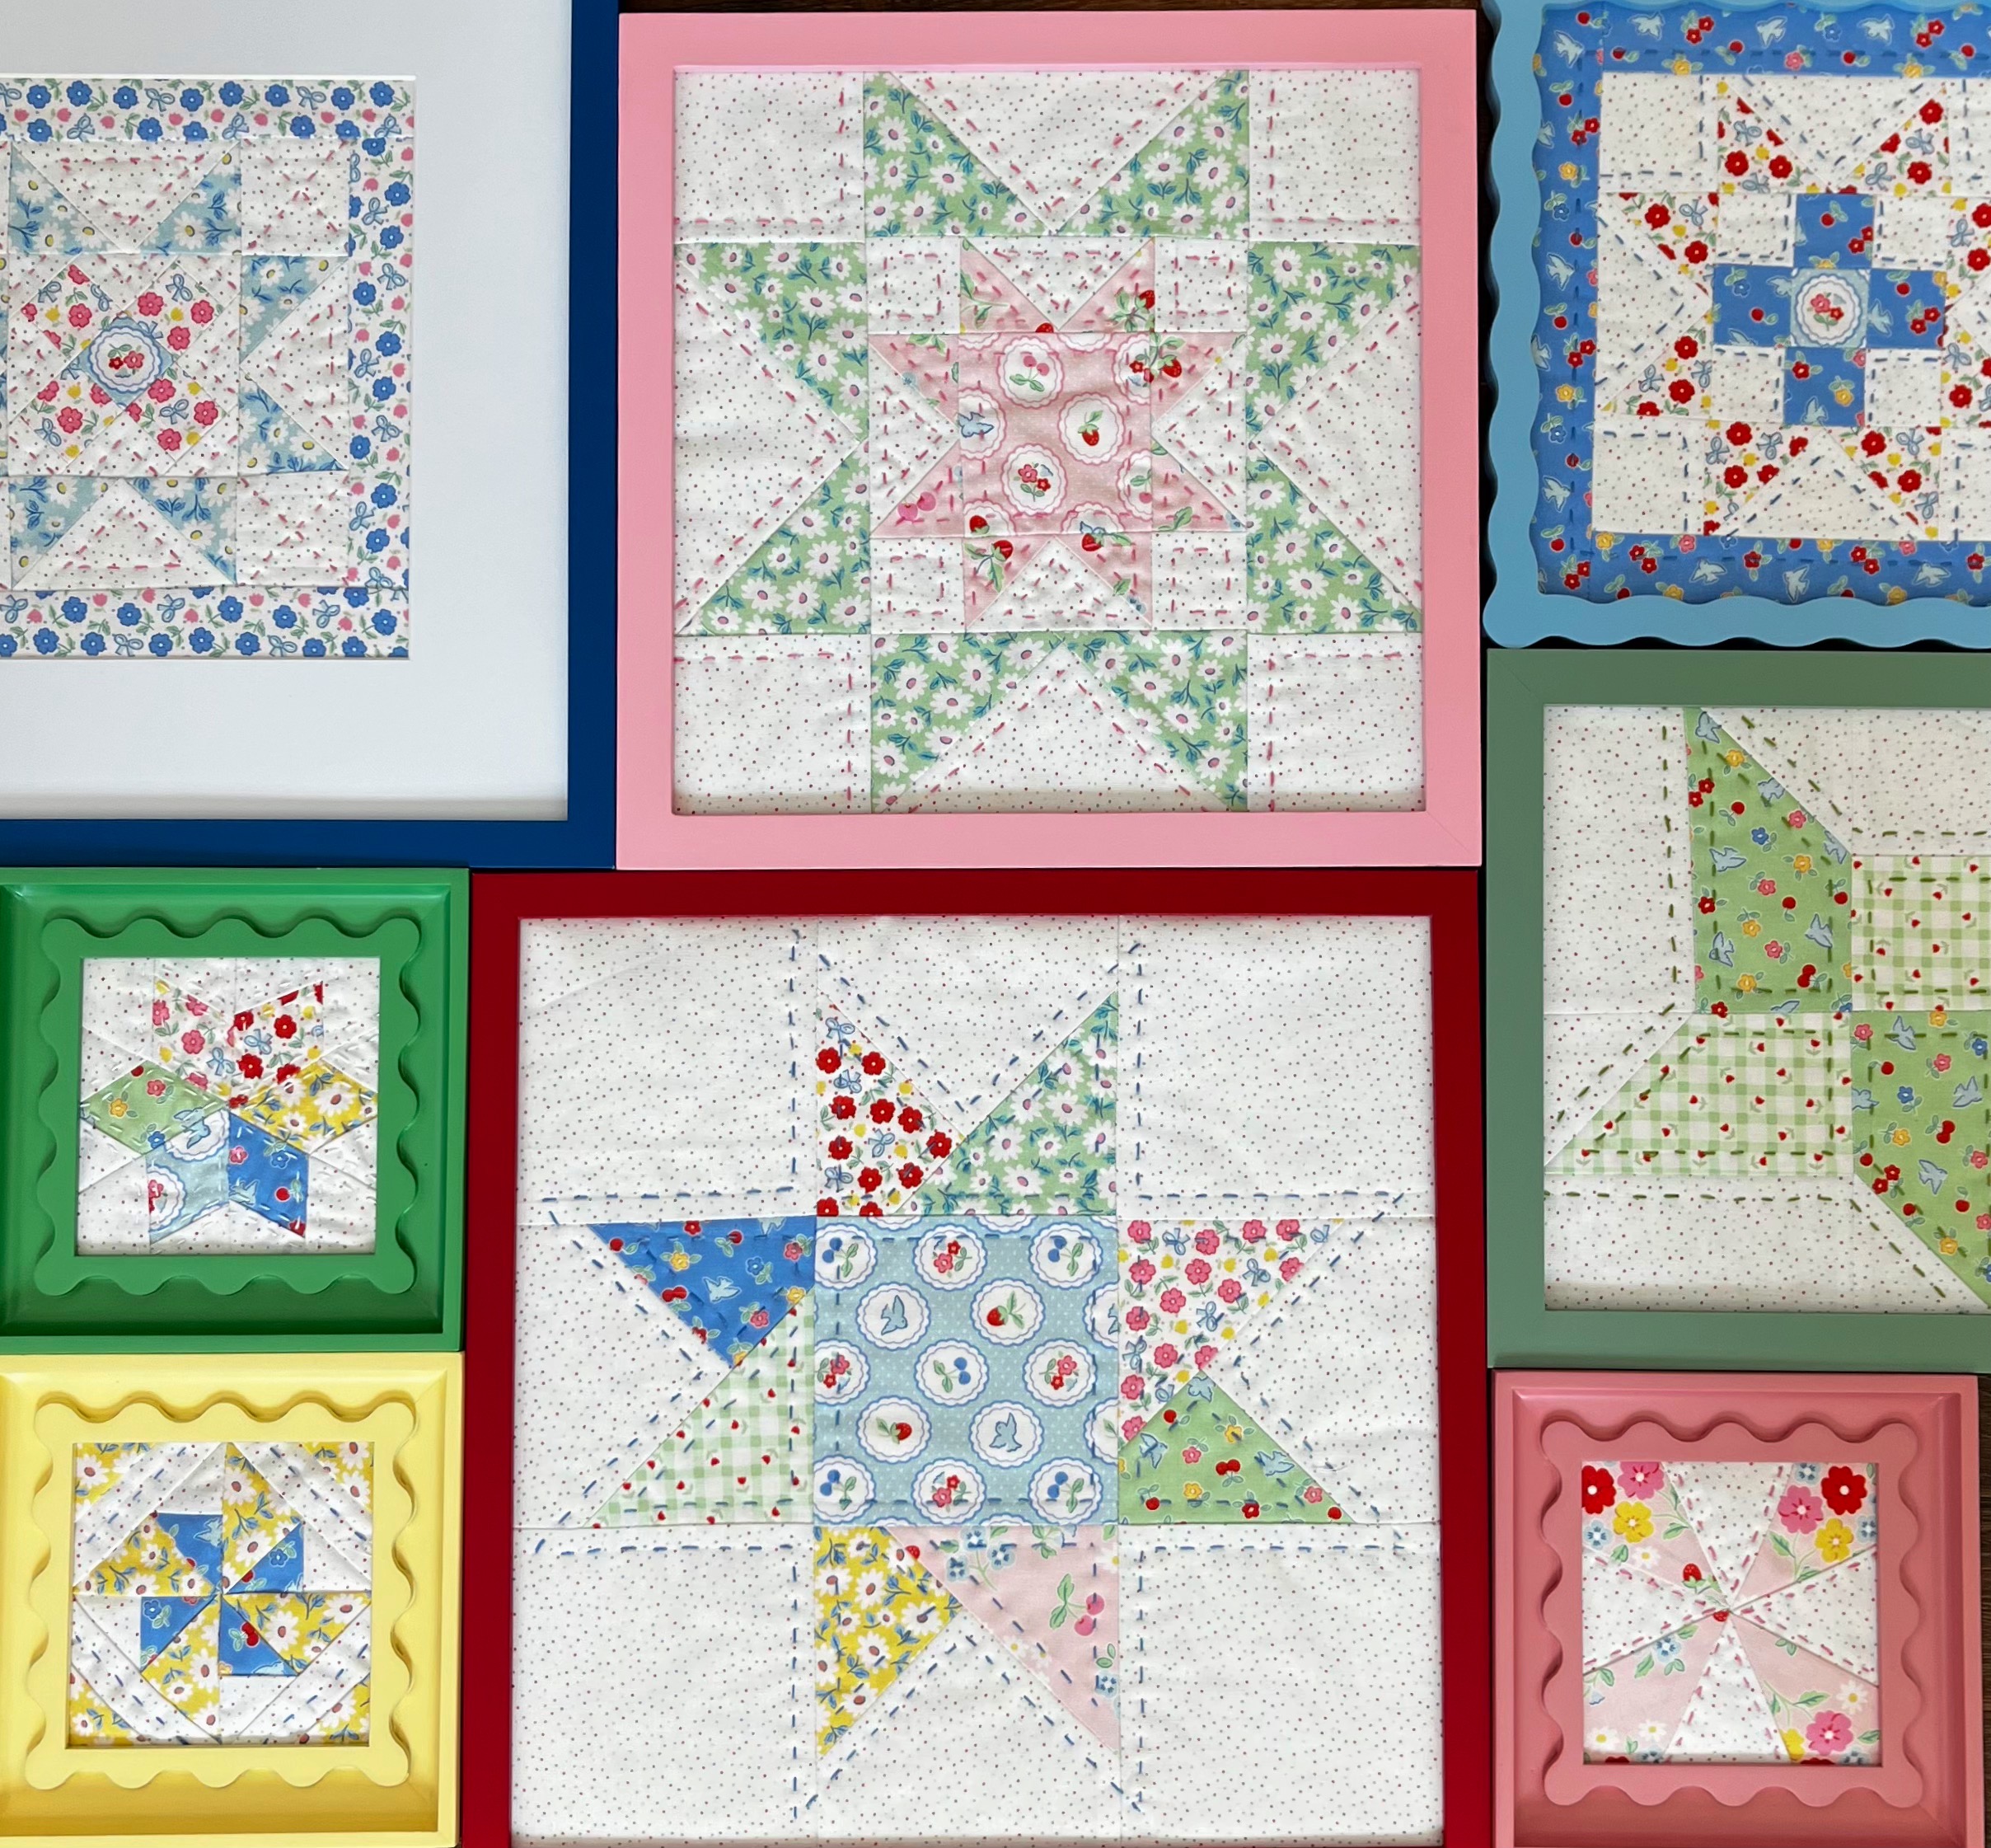
Once my quilt blocks were all complete I chose to go ahead and treat them like a little quilt and I adhered them to batting and hand quilted each block. I did NOT use a backing fabric or a binding since they would be going into frames. I made sure they were trimmed up nicely to fit in the frames.
.
.
One of the things I knew I would need to find were frames that matched my quilt blocks and also my guest bedroom. I have a lot of color in that room, as well as a lot of wood. I didn’t want the standard wood picture frames. Did you know you can do a quick google search and find picture frames of every style, color and size? I mean of course you can…. but I was pleasantly surprised!
.
.
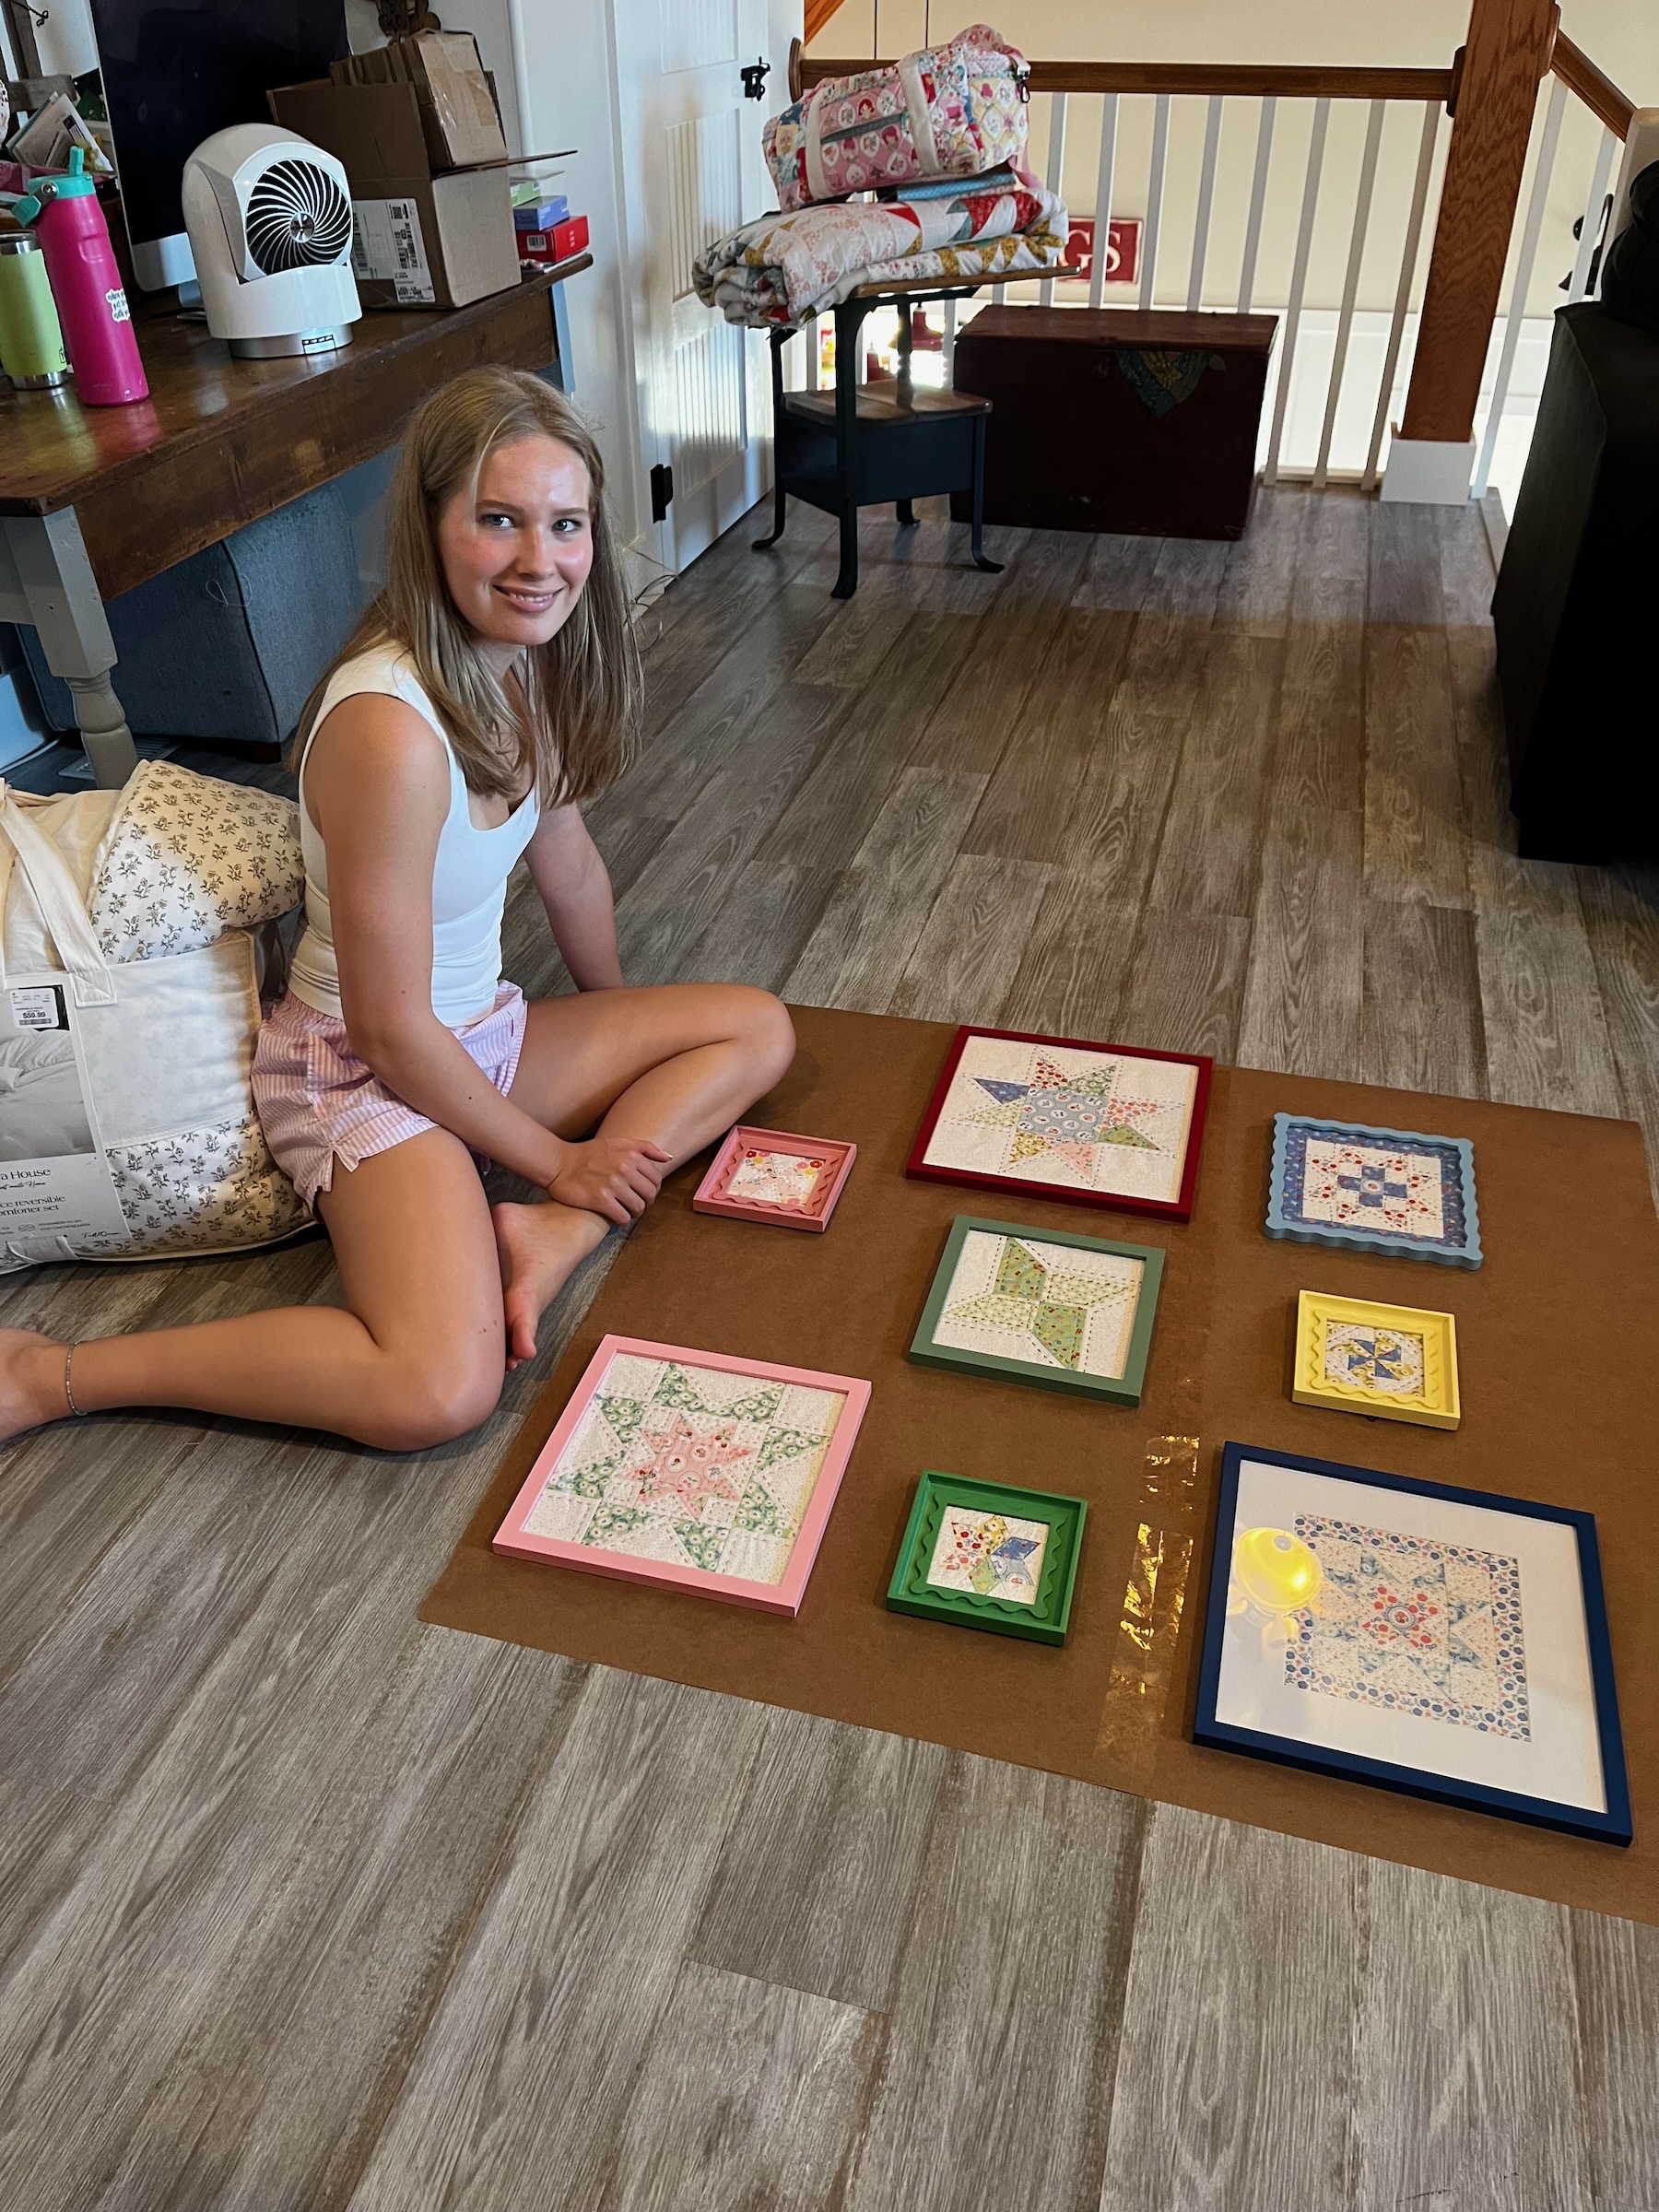
Once I had them all complete and ready to hang, I cut a piece of craft wrapping paper the exact size of the are I was working with on the wall and had my grand-girl Jillian come up to my house and arrange them on the paper for me!!! We worked on it way longer than a person should… second guessing everything!
.
.
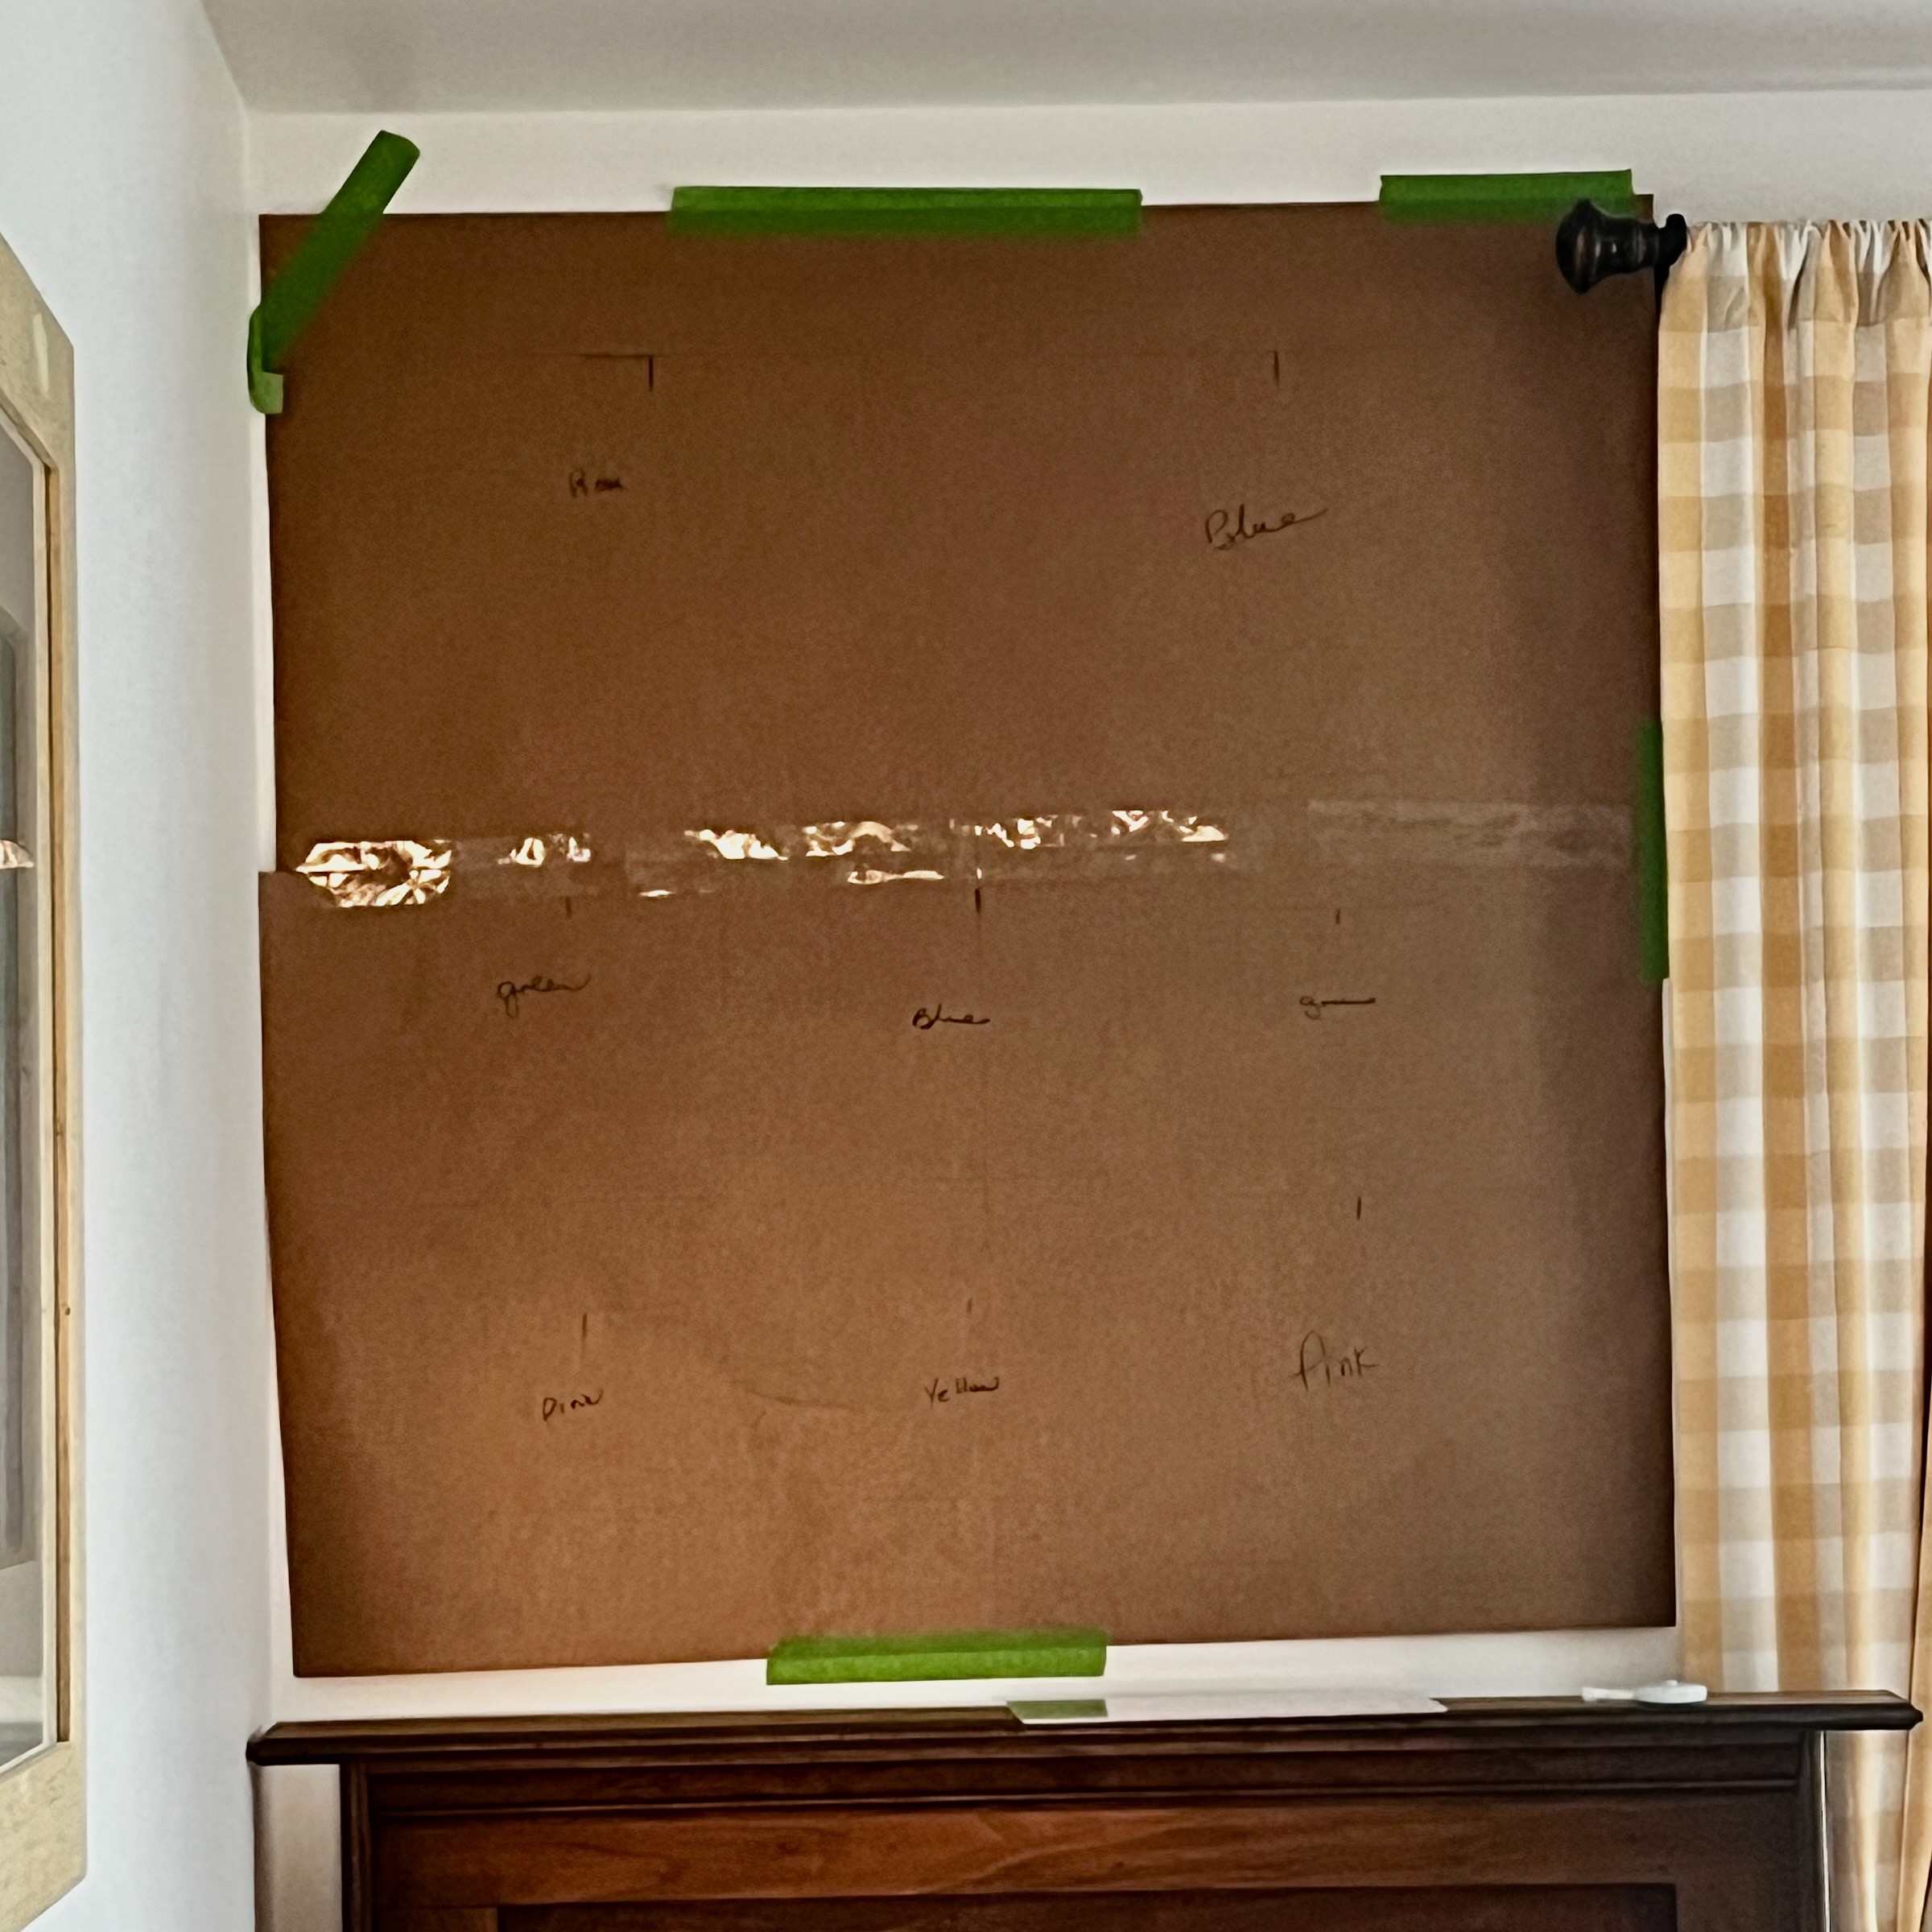
Once we got it just right, we labeled the paper and I tacked it to the wall with painters tape. Then it was easy to center each of the picture frame hooks to the proper place and hammer in place straight through the paper.
.
.
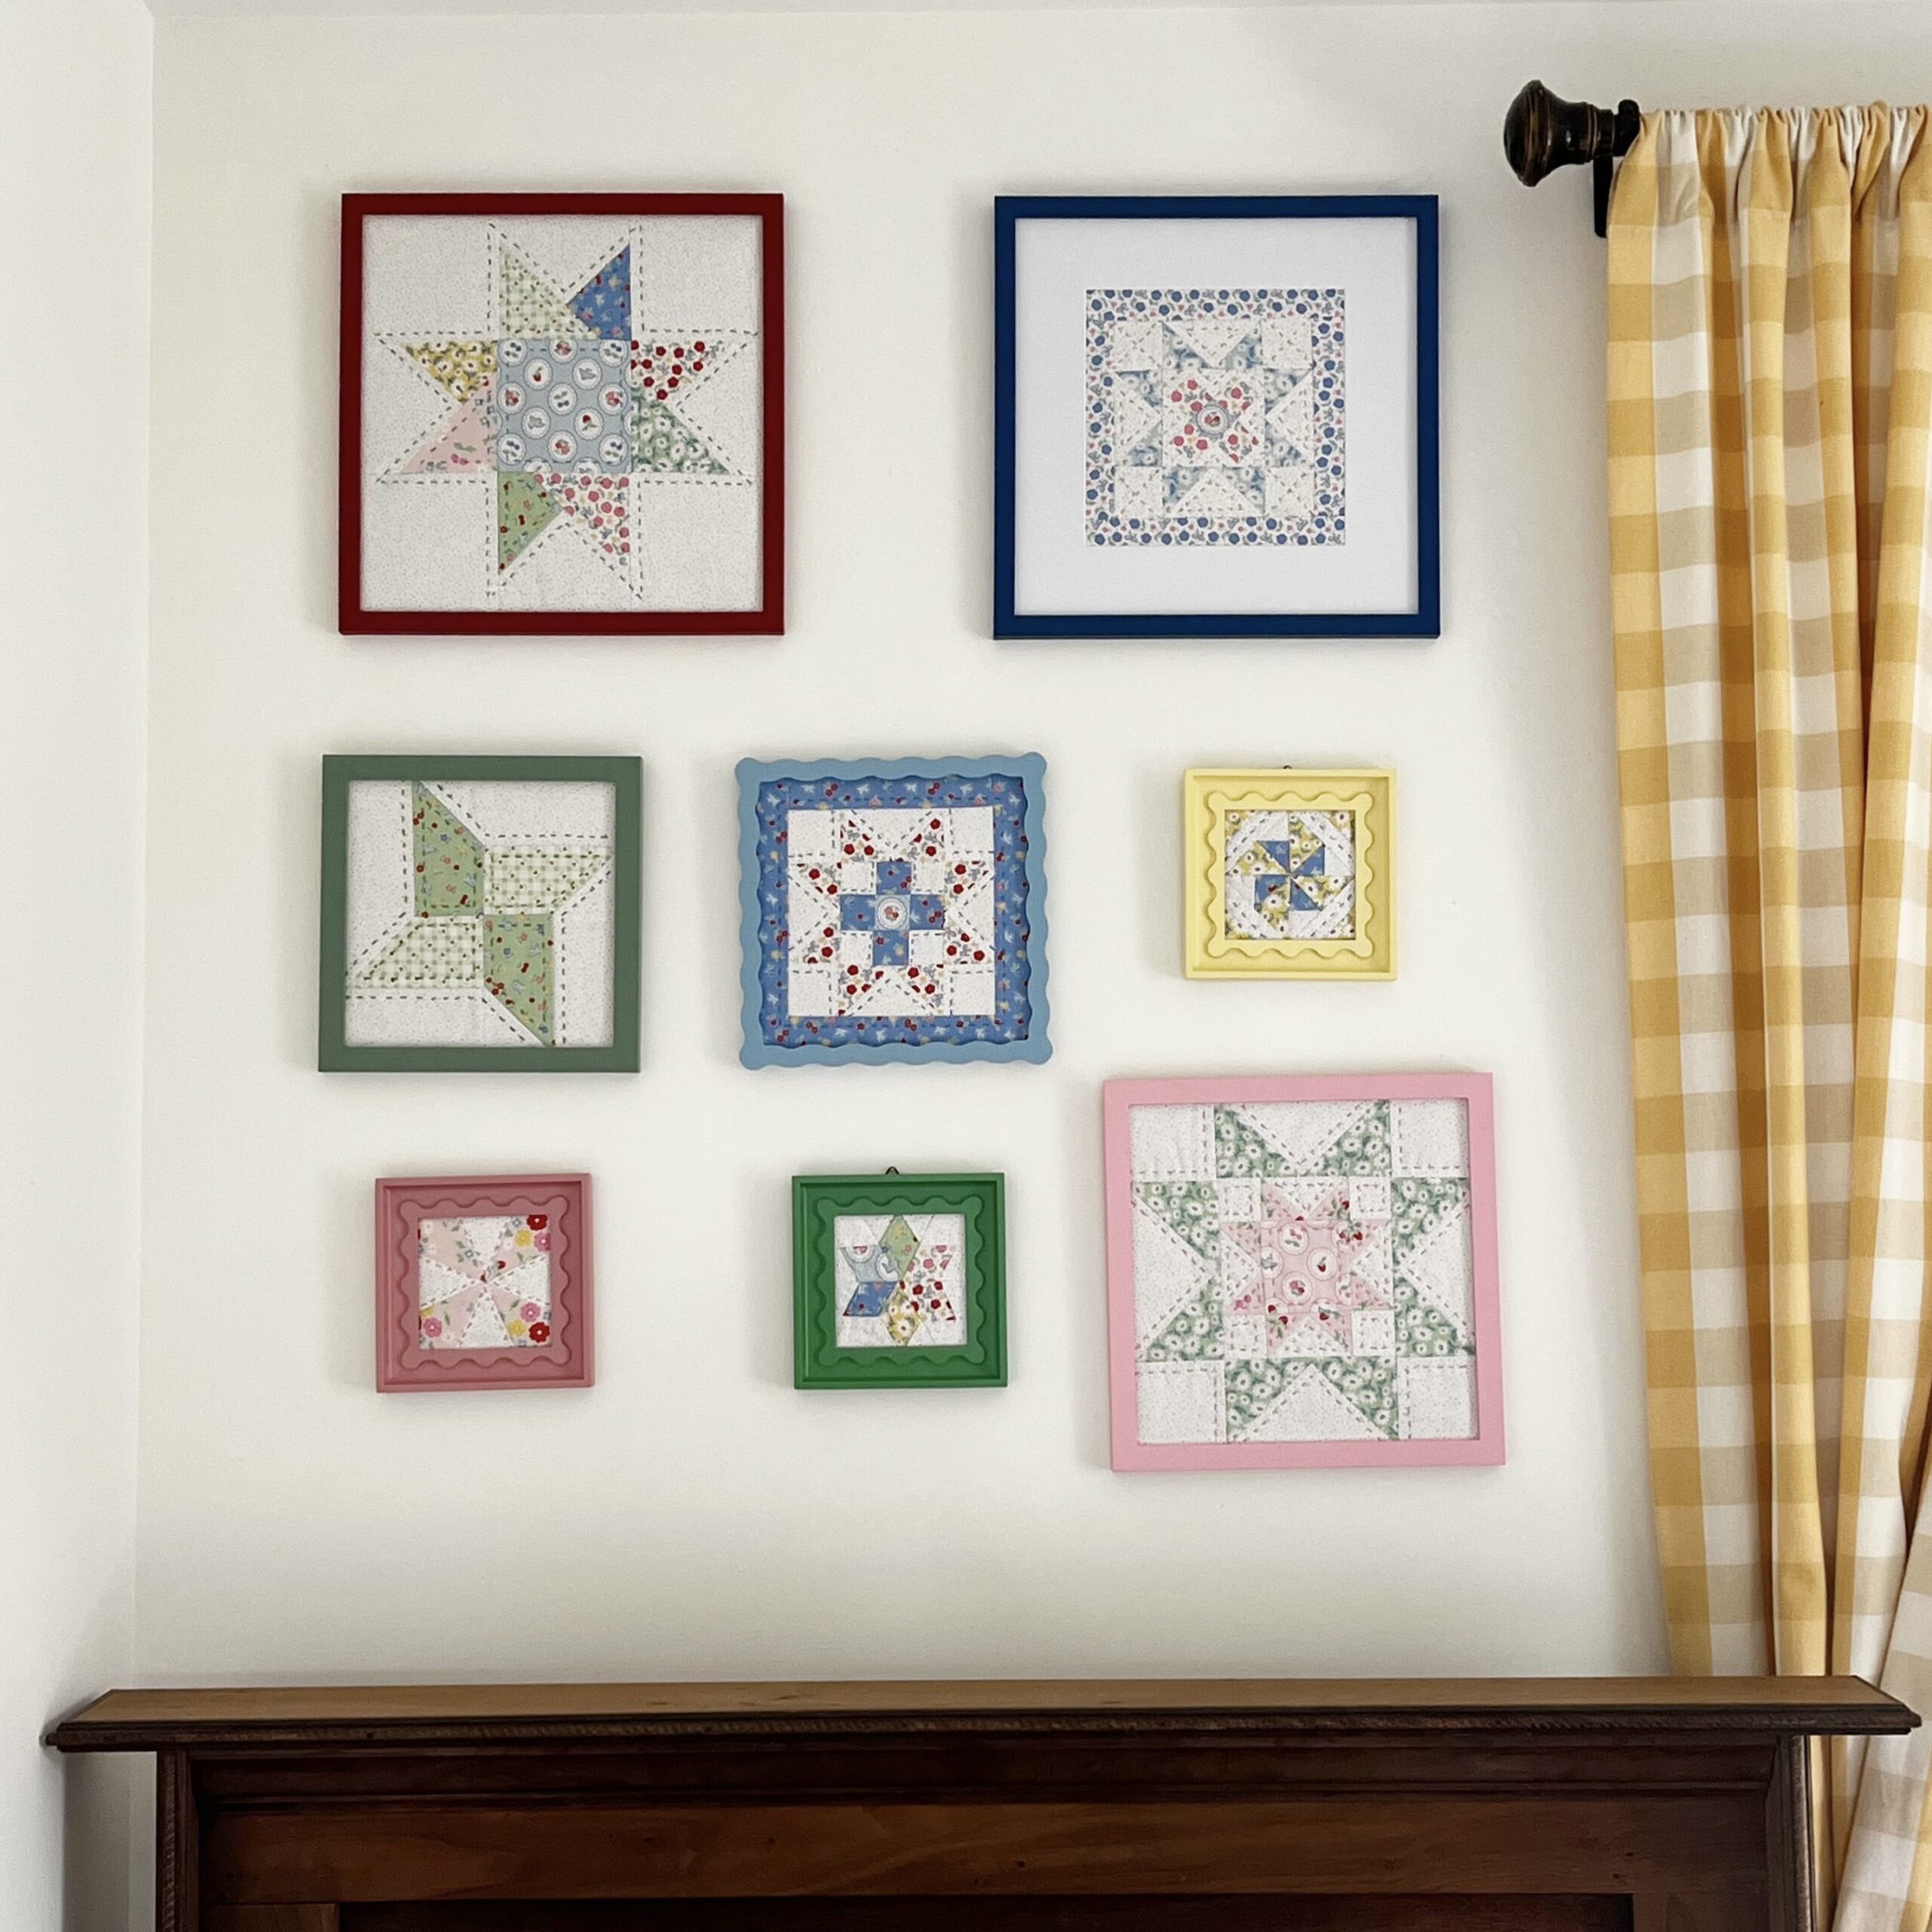
After that… I simply removed the paper and hung the framed quilt blocks in their previously designated location! Easiest way to do a gallery wall ever!
.
.
I really, really love how cheerful it is when I walk down the little hallway and see it. It makes me so happy; which honestly is always the goal in everything I do in my home. (This is why my house is a little quirky and a bit “outside the box”!)
.
There are so many fun ways you could do a gallery wall with quilt blocks that maybe you’ve inherited that were never turned into a quilt, but yet you cherish them. Or embroidery projects you were never sure what to do with after you finished. Or a slow stitching project you made and have been waiting for the right purpose for it. (If you missed my blog post on Slow Stitching, you can read it here. ) The ideas have been flowing through my brain and I’ve been imagining all kind of crafty gallery walls!!! I’d love it if you shared some gallery wall ideas with me… ones you’ve done, or ones you’ve dreamed of doing!
.
Until our gravel roads cross again… so long!
.
Dori










Thanks for the awesome idea. My friend has a quilt with some family history but was never taken care of, has stains all over and rips, but I thought some parts could be saved to make a pillow. However, a framing of the saved piece would work better. What is the safest way to wash an old, bedraggled quilt?
I have heard the best thing to do if you want to wash an old quilt is : SIT DOWN WITH A DRINK UNTIL THE IDEA PASSES
If you MUST wash an old quilt-
lay a bed sheet along the bottom of the bathtub, lay the quilt on top of the sheet
Fill tub with enough cold water to cover the quilt
swirl in a gentle liquid soap ( there are specific soaps available, but any mild soap will work
let it soak for maybe 30 minutes
drain water refill with clean water,
Pull the sheet up around the quilt and squeeze the water out. Repeat
Using the sheet lift the quilt out of the tub, wring out as much water as possible and carry the quilt outside to spread in a shady spot to dry with the sheet on the bottom
Your gallery wall looks great!
We have an open concept ranch house and I filled one of our dining room walls with a gallery of family photos. Photos of the people who have passed never change. Otherwise, I try to change the photos once a year, but use the same frame. One tradition I started was sending out photo Christmas cards with several photos from the year and a short narrative. I always include an updated photo of us, an updated photo of our home and then photos of the places we traveled and family updates, like my nephew and his bride when they got married last year.
I also love to paint water colors, and although work and a big move stopped me from painting much over the last several years, I already have a nice collection for a gallery wall and a couple vignettes around the house. I recently retired from working full time, and my husband made me a beautiful art studio on the property of our new home. I look forward to spending more time painting once we wrap up our summer travels.
I really enjoy your blog! 🙂
Dori, that looks beautiful and turns a blank wall into a masterpiece. I have so many quilt blocks looking for a home and I think I found a place, thanks to you! Our local thrift shop always has frames under a dollar. Your room looks gorgeous. My kind of decor. Thanks for always inspiring and sharing your ideas with us. You are a blessing.
❤️ Darlene
Okay, the paper placement idea may be simple, but it’s the most brilliant idea ever! Gonna rummage through my orphan blocks right now. Oh, and your curtains have sparked another project for me. One project sparked so many ideas!
I love your gallery wall! It turned out beautifully. I have a wall in my dining room that is a gallery wall of photos. There is no order to it – it’s been filled in over the years with what I can fit in here and there. Some of the pictures I change out now and then and some stay put. Like you said – it’s all about what makes me happy! I love the idea of framing quilt blocks or other projects for the bedroom. I think I’m going to see what I have stored away….
P.S. I absolutely love those cheery yellow curtains!!!
Love it!! It does bring a smile to my face. Thanks for sharing your beautiful work.
Ohhh, the ideas brewing in my mind for my guest room! Beautiful display Dori, great ideas! I’ve got quite a few various sized frames I had collected when I was selling my art! They just sit there yearning to be used! Im inspired by your arrangement and will try this with some quilting pieces of my own! Thanks for the inspiration! Blessings! -Dianna
Great project!
I have a two story “real log “ cabin. At the stairwell the wall to your left going up to the second story is a beautiful wall that isn’t logs but an excellent wooden hi background to do something similar to what you’ve done and it would support a whole quilt as large as a queen size. I have two quilts that I am considering hanging there it would be absolutely perfect but then we have to figure out lighting wish me well.
Did you make the pillowcases? Are you willing to share the measurements of each section and the how-to?
Hi Sylvia!
I did make them! I am emailing you the information on them!
~ Dori ~