.
Hello friends! I hope you had a really lovely Thanksgiving!
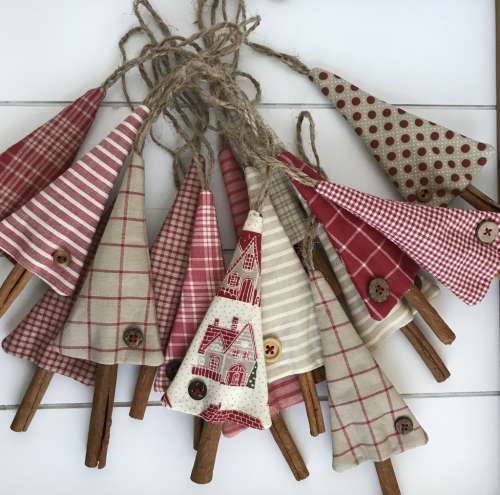
I’ve been working on some fun Christmas crafts and this ornament ended up being such a fast and simple project I decided to share a little tutorial with all of you. You can whip these up in no time!
.
.
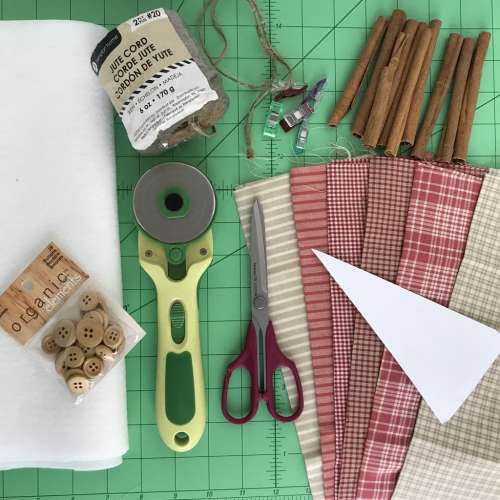
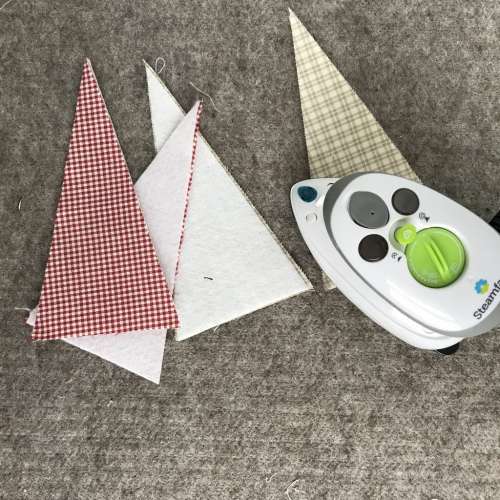
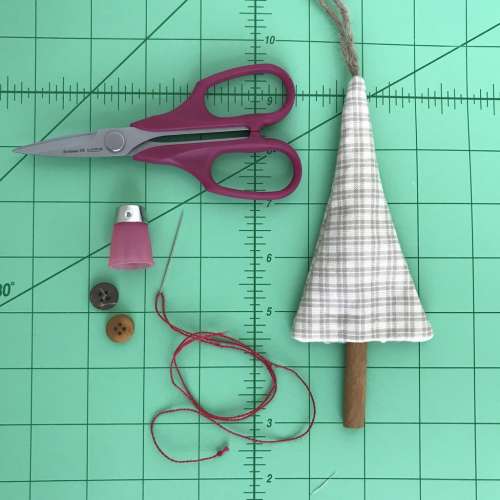
Lets gather all our supplies.
- Fusible Fleece Interfacing
- Fabric Scraps
- “Tree” pattern drawn on card stock and cut out. (I just drew my own… it measures 6 inches tall and is 3.5 inches across at the bottom.)
- Non food grade crafting cinnamon sticks. I purchased mine from Hobby Lobby in the craft section. You can use food grade but they might be more expensive.
- Buttons
- Jute Twine
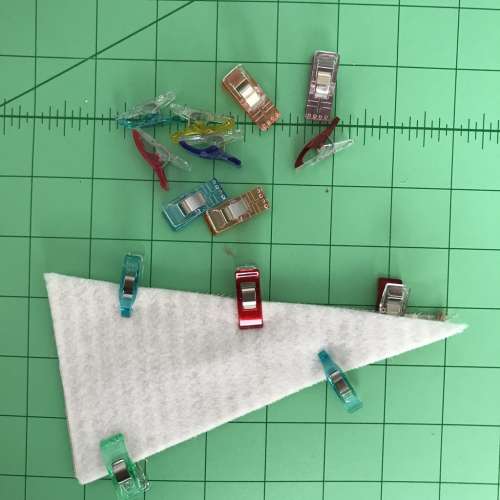
- Clover Wonder Clips
- Clover Rotary Cutter and Ruler
- Scissors
- Needle and Thread
- Sewing Machine
- Glue Gun
.
.
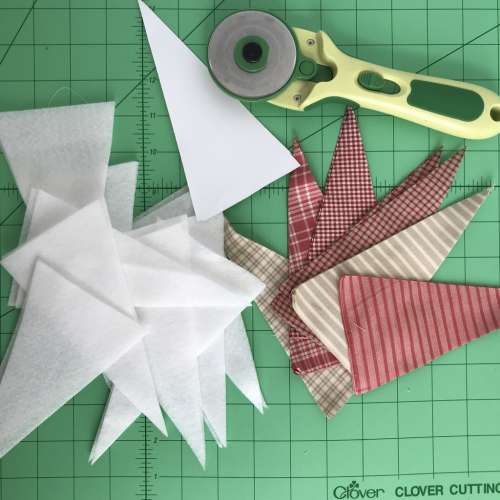
Start by cutting all your fabric pieces out. You will need two pieces per tree. You will also need to cut two from the fusible fleece interfacing. Also cut twine to 11 inches long. You will need one piece of twine for each tree.
.
.
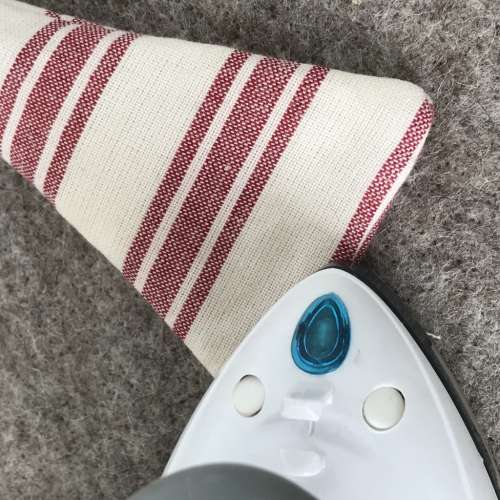
Iron a piece of fusible fleece to the back of each piece of fabric. Always iron on the fabric side; not directly onto the interfacing.
.
.
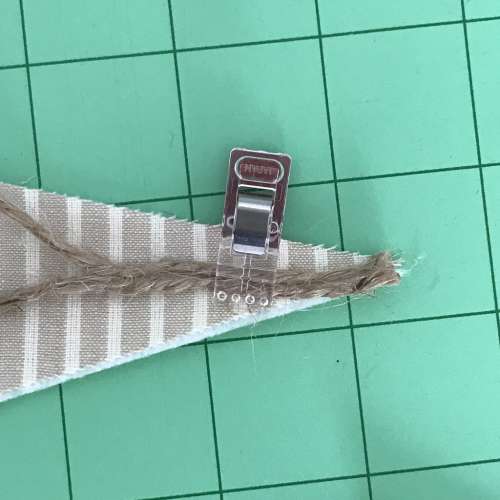
Lay the twine on the right side of a tree. Be sure to place it as pictured above, both ends at the top of the point. Use a Clover Wonder Clip to hold it in place.
.
 .
.
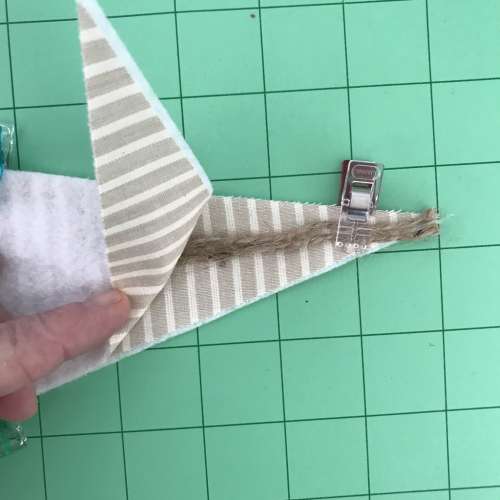
.Place a second piece of fabric on top, right sides together.
..
.
.
Use Wonder Clips to hold them together.
.

.
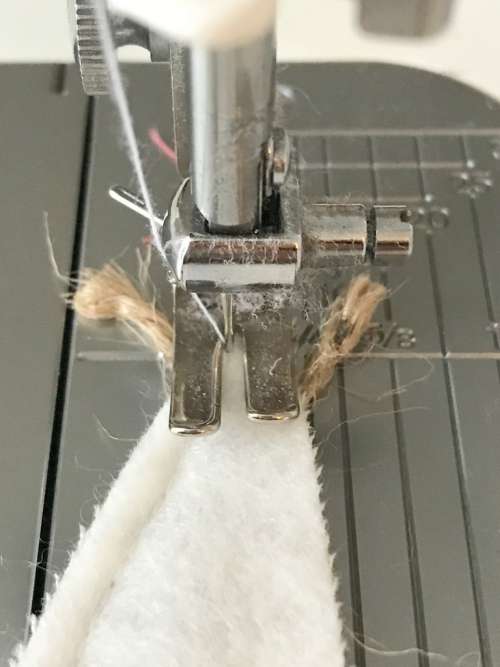
Sew 1/4 inch seam all the way around the tree, leaving an opening at the bottom for turning.
.
.
At the top of the tree point, I let the two pieces of twine stick out the sides at the very tip. It helps to have them in the correct place when you turn right sides out. Also, be careful that the length of twine stays in the center of the tree and you don’t accidentally catch it in your seam. I also back stitch a few times over the twine ends so they don’t come out.
.
.
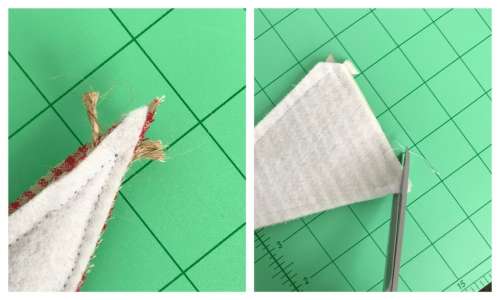
Clip all three corners… the bottom two as well as the top point. Also cut off the twine ends.
.
.
.
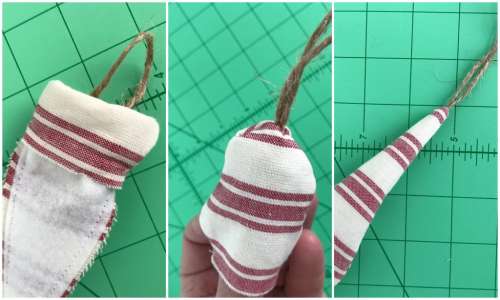
Turn the right side of the tree out the opening in the bottom. Once you get it started and can reach inside and get ahold of the twine then you can gently pull the twine through the opening until the entire tree comes out. Do this gently so you don’t accidentally pull the twine loose. (If you backstitched a few time over the twine, it should not come loose.)
.
.
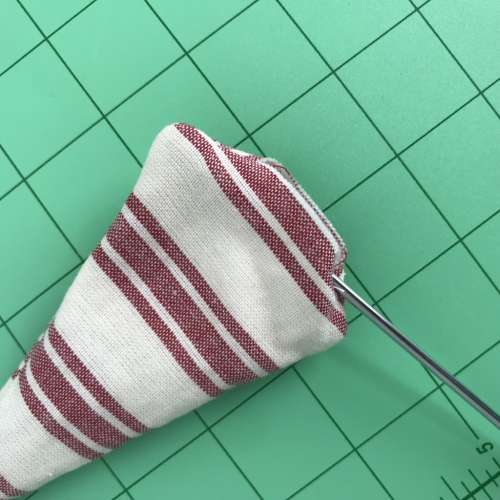
Push the corners out using the eraser end of a pencil. You can use a sharper object but be careful not to push through the fabric.
.
.
Turn the raw edges of the opening to the inside of the tree and iron in place.
.
.
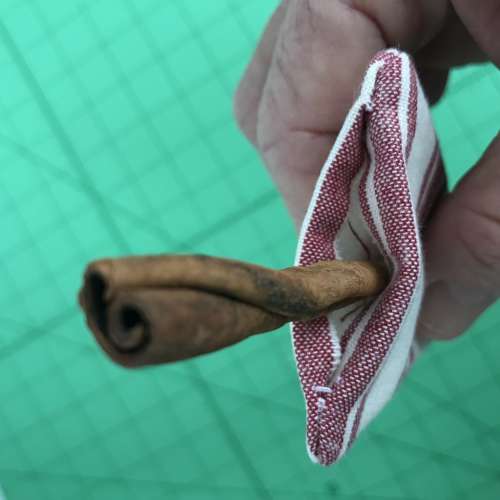
Push your cinnamon stick into the opening and make sure it is centered. (You can make your tree trunk as long as you’d like by how much of it you push into the tree.)
.
.
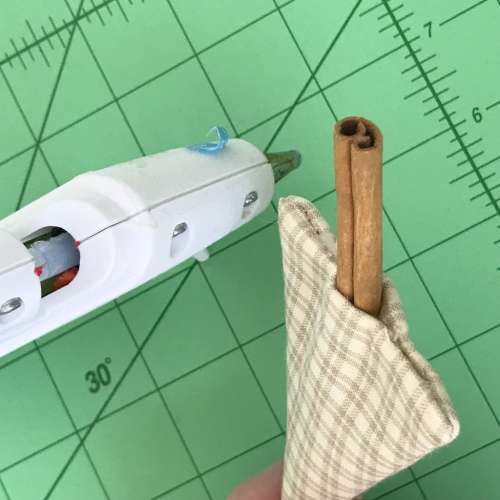
Use hot glue to close the seam opening and attach the fabric to the cinnamon stick.
.
.
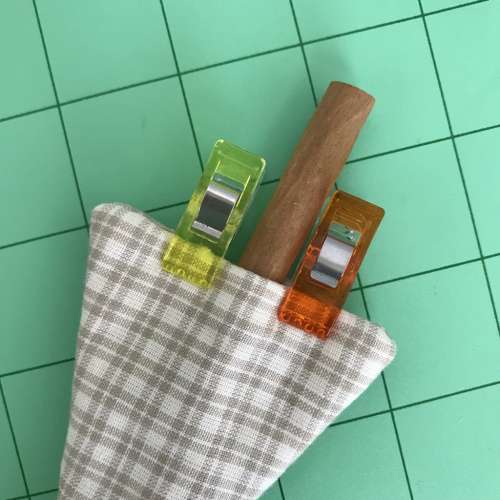
Use Wonder Clips to hold the seam closed until the glue dries. This only takes a minute or less.
.
.
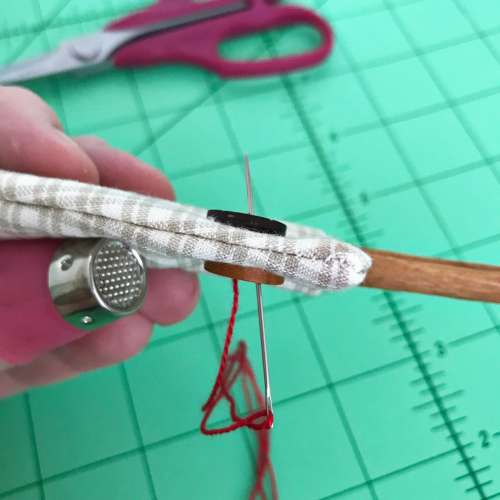
Now for the final step and the funnest to me! Lets attach buttons! You will sew a button to the front and one to the back at exactly the same spot. So be sure to select buttons that are the same size and have the same amount of holes. They do not need to look alike. I use embroidery thread because it makes for a firm hold on the bottoms and you don’t have to sew it as many times.
.
.
You are literally going to sew both buttons at the same time. Start with your knot on the back and then place the button on that knot (hiding it). You will sew your button just like you normally do at this point, but you will sew the second button on the back at the same time. It can be a little tricky at first and you might have to move your needle around a bit to find the hole of the button on the back side. But you’ll get it!
.
.
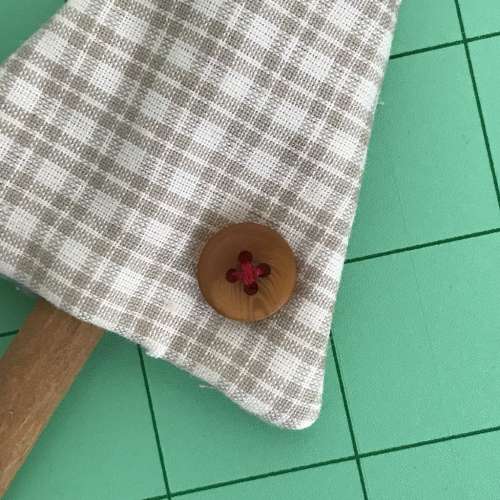
There is no front or back at this point so they look good from either side!
.
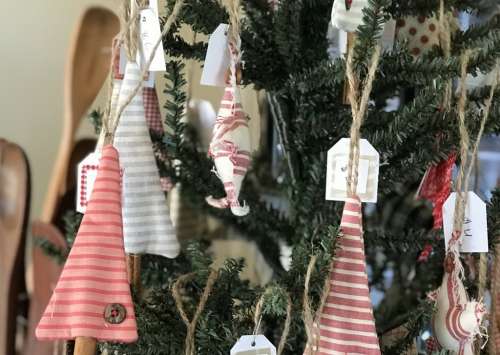
Hang your darling tree ornament and take pride that you made it! I found that in making these in a production line, they were so fast and I was able to make a lot of them in no time at all.
.
.
I am selling some of mine at a little local farm store and I love how they looked when I hung them on the tree in the store.
.
Happy winter crafting my friends!
.
Until our gravel roads cross again… so long.
Dori
.


Love this what a great idea.
Thank you and have a wonderful Holiday.
Thank you, Dori! You always have something wonderful for us to try! I love Christmas Trees and will have to add some of these to my Christmas stuff. Merry Christmas!
What a cute idea!! Thank you for sharing!
I love them!! Such a cute idea!
Love your trees!
What are wonder clips? Would clip clothes pins also work? Good clear tutorial, thanks for the instructions.