


.
Hello my Farmgirl friends!!!
.
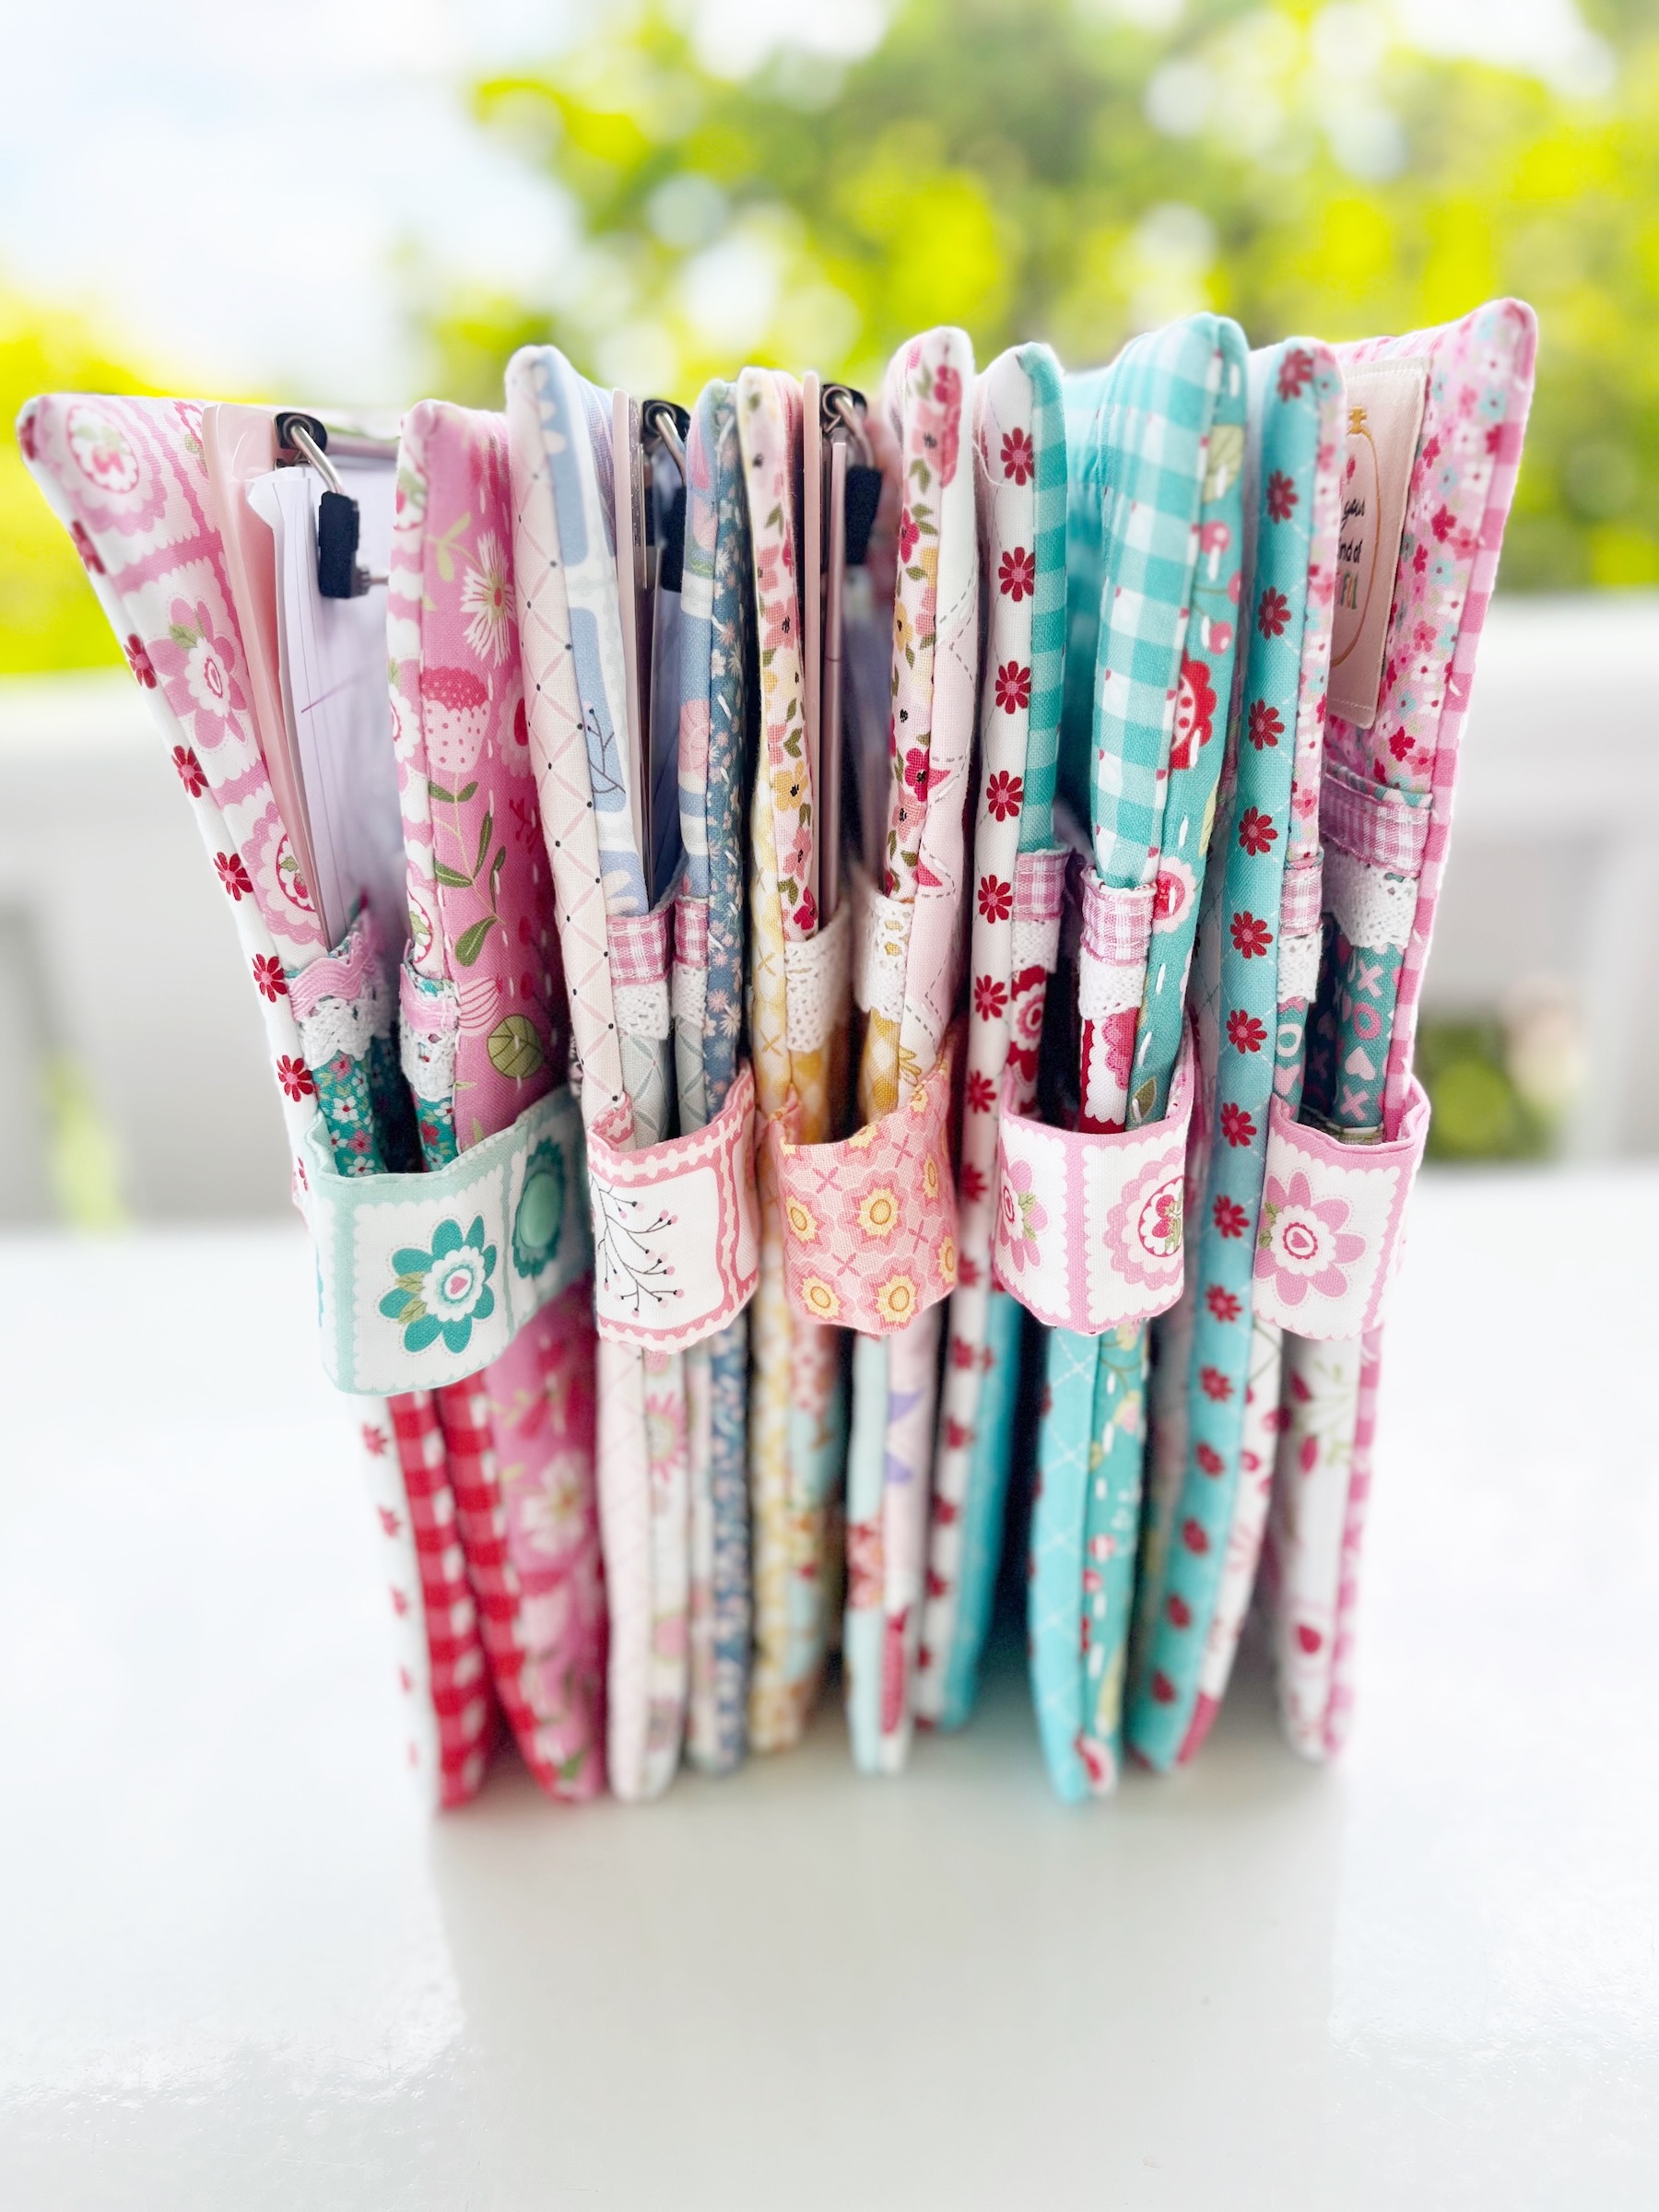
Last month I talked about the Letter Writing Kit that I had made myself to keep me motivated on the letter writing challenge! And… I offered a giveaway of one of the kits to one lucky reader!
Continue reading
.
Hello my Farmgirl friends!!!
.
Last month I talked about the Letter Writing Kit that I had made myself to keep me motivated on the letter writing challenge! And… I offered a giveaway of one of the kits to one lucky reader!
Continue reading
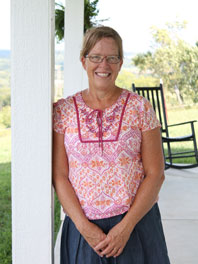
is a certified farmgirl at heart. She’s happily married to her beach bum Yankee husband of 20 years. She went from career gal to being a creative homeschooling mom for two of her biggest blessings and hasn’t looked back since. Debbie left her lifelong home in the high desert of Northern Nevada 10 years ago and washed up on the shore of America’s hometown, Plymouth, MA, where she and her family are now firmly planted. They spend part of each summer in a tiny, off–grid beach cottage named “The Sea Horse.”
“I found a piece of my farmgirl heart when I discovered MaryJanesFarm. Suddenly, everything I loved just made more sense! I enjoy unwinding at the beach, writing, gardening, and turning yard-sale furniture into ‘Painted Ladies’ I’m passionate about living a creative life and encouraging others to ‘make each day their masterpiece.’”

is a “MaryJane Farmgirl” who lives in a large metropolitan area. She is a lawyer who has worked in both criminal defense and prosecution. She has been a judge, a business woman and a stay-at-home mom. In addition to her law degree, she has a Masters of Theological Studies.
“Mustering up the courage to do the things you dream about,” she says, “is the essence of being a MaryJane Farmgirl.” Learning to live more organically and closer to nature is Rebekah’s current pursuit. She finds strength and encouragement through MaryJane’s writings, life, and products. And MaryJane’s Farmgirl Connection provides her a wealth of knowledge from true-blue farmgirls.

an old-fashioned farmgirl with a pioneer spirit, lives in the White Mountains of New Hampshire. As a “lifelong learner” in the “Live-Free-or-Die” state, she fiercely values self-reliance, independence, freedom, and fresh mountain air. Married to her childhood sweetheart of 40+ years (a few of them “uphill climbs”), she’s had plenty of time to reinvent herself. From museum curator, restaurant owner, homeschool mom/conference speaker, to post-and-beam house builder and entrepreneur, she’s also a multi-media artist, with an obsession for off-grid living and alternative housing. Cathi owns and operates a 32-room mountain lodge. Her specialty has evolved to include “hermit hospitality” at her rustic cabin in the mountains, where she offers weekend workshops of special interest to women.
“Mountains speak to my soul, and farming is an important part of my heritage. I want to pass on my love of these things to others through my writing. Living in the mountains has its own particular challenges, but I delight in turning them into opportunities from which we can all learn and grow.”
Dori Troutman is the daughter of second generation cattle ranchers in New Mexico. She grew up working and playing on the ranch that her grandparents homesteaded in 1928. That ranch, with the old adobe home, is still in the family today. Dori and her husband always yearned for a ranch of their own. That dream came true when they retired to the beautiful green rolling hills of Tennessee. Truly a cattleman’s paradise!
Dori loves all things farmgirl and actually has known no other life but that. She loves to cook, craft, garden, and help with any and all things on their cattle farm.
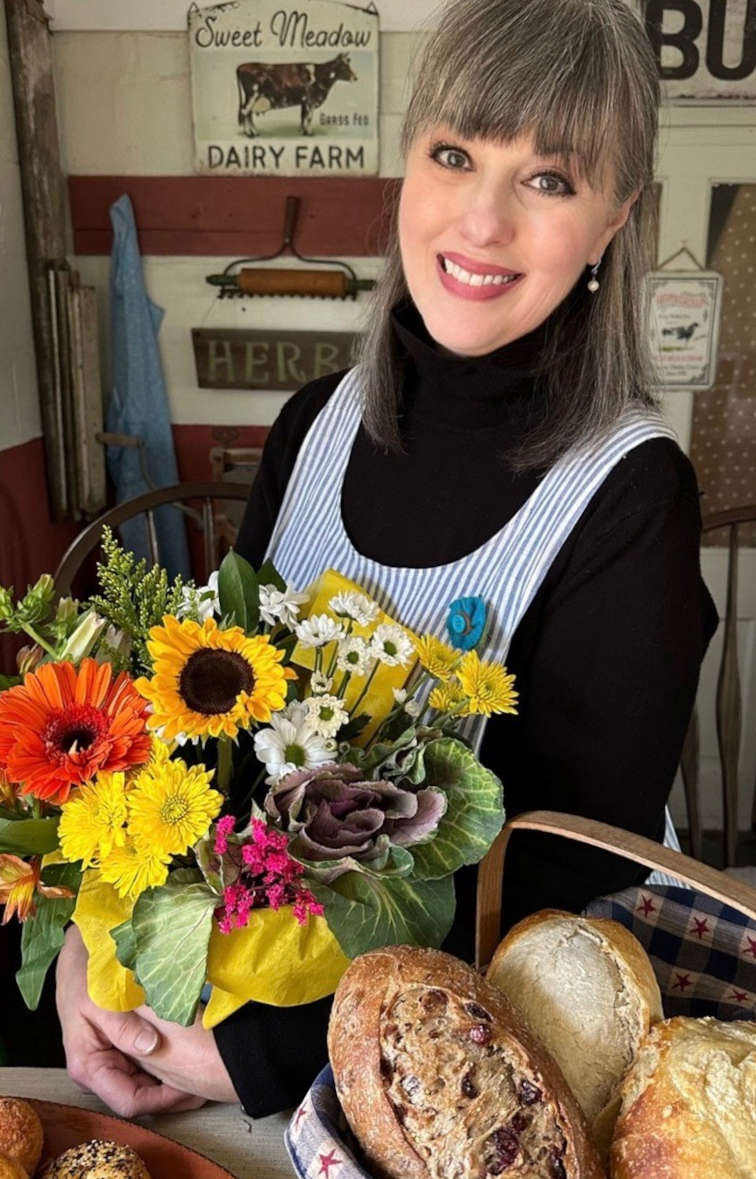
describes herself as a goat charmer, chicken whisperer, bee maven, and farmers’ market baker renovating an 1864 farmhouse on an Ohio farm. With a degree in Design, Mary says small-town auctions and country road barn sales "always make my heart skip a beat thinking about what I could create or design out of what I’ve seen.”
Rooted in the countryside, she likes simple things and old ways … gardening, preserving the harvest, cooking, baking, and all things home. While you might find her selling baked goods from the farm’s milkhouse, teaching herself to play the fiddle, or sprucing up a vintage camper named Maizy, you will always find her in an apron!
Mary says, “I’m happiest with the simple country pleasures … an old farmhouse, too many animals, a crackling fire, books to read, and the sound of laughter … these make life just perfect.”
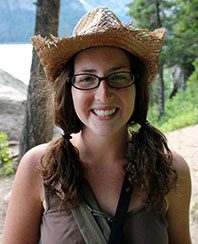
is a budding rural farmgirl living in Palmer, the agricultural seat of Alaska. Alex is a graduate student at Alaska Pacific University pursuing an M.S. in Outdoor and Environmental Education. She lives and works on the university’s 700 acre environmental education center, Spring Creek Farm. When Alex has time outside of school, she loves to rock climb, repurpose found objects, cross-country ski on the hay fields, travel, practice yoga, and cook with new-fangled ingredients.
Alex grew up near the Twin Cities and went to college in Madison, Wisconsin—both places where perfectly painted barns and rolling green farmland are just a short drive away. After college, she taught at a rural middle school in South Korea where she biked past verdant rice paddies and old women selling home-grown produce from sidewalk stoops. She was introduced to MaryJanesFarm after returning, and found in it what she’d been searching for—a group of incredible women living their lives in ways that benefit their families, their communities, and the greater environment. What an amazing group of farmgirls to be a part of!
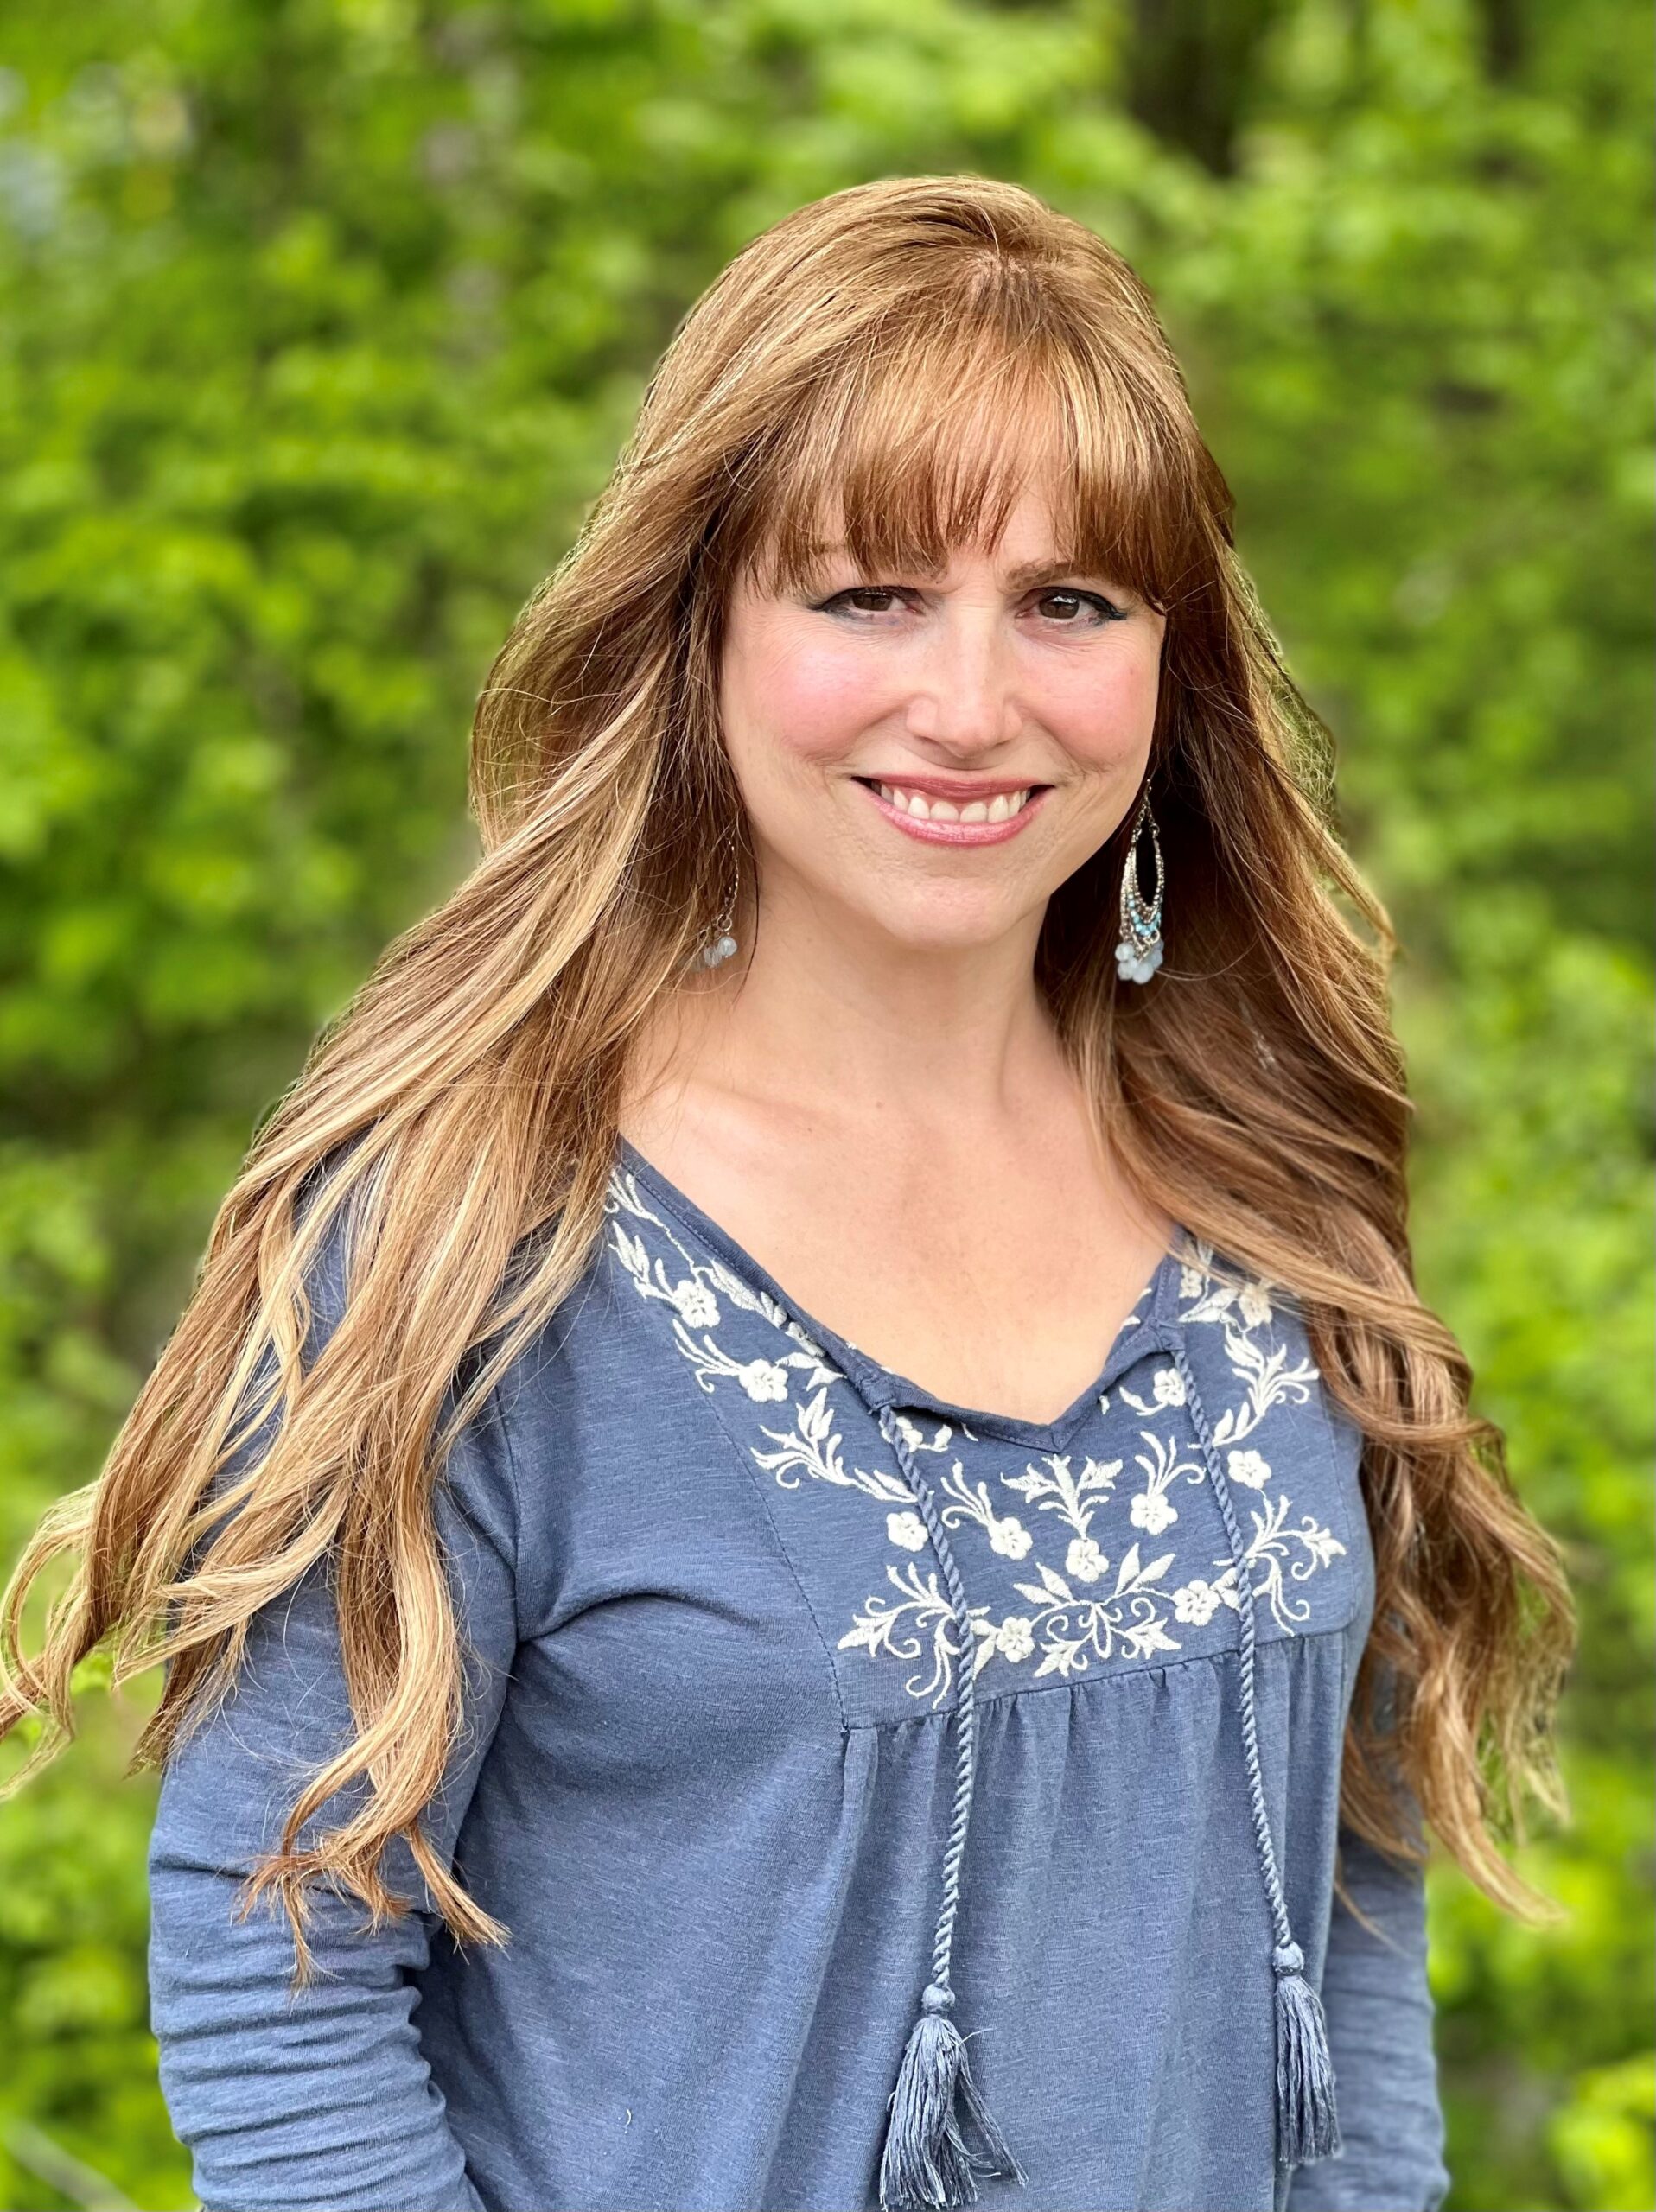
Suburban Farmgirl Nicole Christensen calls herself a “vintage enthusiast”. Born and raised in Texas, she has lived most of her life in the picturesque New England suburbs of Connecticut, just a stone’s throw from New York State. An Advanced Master Gardener, she has gardened since childhood, in several states and across numerous planting zones. In addition, she teaches knitting classes, loves to preserve, and raises backyard chickens.
Married over thirty years to her Danish-born sweetheart, Nicole has worked in various fields, been a world-traveler, an entrepreneur and a homemaker, but considers being mom to her now-adult daughter her greatest accomplishment. Loving all things creative, Nicole considers her life’s motto to be “Bloom where you are planted”.

Weekly Blogs and Recipes